Eduard 1/144 MiG-15
By Matt Bittner
Introduction
I really don't think the MiG-15 needs to be introduced so I will leave the history aspect of the actual aircraft to the Googling ability of the reader. Instead, be assured that the Eduard 1/144 MiG-15 is the best kit for this aircraft in this scale. While the other MiG-15s released prior to the Eduard kit are decent enough (the Attack kit is still worth building) Eduard's detail is just top-notch. You can see what's in the box by reading my First Look.
|
Construction
I'll be honest it's been a while since I started this kit so not exactly sure about a lot of things with the build. I do know I added weight to the nose for it to sit correctly and there was a little putty used in the build, but since I was building it out-of-the-box there is no photoetch nor anything else added to this kit.
|
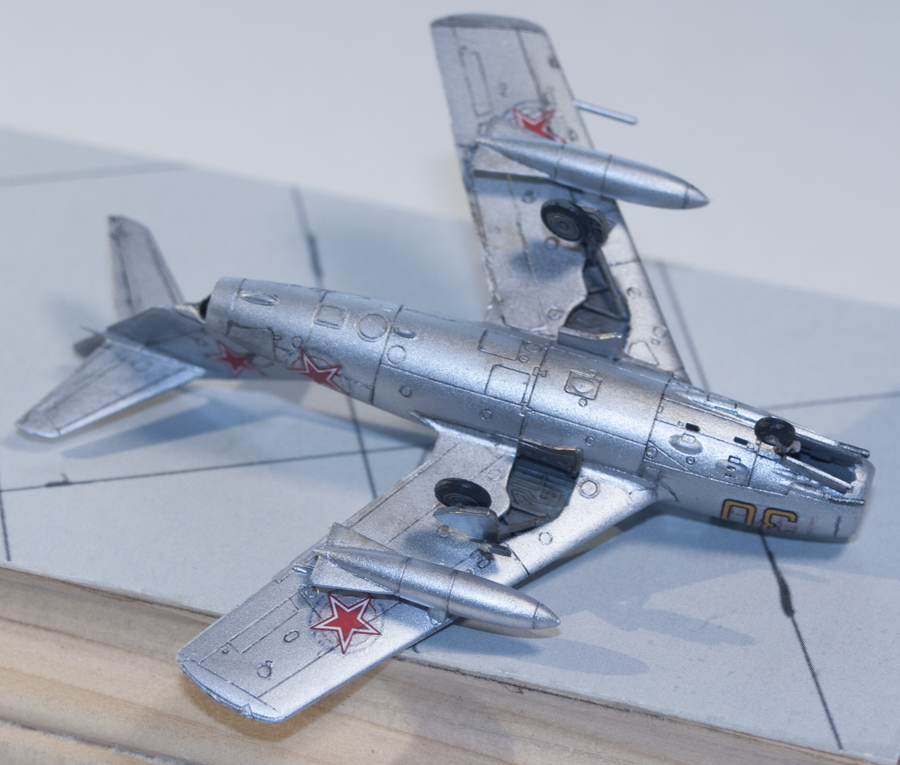
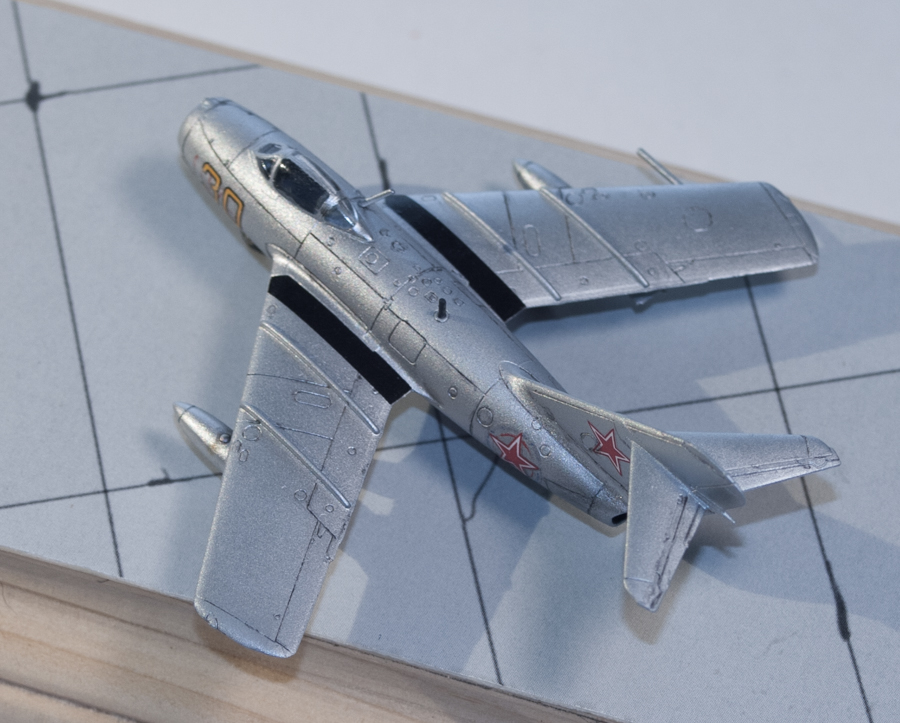
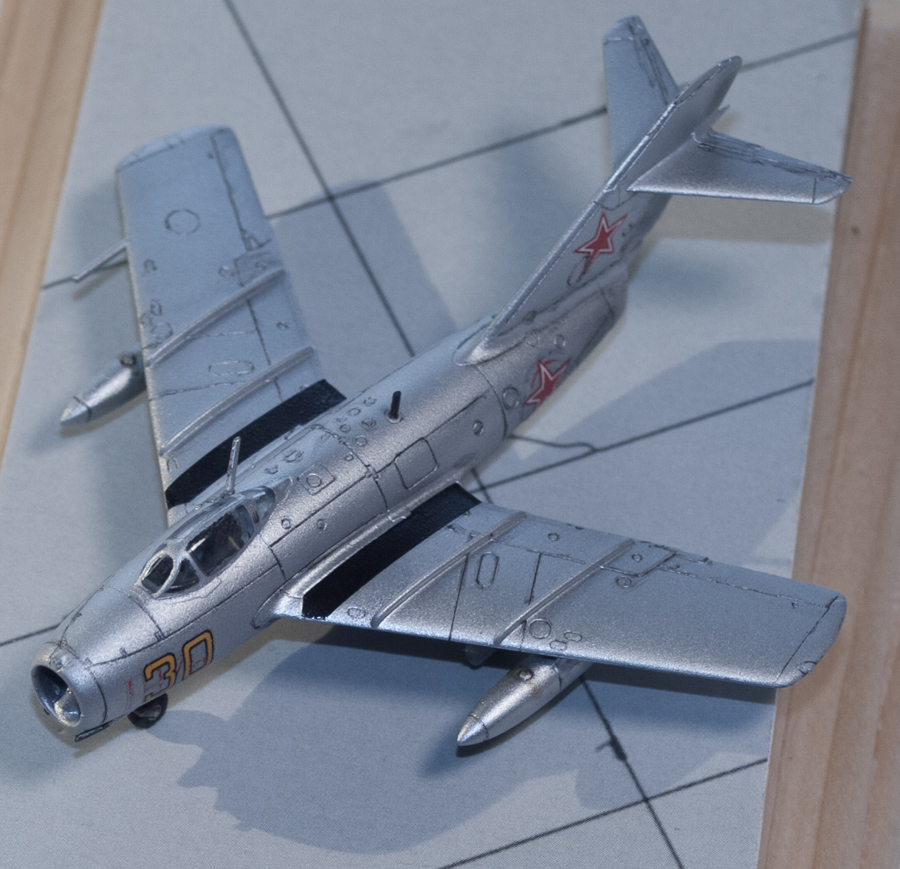
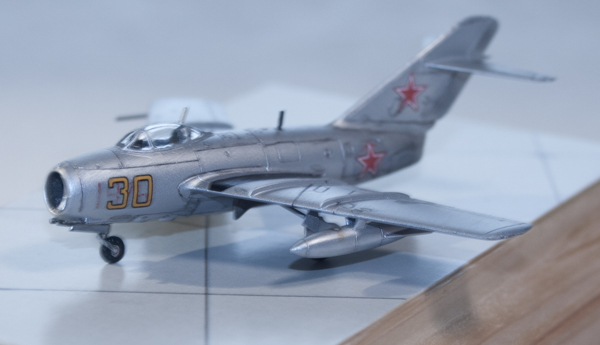
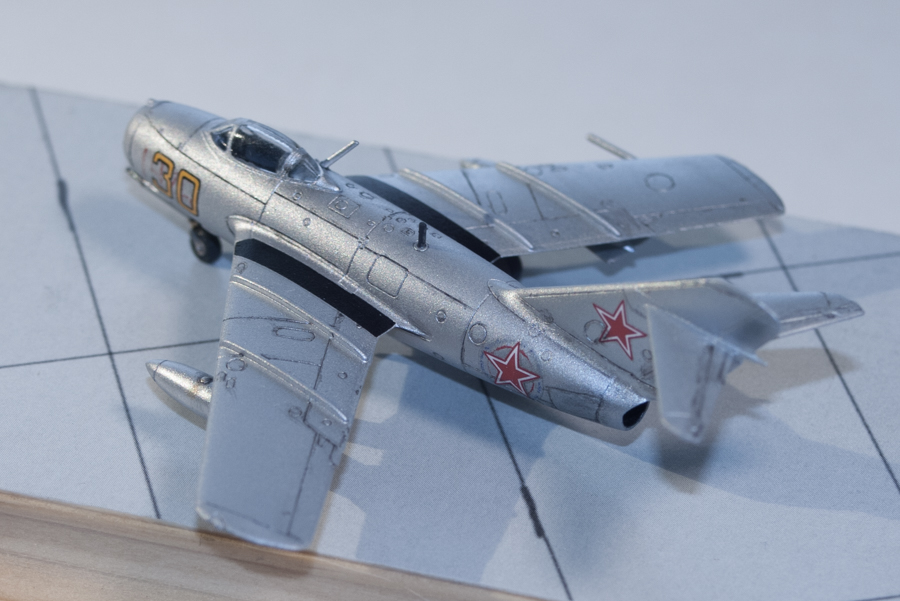
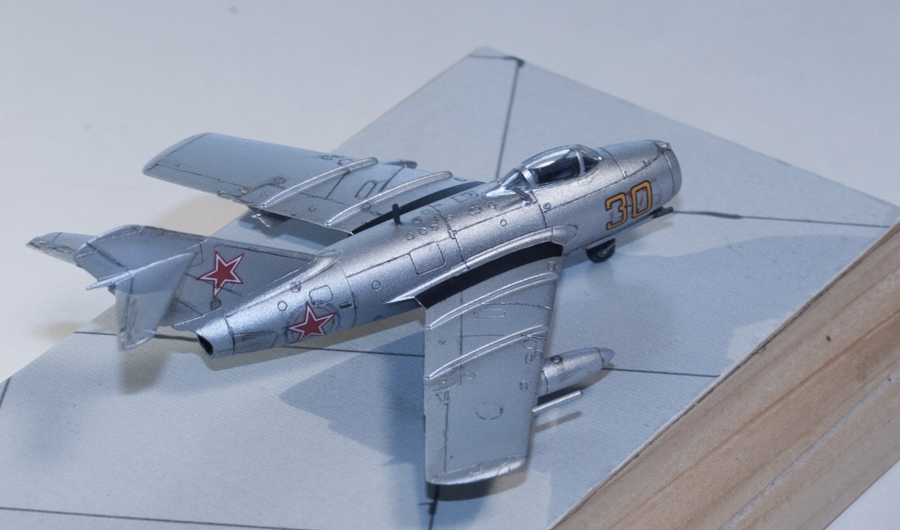
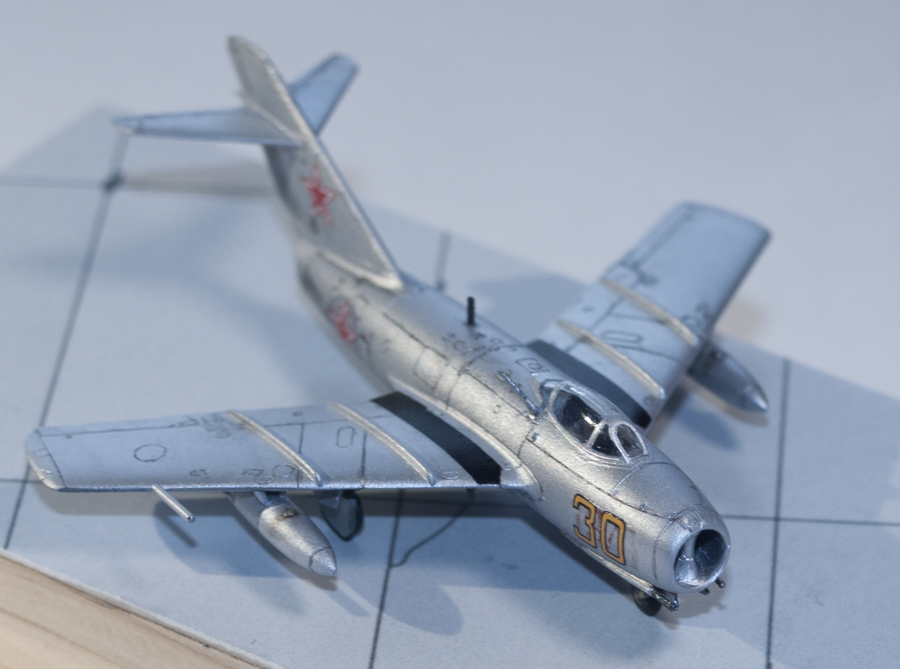
Even though it has been awhile from start-to-finish, building this kit actually doesn't take a long time. When construction was finished I primed it with Vallejo's grey primer and sprayed Vallejo's newer metallic-color Aluminum when it was dry. I used the Hawkeye Models (now out of business) Aluminum and Steel powders on the dive brakes and rudder, respectively, to show a difference in the finish but I did not use any "overcoats", letting the decal setting solutions work. This was so I wouldn't lose the sheen the Vallejo paint provides out-of-the-bottle. The decals went down decent enough but I ended up using Agama's Hypersol on them to ensure they snuggled completely. Unfortunately I didn't on the first nose decals and there's a slight ridge with them but now I know for next time.
For the panel lines I used a wash from Privateer Press Formula P3 - an acrylic - called "Armor Wash", which is not what a military modeler would think. It's a great combination of black and blue and is meant for the miniature modeler to give a wash to miniatures with armor on their "body". It really works great for providing a wash to models that were either painted metal, or left it a natural metal finish. I didn't give the model a "wash" (applying it over the entire model and wiping it off) instead I applied the wash directly into each panel line, trying to get as little as possible onto the main surface. Personally I think it worked great but I can see in the photos it appears starker than it really is IRL (in real life). I also used Vallejo's Fuel Stains Weathering Effects around the caps on the drop tanks.
|
I have small enough wire to add for the aerial, but unfortunately I couldn't get it to work. I may have to drill a hole in the fin where it "comes out of" (I did drill a hole in the fuselage where it enters there) but there isn't a lot of plastic thickness to actually drill. I'm still thinking of the best alternative for the fin so the wire will adhere and look good.
Conclusion
Next time I build one not only will I keep better notes but I'll also add more detail to it. I will also replace the wing pitot with something better in-scale (hopefully Master will come out with their own metal pitot for this aircraft).
With both Eduard and Brengun providing photoetch, and Brengun providing vacuum-formed, replacement canopies there's a lot of detail that can be added and you can see it with the vac-replacement canopies. In addition JBr Decals provides alternate markings so you can finish MiG-15s in multiple schemes.
Big thanks to Eduard for supplying the review sample. My model sits on my MiG-21 base (prior to finishing it for the MiG-21) provided by Kits-Shop.