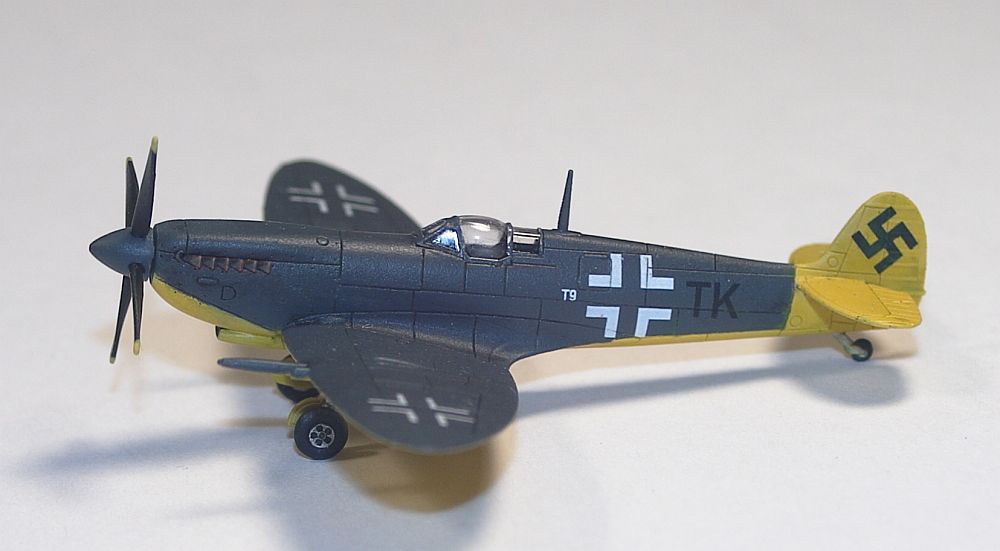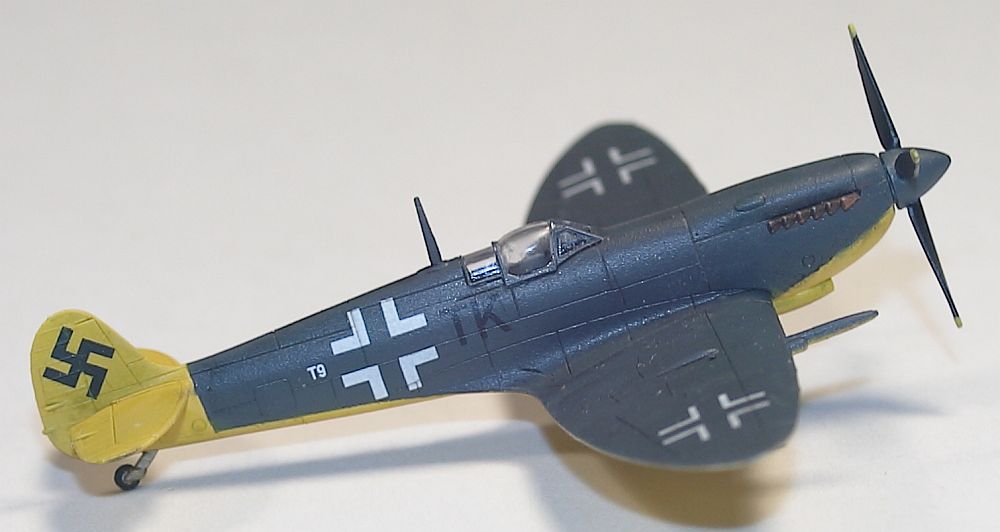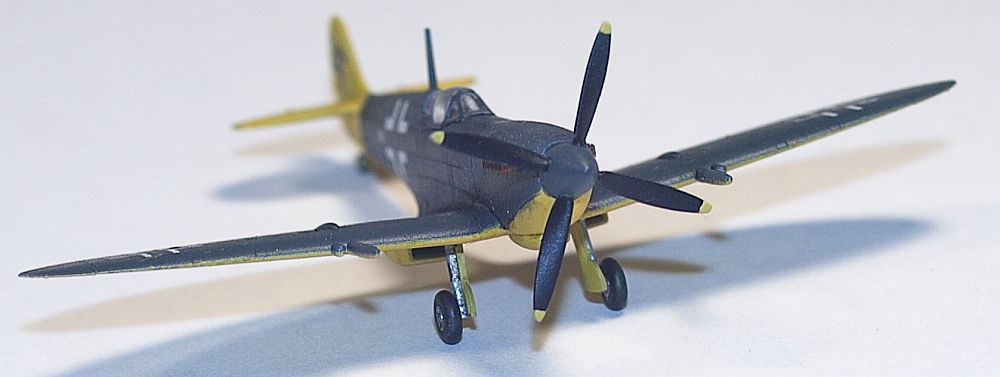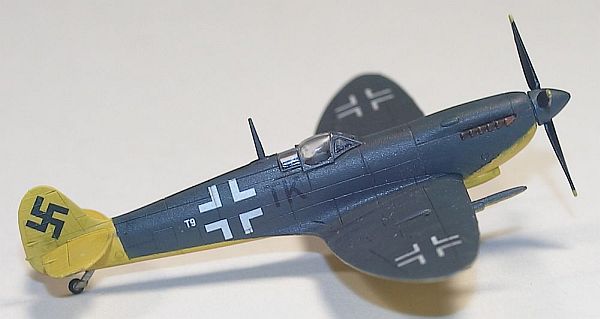
Eduard/JBr Decals 1/144 Spitfire Mk.IXc “Zirkus Rosarius Spitfire”
By Matt Bittner
Introduction
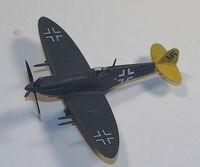 The "Zirkus Rosarius" was a special squadron within the WW2 Luftwaffe that tested captured airframes. Not only were there American types flown, but British types as well. There were two Spitfires captured and flown, an LF Mk.IX and a PR Mk.XI. When JBr Decals released their single-marking decal sheet for the MK.IX – specially for the Eduard kit – I decided I wanted to build this specific aircraft.
Construction
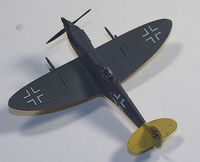 I've already built an Eduard 1/144 Spitfire Mk.IX (although it was the 'e' wing) so construction isn't much different between the two. One area I noticed is the same on both kits that required a little extra effort was where the trailing edge of the one-piece wing meets the fuselage. The area of the fuselage here is just a tad higher than the wing so a little bit of sanding is in order. It's not a lot, but so far on three Eduard Spitfires I've worked on all three had the same issue.
Otherwise, the build went the same as my prior Mk.IXe. Instead of using Apoxie on this one, though, I used Perfect Plastic Putty since the slight seam where the wing meets the fuselage is on a panel line, so the line didn't need to be eliminated, just "downgraded".
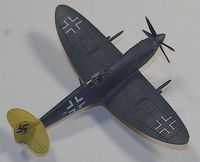 Again, I sprayed the interior black and after the canopy was masked and glued on, I painted that area black as well (didn't want anything "shiny" in the cockpit area at all). After the canopy was sprayed I then sprayed on Alclad's white primer. Over the primer I used old Aeromaster (actually Polly Scale) RLM 27 Gelb and Model Master Acryl RLM 74 Graugrün.
After spraying Future over the entire model I applied the JBr decals. They went down splendidly; I used a puddle of Future under the upper wing crosses and the other decals I used Micro Sol on top. I had no issues with either method.
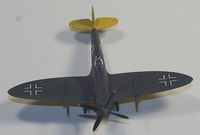 The next step was applying another coat of Future over the decals, sealing them in then applied oil washes. I applied a black oil wash to the gray/green area on the upper surface and mixed yellow and Van Dyke Brown oils for the wash applied over the yellow areas. Once everything dried I then sprayed Vallejo Matte over everything and removed the canopy masks. Now I had a "Zirkus Rosarius Spitfire" to add to my built collection.
Conclusion
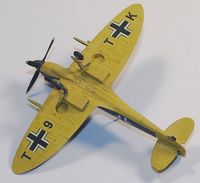 The Eduard 1/144 Spitfire is a splendid kit, one that is excellent to break you out of AMS (or AAMS). In addition, there are no issues at all with the JBr Decals. This was an enjoyable build and in the end, that's truly what it's all about.
As some may know, I usually don't build WW2 Luftwaffe aircraft models. So imagine my consternation when I discovered – after taking the pictures – that I applied the upper wing crosses upside-down. Oh well, it's too late now.
My thanks to both Eduard for supplying the kit and JBr Decals for supplying the "Zirkus Rosarius Spitfire" decals.

