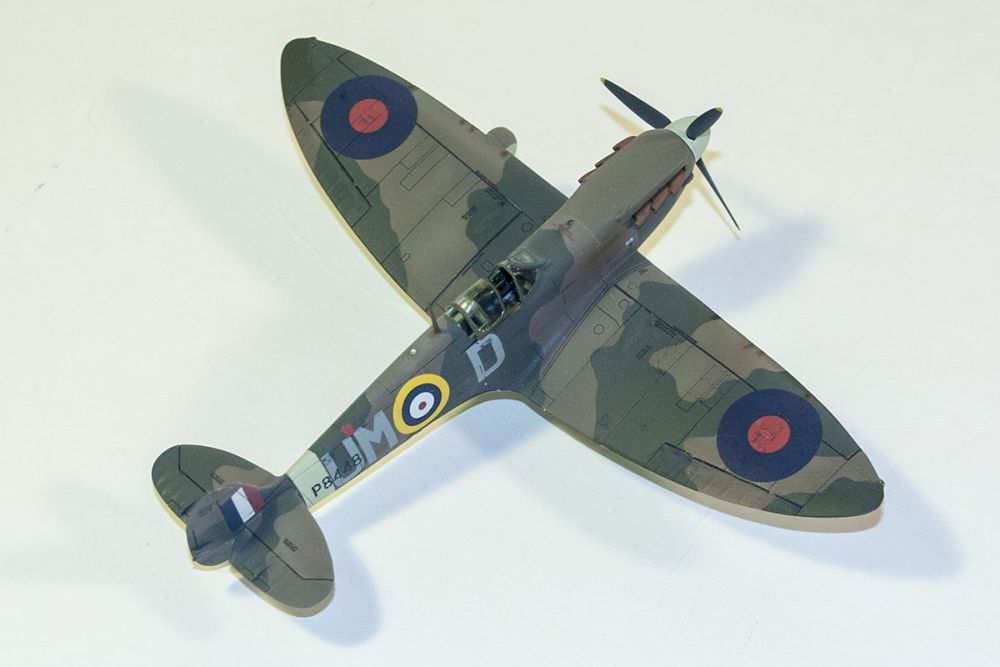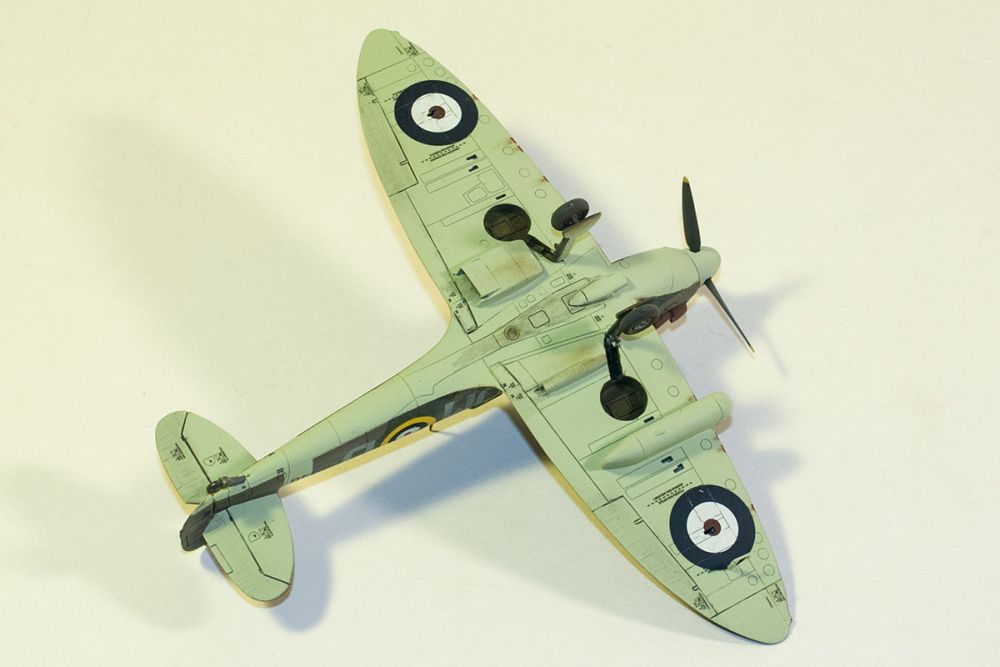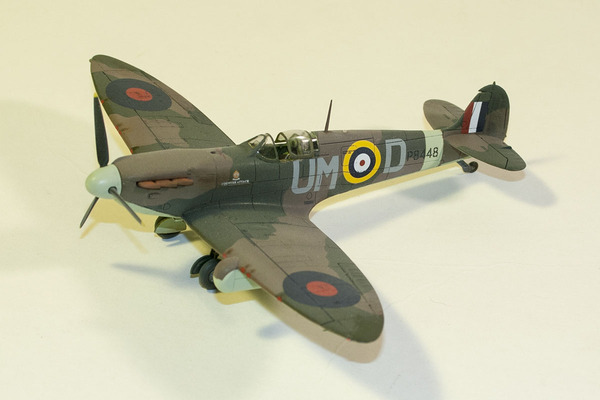
Airfix/3D-Kits 1/72 Spitfire Mk.II LR
By Matt Bittner
Introduction
Aftermarket products can be both a blessing and a curse. When I decided to use the 3D-Kits Mk.II and Mk.II LR conversions it was before Airfix released their Mk.Ia as the Mk.I/II. Naturally now that Airfix has released their own Mk.II one might think the 3D-Kits conversion not necessary, but the conversion set does contain an excellent replacement seat so it's still a viable set. Not only did I use the 3D-Kits conversion sets to create the Mk.II LR but I also used other aftermarket items to really enhance the already excellent Airfix 1/72 Spitfire Mk.Ia. The narrative talks about them all and which ones I do and do not recommend.
Construction
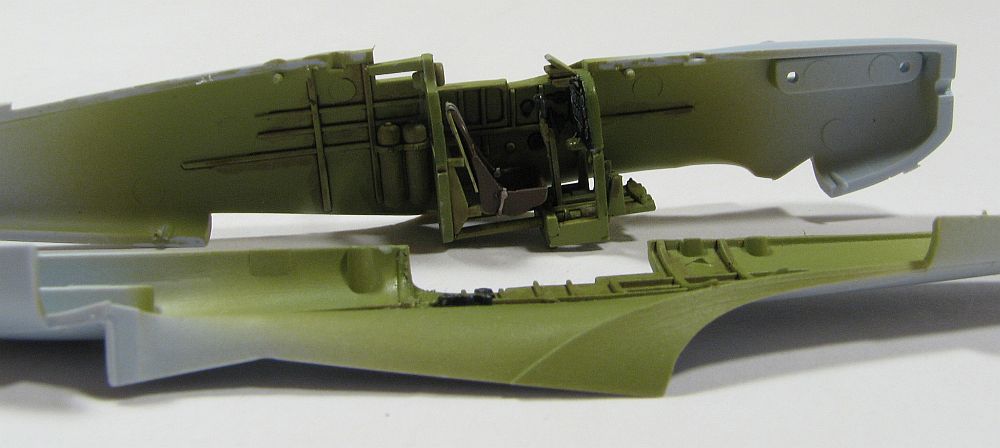
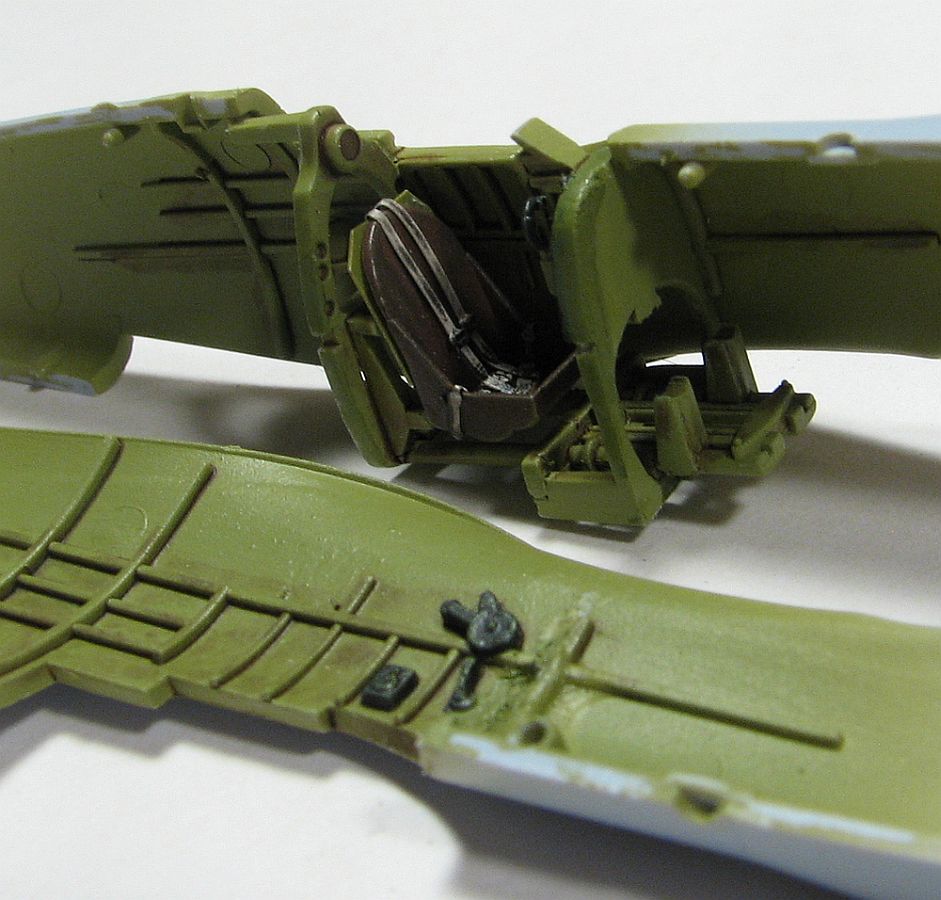
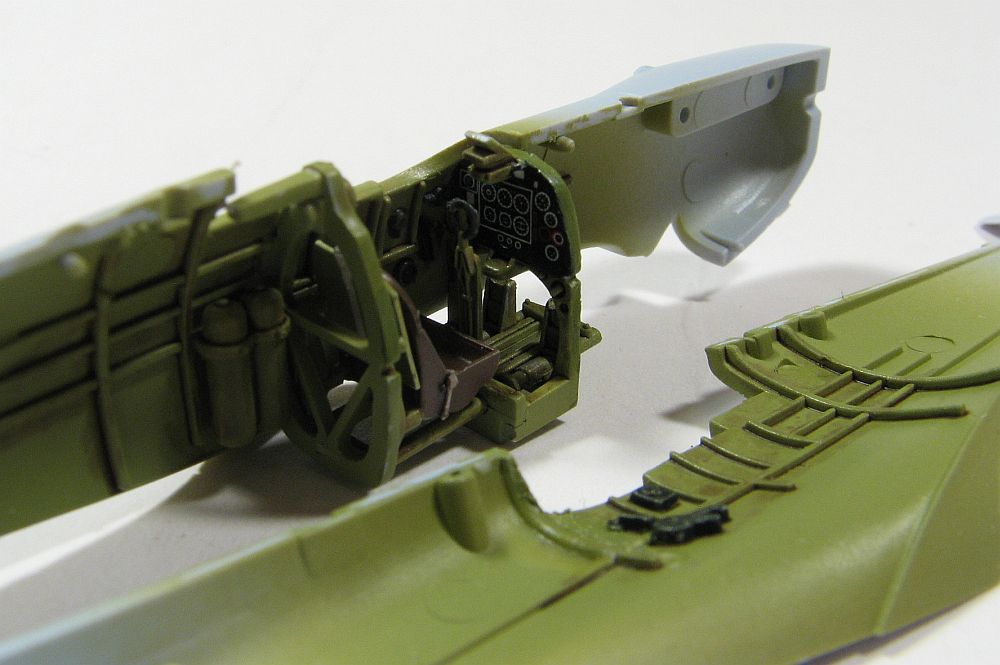
 Naturally construction starts with the cockpit. Since the 3D-Kits replacement seat doesn't come with any belts I used Eduard photoetch ones that really looked great. The only regret I have with this build is at the time I started it there was no aftermarket instrument panel so I ended up using the kit's along with its decal.
I replaced the gun sight with a more accurate one as the kit one is molded in-situ and isn't very accurate.
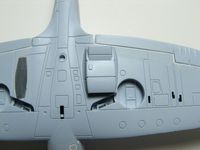
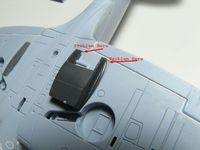
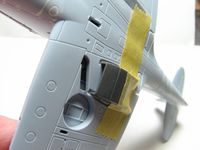
Before I closed the fuselage halves I did drill out the hole for the Mk.II starter "bulge", which was another piece included with the 3D-Kits conversion set. Remember that 3D-Kits sets are injected plastic so I was able to use plastic liquid cement to adhere the bulge.
One more aftermarket set that was released around the time I started this was Pavla's external resin set. I decided to use it but be aware that to use the wing underside pieces (radiator, etc.) requires more work than just using the kit pieces. Plus there isn't a lot of advantage to the Pavla set versus the Airfix parts. Where the Pavla set was nice was for the wheels and the exhausts since their ends are hollowed out. However, now there are other wheels available and SBS has replacement exhausts, I see no need for the Pavla set.
|
|
|
|
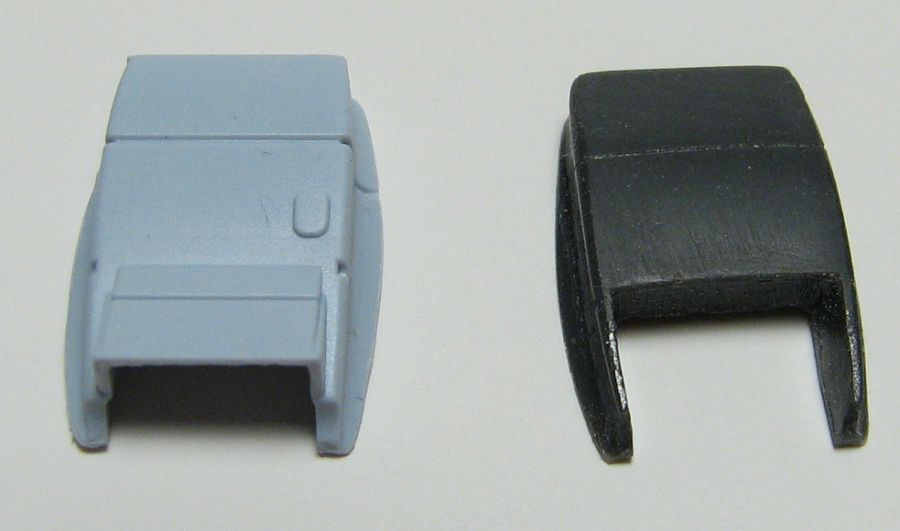
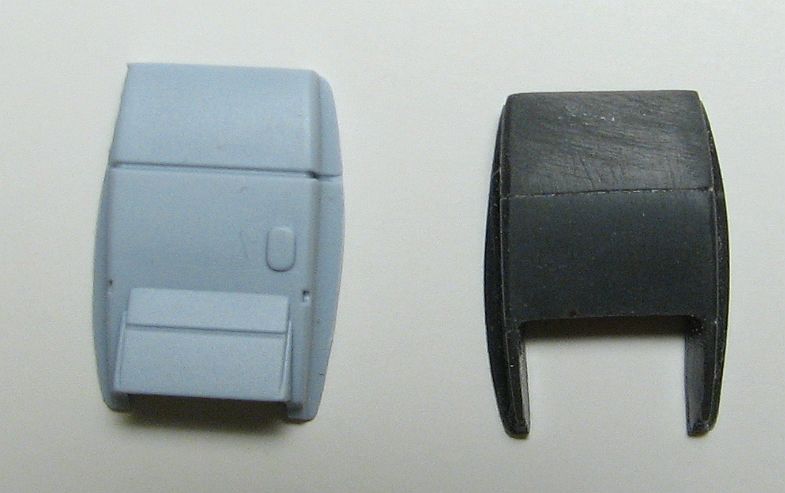
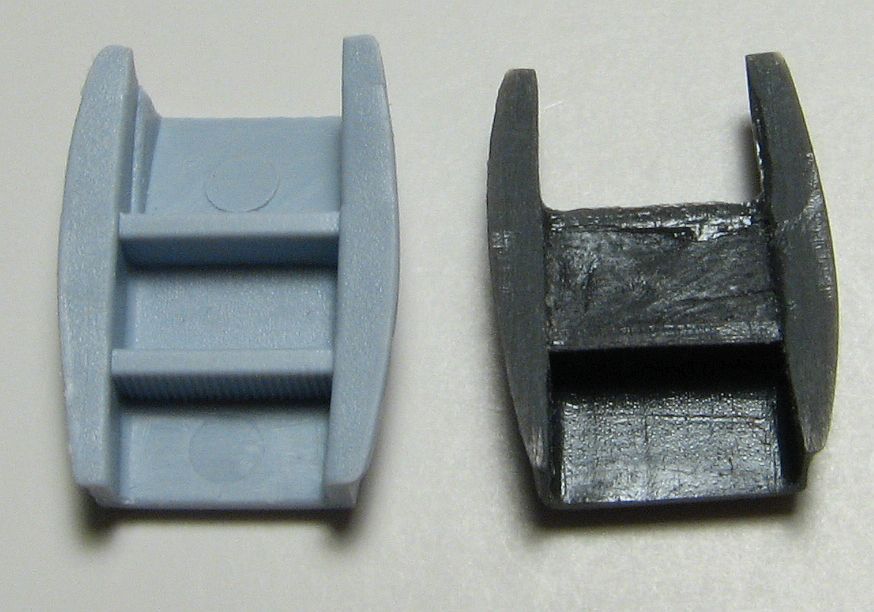
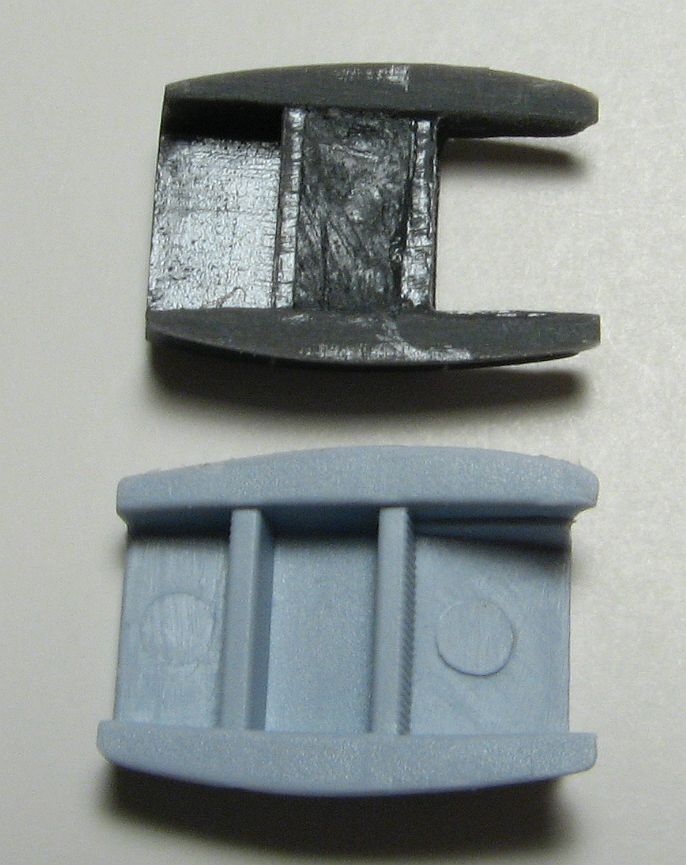
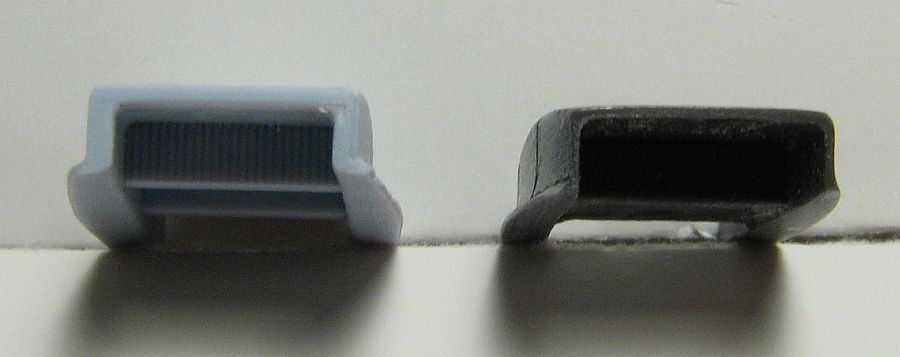
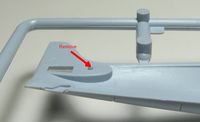
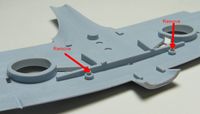
As I mentioned with my PR Mk.IV conversion there are two parts of the kit that need to be removed to help with fit. Those two parts are the pin in the rudder that sits into a resulting hole, and the other is the pins in the lower wing-piece to attach the upper wing pieces into. The images show better where those areas are.
|
|
Since I built the PR IV according to kit instructions I decided to try something different with this build. Instead of gluing the wings together and then to the fuselage, I glued the lower wing section to the fuselage and then glued the upper wings to the fuselage/lower wing. That did not go well and I would not recommend building this kit that way. It resulted in gaps I wouldn't have had if I had built it according to directions. Oh well, now I know, especially as I have more builds planned for the superlative Airfix kit.
The canopy is a Rob-Taurus vac canopy which looks much better than the kit's so I plan on using this for the rest of my Airfix builds (hopefully I can find some more). The Eduard masks actually worked with the Rob Taurus canopy so that made me happy.
|
|
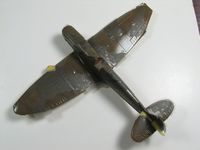
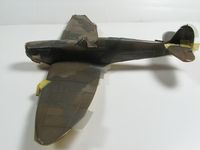
At this point I have the majority of the kit assembled and am ready to paint. When I was at the painting stage AML had released their 'Type A' and 'Type B' masks sets for this kit so decided to try them. They are vinyl masks and on some areas of the kit they don't conform well without a lot of coaxing. So, I sprayed the Sky, masked it (including the fuselage stripe) and then started on the upper surface. First was the Brown followed by the Green (I used Xtracrylix paints for most of the exterior); however, after the Brown I put down the AML masks. I did not prime the kit which was an unfortunate mistake because after I sprayed the Green and pulled up the masks, there were a few areas the brown paint came up with the masks. On those areas where I had to re-spray I did put primer down first followed by the paint. In addition, since my masks were ruined in those areas (I couldn't pull the paint off the masks) I used them as templates to cut new masks out of Tamiya tape. It worked well but unfortunately I laid the second round of Green down too thick and have paint edges in a few places. Ah well.
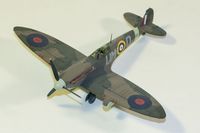 When I sprayed the Xtracrylix not only did I thin the paints with their thinner, but I also added Future to the mix. I find that thinning most acrylics this way helps with strength, although I'm not sure where I went wrong with the paint peeling up, aside from not priming the model first. In any event once the model dried I sprayed a coat of Future over the entire thing prior to adding the decals. The 3D-Kits decals went on really well but I had to find the national markings elsewhere as the ones with the Mk.Ia kit weren't the correct size. The wing roundels came from Microscale while the fuselage ones were older (much older) Aeroscale multi-part decals. Everything came out decent with the decals so I was pleased.
Once it was all dry I sprayed another coat of Future to seal in the decals and then applied a thin wash to the panel lines (darker for the control surfaces) followed by a coat of Vallejo Matt over the entire model.
I did a little bit of weathering, but wanted to keep it light. I used Agama Rust powder on the exhausts and pastel chalk for other weathering. Now I have a finished Mk.II LR on my shelves.
Conclusion
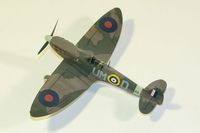 The Airix 1/72 Spitfire Mk.I/Ia/II kits are really nice models. Sure the panel lines are a bit "much" for the scale but the kits look great when finished. Couple everything with aftermarket and you really have an outstanding kit. As I already mentioned my only regret was there was no better instrument panel released when I first started the kit. However, there are now a few on the market, thankfully.
I have a number of companies to thank for this build. First and foremost 3D-Kits for both the Mk.II and the Mk.II LR conversions. Next is Pavla for their exterior detail set followed by AML for their masks. I definitely thank Rob-Taurus for the vac, replacement canopy. Finally I have Eduard to thank for their photoetch seat belts and masks (which were released after I started the kit).

