Eduard 1/72 F6F-3 Weekend Edition
By Matt Bittner
The Kit
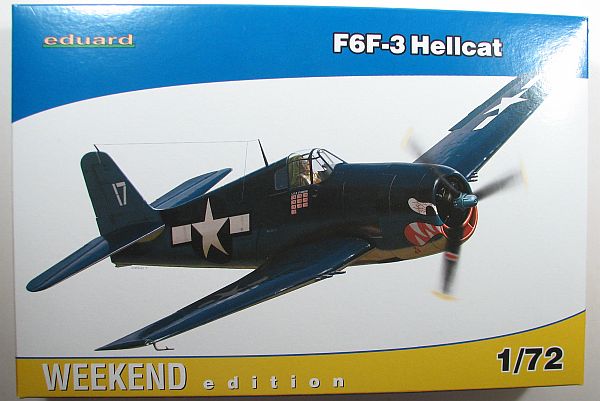
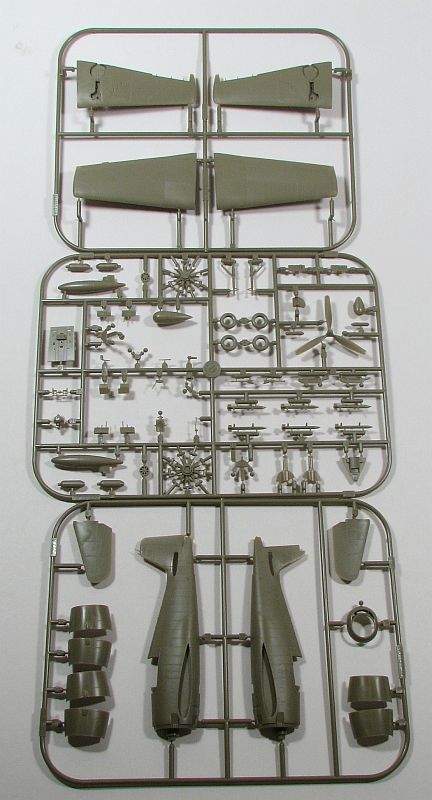
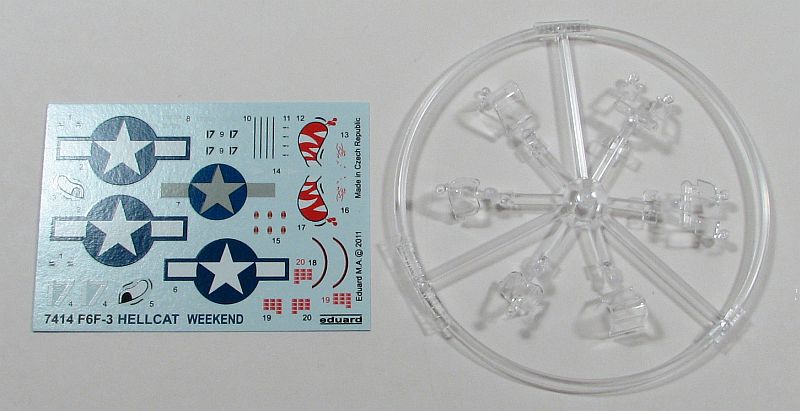
The Eduard 1/72 F6F-3 Weekend Edition consists of the same kit that they've already released, sans photoetch and masks. You receive 70 plastic injected pieces and a sprue of 8 injected clear pieces, of which 3 are not used. The decal scheme is for "White 17" of VF-27 of USS Princeton, being the personal aircraft of LT R. E. Stambrock with a painted "face" on the cowl. This is a three-color camouflage scheme and the decals are Eduard's first own-printed decals. They're very nicely done with no registration problems – here's hoping they perform as great as they look.
Naturally construction starts with the cockpit, and Eduard has done an excellent job with just plastic. Granted, there are a couple of shortcuts they took, but nothing too glaring. The only things truly missing are seat belts, and those can be easily added with tape (thus not breaking the IPMS/USA "out-of-the-box" rules). Once the cockpit is finished then it can be glued into one fuselage half along with the tail wheel piece and the fuselage-underside exhaust channel piece. After gluing those to a fuselage half than both fuselage halves can be glued together. In addition, the rear-clear pieces can be glued to the fuselage as well, taking care not to mess up the actual small windows in these pieces.Construction now moves to adding the rest of the larger pieces to the fuselage – wings and horizontal tails. However, the first step with the wings is to glue in the gun pieces prior to gluing the wing halves together. One thing you might want to consider, though, is leaving these off until after painting. Seriously, the fit here is so good that you could get away with leaving the wings and tails off until later (wish I would have done that with my build).
The next step in the instructions is assembling the engine and three-piece cowl. I left these pieces off for painting, but if you stuff/mask the inside of the cowl good enough then adding the cowl prior to painting would work. Especially since there are no photoetch pieces to add to the engine with this release.
The rest of assembly is best left until after painting, except for the windscreen. Gluing this on – and masking – before painting will help with protecting the cockpit from over spray. (Unfortunately I couldn't get the "closed" canopy to work on my build. I don't think this was my own error, as I have the windscreen and rear cockpit pieces in their correct locations. I just think the "closed" canopy is too "long" to fit in where it's supposed to.)Conclusion
As you can see from my full-build (which was in essence the Weekend Edition) you can make an extremely nice model from Eduard's kit with no photoetch. Sure, the photoetch can enhance any build but it's truly not necessary. If you do want a little more detail added to this Weekend Edition kit, then you could pick up Eduard's own Zoom set for just that little bit extra to make the model stand out just a little more.
Our thanks to Eduard for the review kit.


