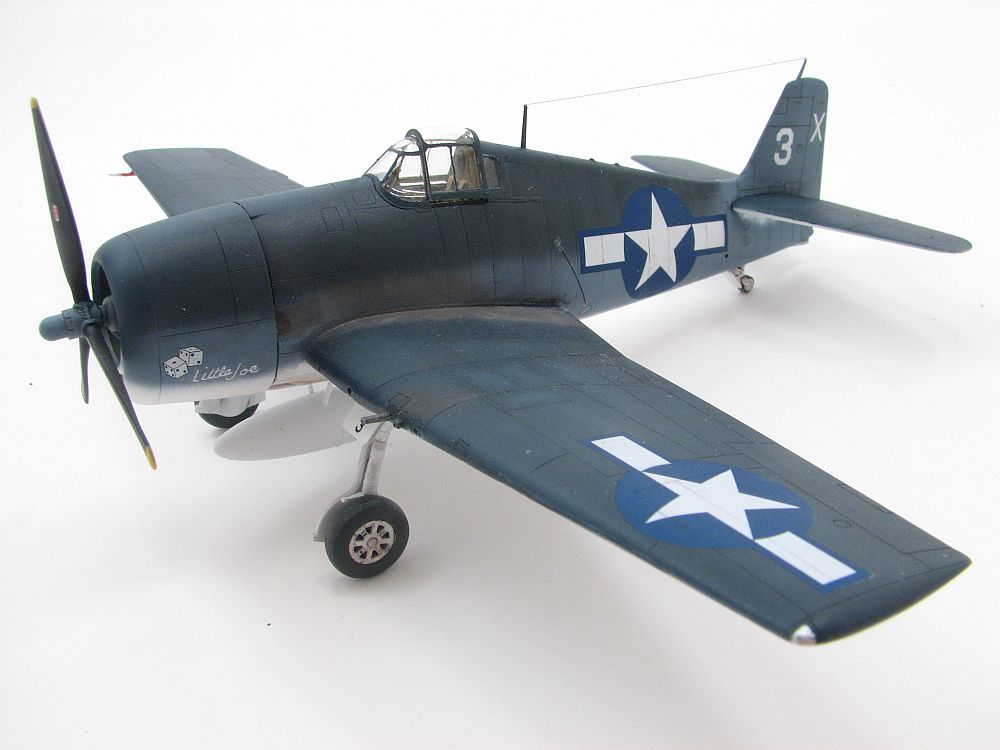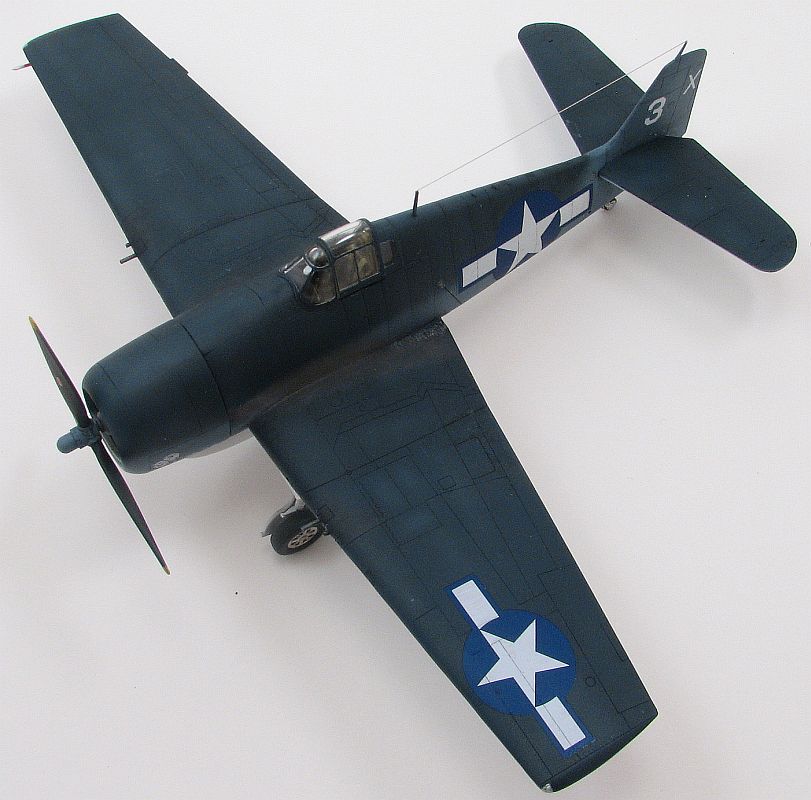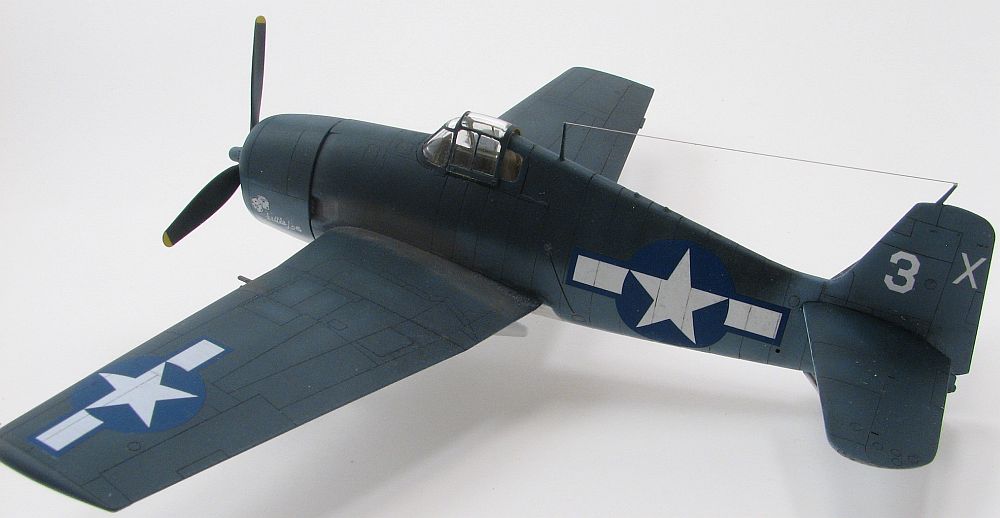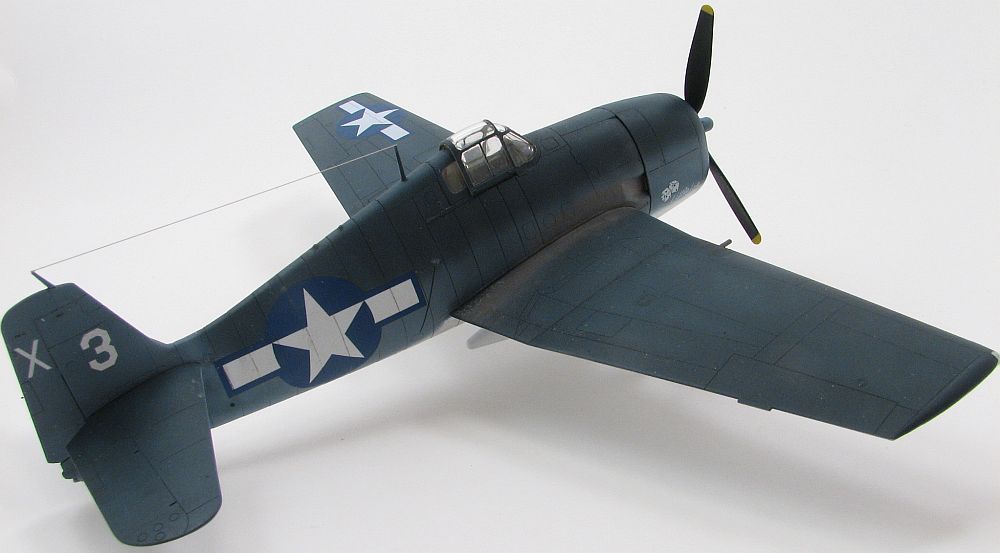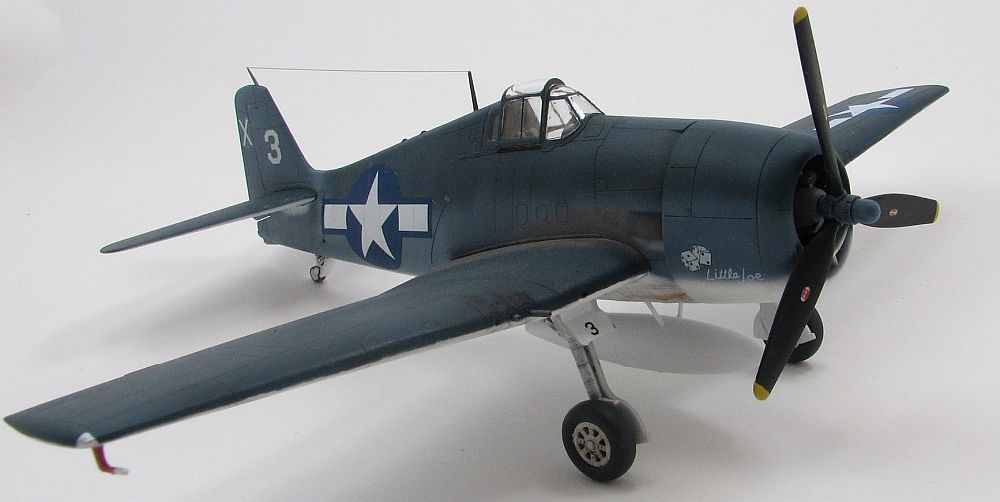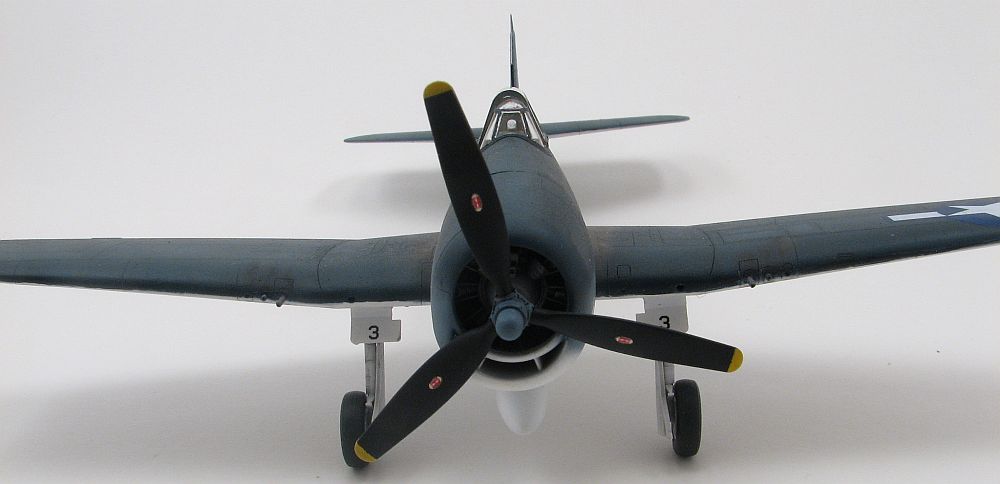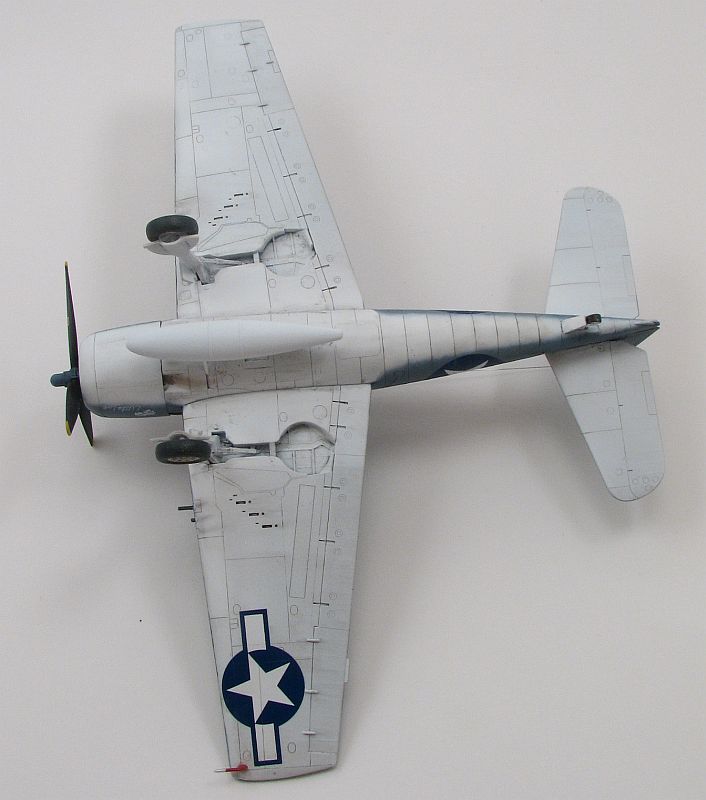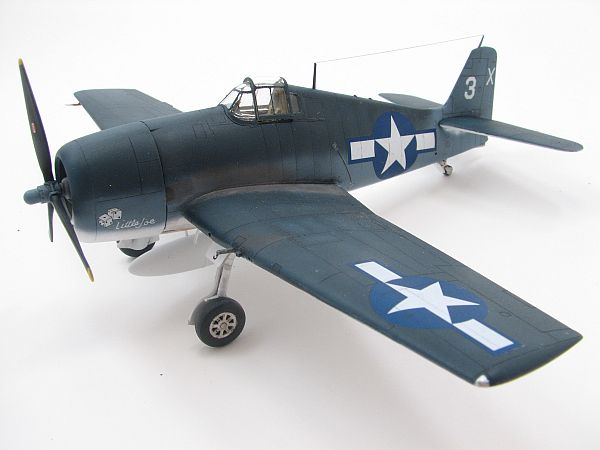
Eduard 1/72 Grumman F6F-3 Weekend
By Matt Bittner
Introduction
Eduard has hit a major home-run with their release of the 1/72 Grumman F6F series of WW2 fighters. Not only is it stunning in the exterior detail and finesse, but the fit is pretty decent as well. As long as they continue this high level of engineering with the rest of their 1/72 kits, that can be guaranteed of them being great sellers.A couple of notes, right up front. First of all, this is technically not the Weekend Edition kit as it comes in the box. What it is is the demo sprue they had at the 2011 IPMS/USA Nationals that were held here, in Omaha, NE, in August 2011. Eduard was kind enough to give me these sprues as they were leaving the event, so I wanted to build it up. However, I did have the Weekend Edition instructions so built it as it would be built using those instructions.
The second note is something I feel is very important. The external fuel tank consist of three parts - the fuel tank itself is split into a left and right half, and there is a separate part that contains the sway bars at the front of the tank. These thin bars are connected to a piece that slots into the fuel tank. Before you do anything else with the kit, cut this piece - part D26 - off the sprue and put it somewhere safe. Otherwise you WILL break the struts from the main piece and possibly lose them. I have a few F6F-3 kits I've been "handling", and broke both of them. In fact, one is completely shot as the struts are gone. Probably eaten by the carpet monster.The Kit
For commonality, Eduard has broken the sprue up in such a way to maximize the number of versions you can build using just a few sprue. So, you'll have extra cowls, weapons, guns and clear parts meant for other versions. The main sprue that is not common to all versions is the sprue with the wing halves. That will be unique for each version.
Construction
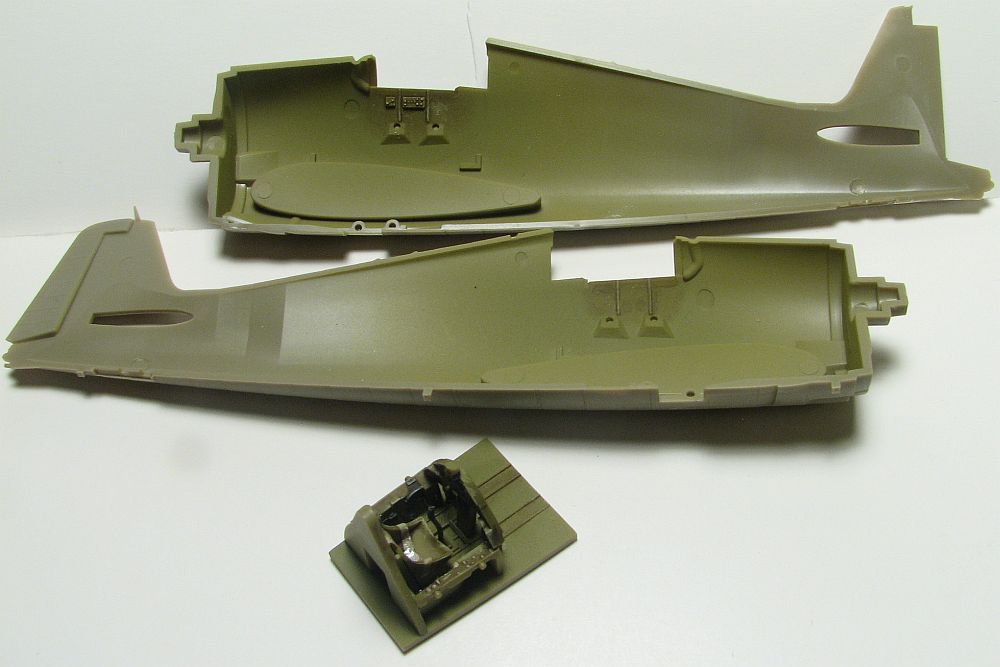
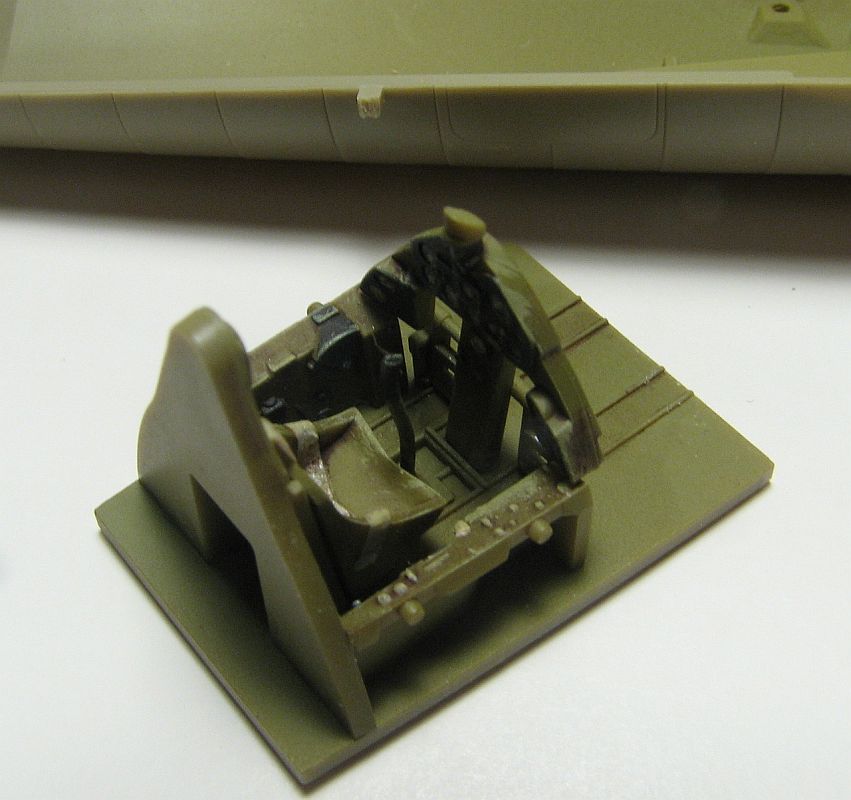
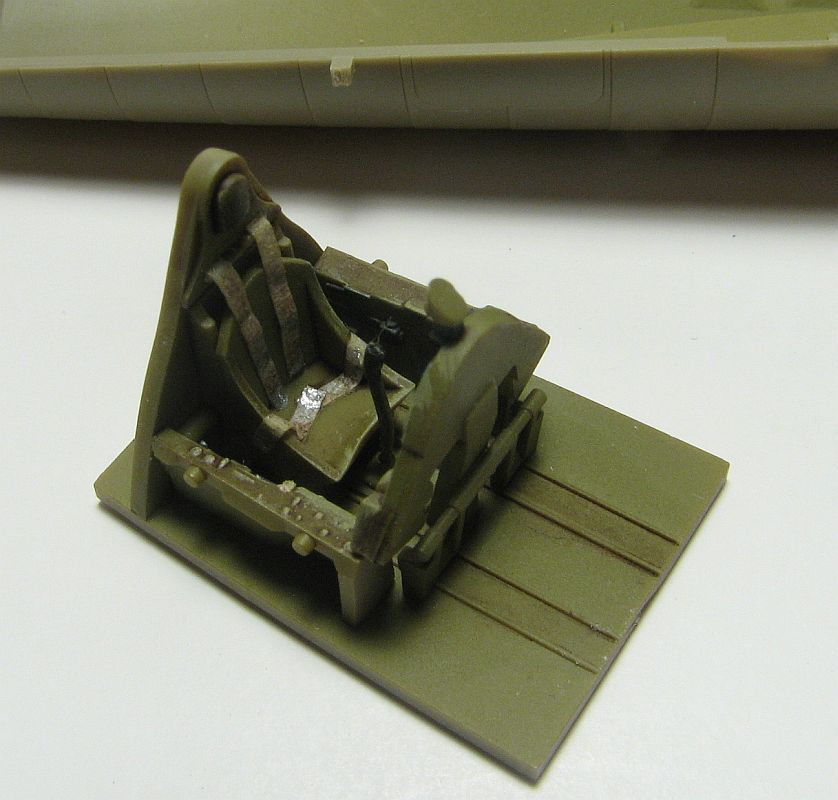
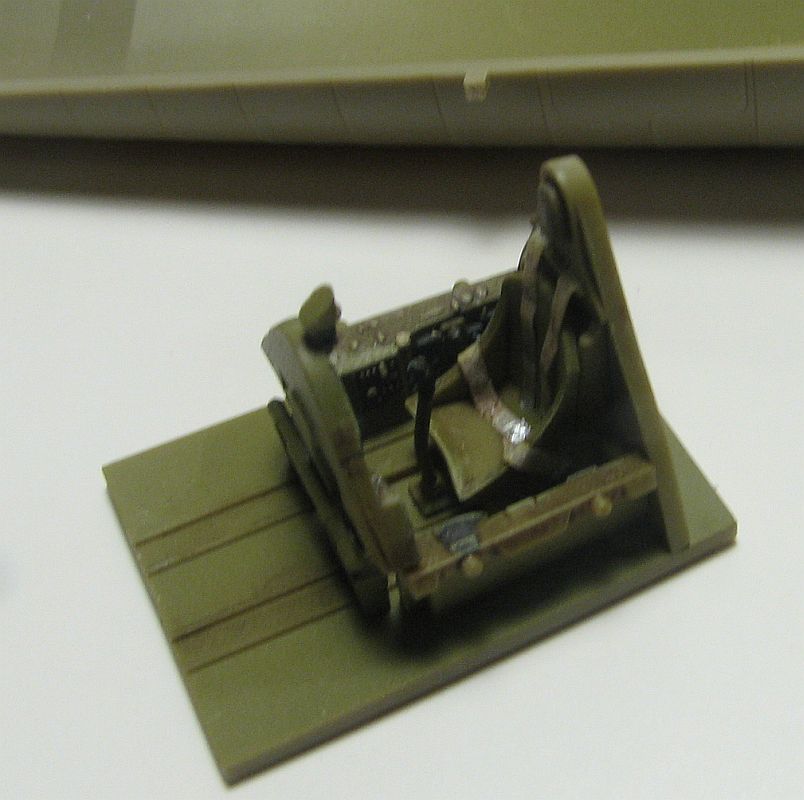
Of course construction starts with the cockpit, and out-of-the-box it is superb. The only thing truly missing are seat belts. The raised detail is extremely well done and with the right amount of dry-brushing and washes it really pops. I painted all parts with Polly Scale Interior Green then did a dark brown and black oil wash, followed by a dry brush of a lightened shade of the Polly Scale. I also dry-brushed white over the instrument dials to make them stand out as well. The belts I applied come from Jammydog tape with buckles painted on. The cockpit is glued into one fuselage half, as is the tail wheel, oil cooler exhaust "channel" and both rear, side windows. In addition, I cut open the holes (one in each half) for the external fuel tank. Once that's finished I glued together the fuselage halves. I had a little issue with some of the seams on the underside, but everything on top just required a scrape from the 'ol #11 blade and all was good. Nice!The next step is to glue the gun pieces to the lower wing half and glue the wing halves together. I was actually worried about breaking off the guns during assembly and painting, but that didn't happen. I was also worried about the seam where the lower and upper meets, since it was at the control surface hinge-line. No worries as the fit was tight. I did hollow out the gun ends to make them look a little more realistic.
Before continuing with this step - which is to glue the wings and horizontal tail pieces to the fuselage - you can leave off the flying surfaces from the fuselage for painting. The fit is extremly tight, with no gaps visible, so spraying the three-tone scheme common on -3s will be easier with the flying surfaces off. I wish I would have done that.I painted and glued the engine pieces together, and glued the cowl pieces together. A little bit of sanding on the cowl seams to eleminate them, but there was no putty needed. I decided to white-glue the cowl to the fuselage for painting, but if you stuff the inside enough you can glue it on permanently with the engine in place.
I used Aeromaster (actually Polly Scale) Dark Sea Blue and Intermediate Blue on the top sides, and Vallejo Air white for the undersurfaces. This was the first soft-edged camo scheme I have sprayed in a long time and I think I need a little more practice. I lightened just the Sea Blue a little and sprayed inside some of the panels for a different effect.Future was then sprayed onto the model, Techmod and Eduard decals applied (the Techmod decals are very thin and I messed up a couple, replacing them with ones from the Profipack -3 kit, including all national insignia) and then another coat of Future over that. Once that was dry I then applied an oil wash to bring out the panel lines, as well as some of the other structure and when that dried I sprayed Xtracrylix dull coat. Then it was pastel chalks for the exhaust and other effects and it was finished. I used a strand of .005" stainless steel wire for the antenna.
I wish I would have dry-fitted the canopy before the end. You can see in the photos the closed canopy - part E5 - does not fit without some type of fiddling. I will do that at a later date and possibly update my article. I just wanted to publish this before the start of the new year.The other thing I didn't like with this kit is the external fuel tank. Part D26 (which I pointed out you need to keep in a safe place prior to assembly) leaves a gap in the fuel tank that needs to be taken care of, and the struts are very easily broken off. Plus the tank had a true seam going around the outside of it, that isn't handled in the plastic (but taken care of with one of Eduard's F6F exterior photoetch sets). In addition you can see some raised detail on the tank itself that ends. This is supposed to be for straps that were added to help hold the fuel tank in place, and are supposed to link to the fuselage. This is actually handled with the Profipack version of the kit.
Conclusion
Aside from my two grievances above, this is an awesome kit. Fit is near perfect and putty was needed in only a couple of spots on the fuselage underside. With the releases Eduard has already done with photoetch, the upcoming releases in photoetch from Eduard, and other companies around releasing aftermarket for this kit, the Eduard 1/72 F6F series will do nothing but get stronger.Now to hunt down some early two color camo schemes for my next build.
Huge thanks to Eduard for giving me this kit to review. Awesome!

