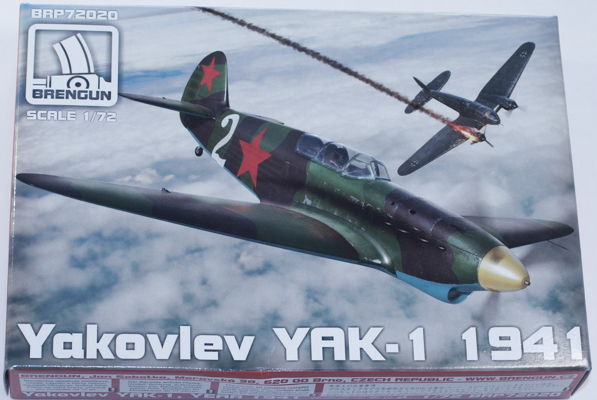
Brengun 1/72 Yakovlev Yak-1 Mod. 1941
By Matt Bittner
Introduction
There were two 1/72 Yak-1 "razor backs" released prior to the Brengun kit. The first from MasterCraft was a bit rough and really had no interior to speak of. The second, more recent was from Amodel but like all Amodel kits it required quite some work to build. Thankfully now we have this excellent injected kit from Brengun and there have been two boxes of it so far, this one and a later Mod. 1942.
The Kit
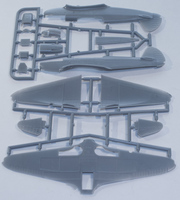
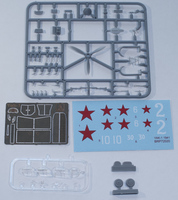
The Brengun 1/72 Yakovlev Yak-1 consists of 58 pieces of gray, injected plastic; injected, clear canopies; resin wheels and pieces for the chin intake and under-wing radiator; and a photoetch fret that includes wing underside pieces, instrument panel, landing gear doors and other parts. Decals, nicely printed, are for four aircraft:
- Yak-1, unknown pilot, "White 30"
- Yak-1, Leningrad, Spring 1942, "White 2"
- Yak-1, unknown pilot, "White 6"
- Yak-1, 21.IAP KBF P. D. Juravlev, August 1942
All four aircraft are finished with dark green and black upper sides, with light blue lower sides. "White 2" also has a yellow spinner.

Construction naturally starts with the cockpit and it is here where you'll spend the most time with this build. It's quite the complex set up so pay very close attention to the instructions and follow them to the letter. Not only are there plastic pieces but also photoetch ones as well. Take your time and get it all lined up and it should look great. Unfortunately, out-of-the-box, Brengun does not supply seat belts so you're on your own for those (or, use the recently released photoetch set from Brengun themselves).
Once the cockpit pieces are all built up then add them and other parts to the cockpit prior to gluing the fuselage halves together. The next steps not only have you add the horizontal tail pieces (after modifying them slightly – watch the instructions) but also has you build up the tail wheel and propeller. These are definitely best left off until after painting. These steps also have you add the separate upper nose and, after adding parts to the inside (such as one of the resin pieces), the nose underside as well.
After you add parts to the wing radiator than the wing can be built up with it and some of the photoetch pieces along with putting in landing gear well parts. Once everything is in and on then the wing parts can be brought together. Before painting you'll need to attach the separate, rear, underside fuselage piece but leave the tail wheel off until painting is finished. In addition you'll probably want to leave off the clear wing tip lights and wing leading-edge landing light until the end.

When painting and decaling is finished then you'll want to attach the landing gear and definitely pay close attention to the instructions again, because each landing gear leg consists of five pieces of plastic. The landing gear will be finished with photoetch doors and resin wheels and before final finish you'll want to attach the propeller and tail wheel as well.
Conclusion
This is an excellent addition to the 1/72 VVS modeling world. Couple the kit with the extra photoetch set and you'll have a 1/72 Yak-1 that will look great. I have read some full builds where you'll need to pay attention to construction but even so I feel this is a kit worth picking up.
Plenty of thanks are sent to Brengun for not only releasing this kit but also allowing us to review it.
