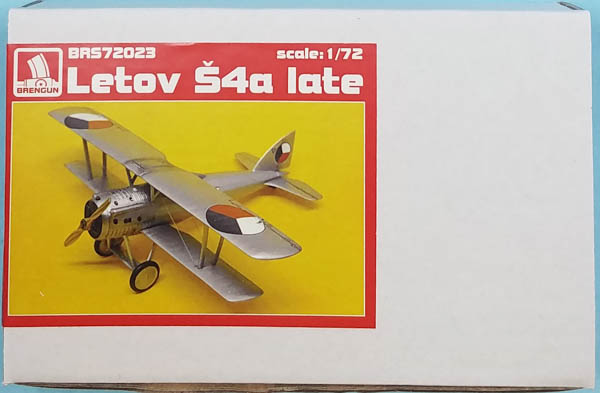
Brengun 1/72 Letov Š-4a Late
By Matt Bittner
Introduction
As I typed in my Letov Š-4 First Look and taken from Wikipedia:
"The Czechoslovak Air Force ordered 20 Š-4s in 1922 and these were delivered in early 1923. The plane lived out the 1920s as a fighter and trainer, but by 1927 difficulties were being experienced due to the low manufacturing quality of the Š-4. As a result, all remaining Š-4s were upgraded to Š-4a trainer aircraft in 1928."
For a better explanation of the aircraft, visit the Czech version of Wikipedia. Just be sure to have your auto-translate working, if you don't know the Czech language.
The Kit
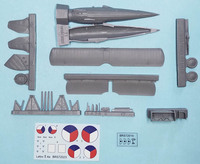
The Brengun 1/72 Letov Š-4a Late consists of 28pieces of gray resin, a piece of clear film with three windscreens on it (just in case) and a decal sheet for one scheme. The resin is superbly cast and needs to be seen to be believed. I believe the master parts were 3D printed which is why the cockpit is mainly a one-piece affair. Decals are nicely printed and appear in register.
As with most model aircraft construction starts with the cockpit. I failed to mention in my Š-4 review that you could remove the resin "webbing" from between the cockpit framework on the one-piece cockpit. But, I don't think it would adversly effect construction; it would just look a little better. After painting the cockpit "tub", seat, instrument panel and control stick all pieces can be assembled together. Unfortunately Brengun does not supply seat belts so you need to track them down for yourself.

|
Now the cockpit can be added to one fuselage-half - along with the separate tail skid - and both halves can be glued together. The nose of the model is also added at this point. The next construction step has you add the tail parts and lower wings, along with the windscreen but that is definitely left as a very last step, just prior to putting it on your shelf.
Next up is add the prop (another piece best left until the end) and landing gear. With the markings provided in the kit, the model is all-over aluminum so adding the landing gear prior to painting is not a bad idea.
As I just mentioned, there are parts that are best left off until after painting, and the final steps should be performed once painting and decaling is finished. This includes adding the struts and upper wing, along with the windscreen and finally adding all rigging.
Important note: while the instructions have the same part number for all the interplane struts, there is a method to each and every one. Definitely dry fit this area and mark which strut goes where, it will help in the end.
Conclusion
Brengun's Letov Š-4a is a perfect companion to their Š-4 and both will look great side-by-side. I hope to start working on both (at the same time), soon.
I definitely send "thanks" to Brengun for sending this to review.
