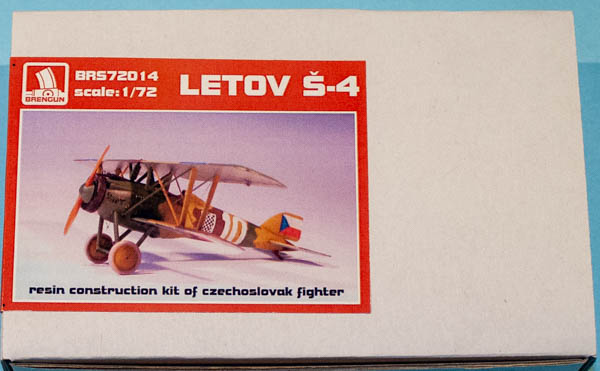
Brengun 1/72 Letov Š-4
By Matt Bittner
Introduction
Taken from Wikipedia:
"The Czechoslovak Air Force ordered 20 Š-4s in 1922 and these were delivered in early 1923. The plane lived out the 1920s as a fighter and trainer, but by 1927 difficulties were being experienced due to the low manufacturing quality of the Š-4. As a result, all remaining Š-4s were upgraded to Š-4a trainer aircraft in 1928."
Unfortunately there isn't a lot out there for Czech between the wars aircraft ('tweeners), at least in the English-speaking world. This is definitely a shame as Czechoslovakia had a developed 'tweener aircraft system.
The Kit
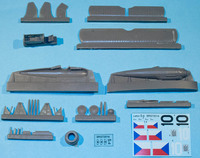
The Brengun 1/72 Letov Š-4 consists of 33 pieces of gray resin, a piece of clear film with three windscreens on it (just in case) and a decal sheet for one scheme. The resin is superbly cast and needs to be seen to be believed. I believe the master parts were 3D printed which is why the cockpit is mainly a one-piece affiar. Decals are nicely printed and appear in register.
As with most model aircraft construction starts with the cockpit. After painting the cockpit "tub", seat, instrument panel and control stick all pieces can be assembled together. Unfortunately Brengun does not supply seat belts so you need to track them down for yourself. The next instruction step has you build the prop which consists of a spinner with separate prop blades, all best painted separately before being brought together.

|
Now the cockpit can be added to one fuselage-half - along with the separate tail skid - and both halves can be glued together. The next construction step has you add the tail parts along with the cowl and upper fuselage guns (which might best be left off until after painting). This step also shows how the exhuast stacks are to be fashioned and where they're applied. Again, best left until after painting.
Next up is the add the lower wings and landing gear, plus with the pilot's step which will have to be fashioned from bent wire (which the instructions show). I plan on leaving off the landing gear and step until after painting.
As I just mentioned, there are parts that are best left off until after painting, and the final steps should be performed once painting and decaling is finished. This includes adding the struts and upper wing, along with the windscreen and finally adding all rigging.
Conclusion
Not only is this a beautifully-produced resin kit, but the Brengun 1/72 Letov Š-4 will look great on your 'tweener shelves. I'm looking forward to working on this.
I definitely send "thanks" to Brengun for sending this to review.
