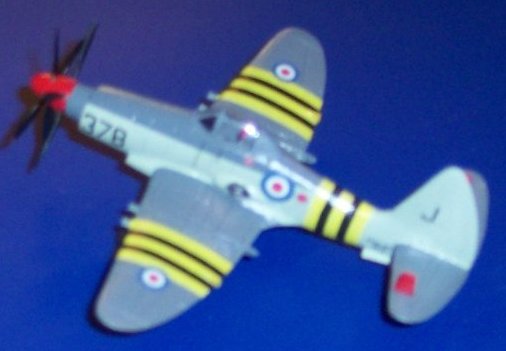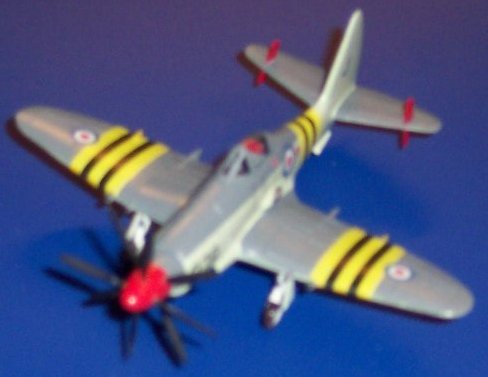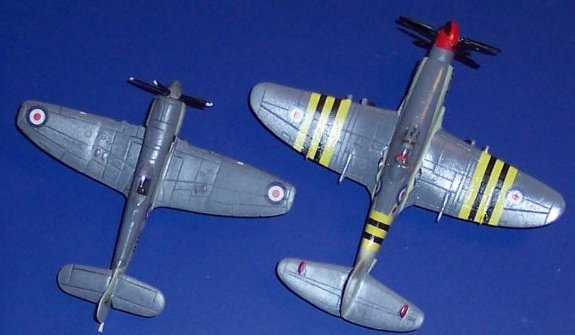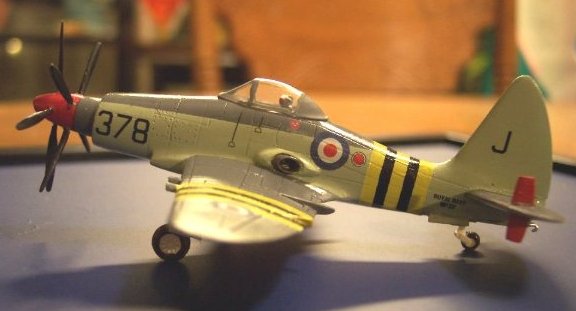
Miniwing 1/144 Westland Wyvern S.4
By Don Joy
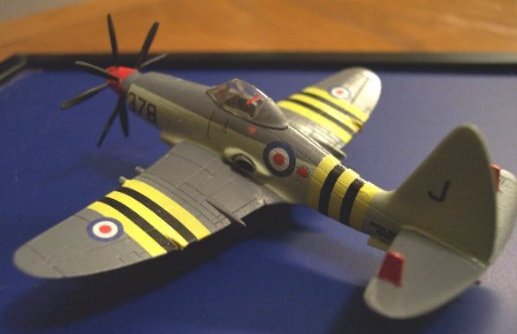
1) Very few bubbles in the kit and those were easily fixed using Mr. Surfacer
2) You definitely need a good 3 view drawing of the aircraft as a guide. For instance, the horizontal stabilizers have considerable dihedral and the 3 view is needed to align them. It also helped with landing gear angles and gear door placement. To learn from my experience, I glued the horizontals on flat, then had to take them off and reattach them at the proper angle. Live and learn!
3) The jet exhausts on the side are molded flush. I used a micro rotary tool to hollow them out in my one concession to adding additional detail. Do this before adding any parts to the fuselage.
4) The wing took some extra care to mate with the fuselage. It is slightly longer than the receiving slot. This isn't a negative - actually, it's a positive because with care you get a good tight fit requiring only minor filling. But plan to spend a little bit of time on that part of the construction.
5) The vertical fins on the stabilizers are just slabs. I mounted them, and then sanded them to airfoil shape once they were in place.
6) Be careful of the seat placement. It needs to be at the proper height, but not so high it interferes with the canopy.
7) So many propeller blades...plan to spend some time on those, too.
8) Decals went on nicely. Some print pattern that was visible on the sheet is pretty well hidden once they are applied over the base paint colors. I chose the Suez Scheme and thought the stripes worked pretty well.
1) The wing cannons are too thick compared to the 3 view drawings. Remove the kit cannons and replace with finer stretched sprue or Evergreen.
2) The kit stripes can be replaced by painting the yellow and using black stripe decals or painting both the yellow and the black stripes. Even though the decals are thin and lay down well using Future and Solveset, they still cover some of the panel lines in the wings and fuselage.
3) Plenty of room to improve the cockpit if you're Matt Bitner and enjoy building 1/144th scale cockpit detail. [Ed. Note - Hey, wait a minute...]
4) Plenty of little antennas that can be added if you're so inclined
5) Rockets....The kit provides 8 underwing rockets. In my example, all 8 were broken free of their sprue and most of them were missing one or both of the mounting tabs. I chose not to add them to my model, but a little extra work could provide this additional detail.
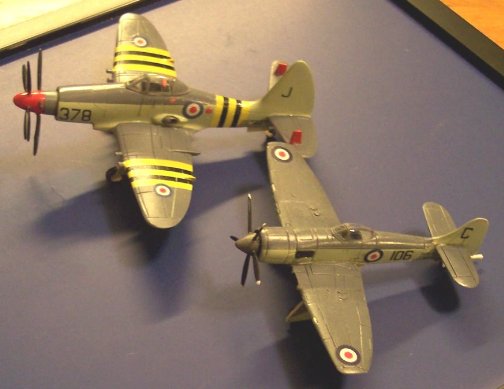
That's about it, I guess. I still have most of a bottle of RAF Sky left...might I suggest a Firebrand or a Seafire 47?
Thanks to Miniwing for the review kit.

