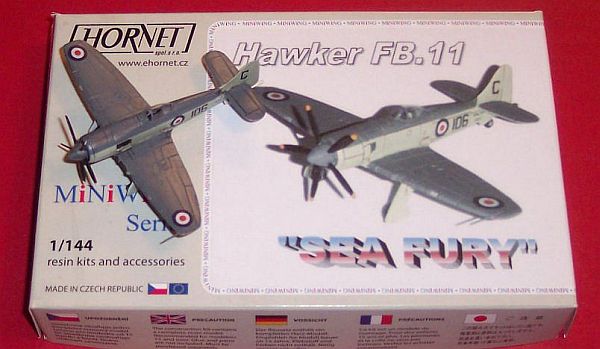
Miniwing 1/144 Hawker “Sea Fury” FB.11
By Don Joy
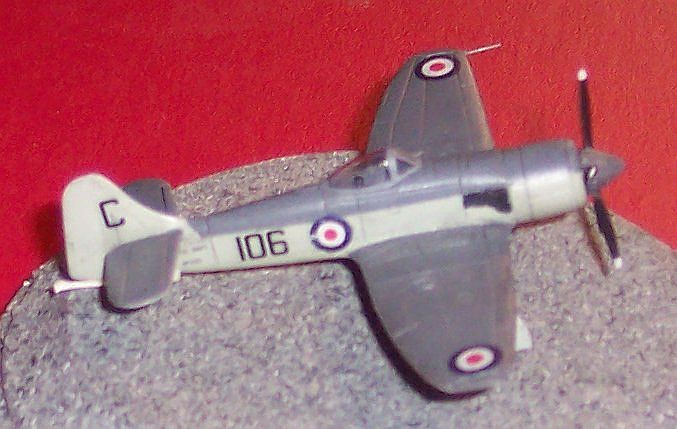 The Hawker “Sea Fury” is a carrier borne fighter-bomber that was evolved from the “Tempest” fighter. Powered by a Centaurus XII engine, the first prototype flew in 1945. The first production models arrived in 1946 and were operational in 1947. 650 were eventually produced and the aircraft saw action during the Korean War. British Sea Furies were retired in 1955, but the Canadians used the aircraft until 1956. Around a dozen modified Sea Furies still race at Reno on a regular basis.
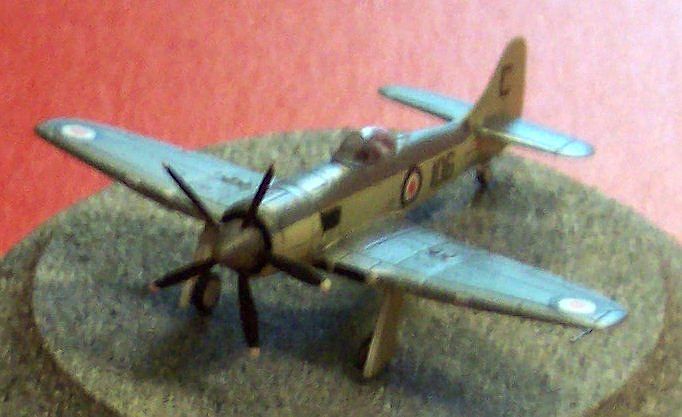 The Miniwing Hawker “Sea Fury” was reviewed previously and is a clean little kit of the aircraft. Construction is straight forward since there are only 8 airframe pieces and 10 landing gear bits. As I indicated in my review, extra care is needed removing the excess sprue on the tail and right wingtip. My example did have a few small air bubbles, which were sealed using Mr. Resin Surfacer.
I completed construction and sprayed the entire kit with Mr. Resin Surfacer as an undercoat. I painted the Dark Sea Gray, masked, then the Sky Type “S”, using Model Master paints.
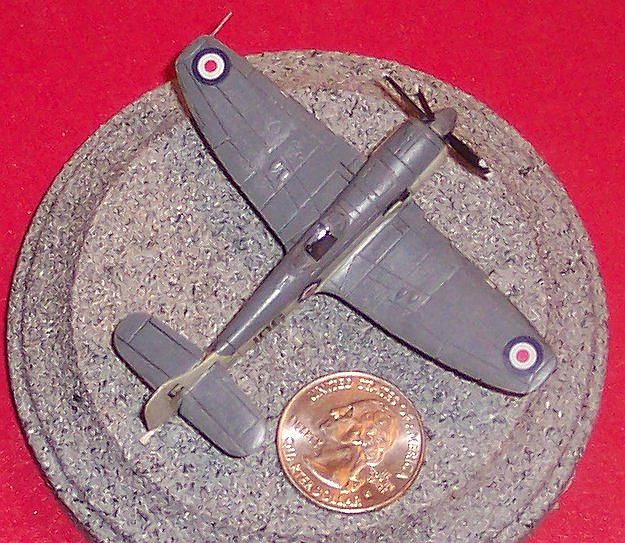 The kit has prominent control surface and panel lines. I covered the kit with future as a sealer, and used the same technique as described for the Draaken: I painted the model with a water based black paint and scrubbed off the excess to highlight the panel lines. The Future acts as a blocker and keeps the water based paint from over-staining the base colors. I painted the interior of the wheel wells white, lacking any other direction and finding no clear on-line reference.
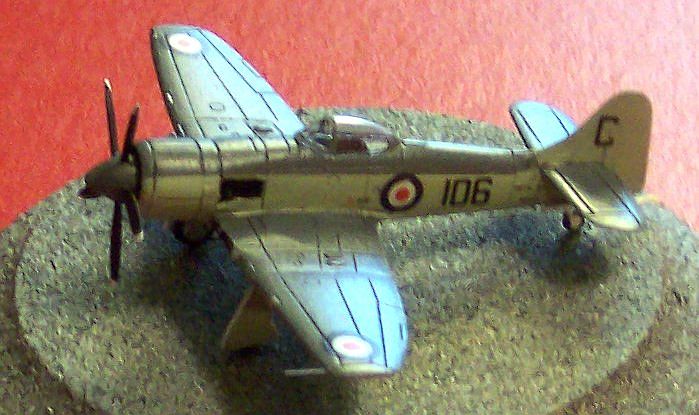 At this point, I applied the decals to the model using Solvaset. The sheet is simple and does not show the screening obvious in the Draaken sheet. WARNING: The instruction sheet is incorrect on how to apply the underwing “buzz numbers”. The instructions show both aligned in the same direction, with “up” being the leading edge of the wing. Photographic evidence shows this is true for the lower right wing, but the lower left wing number should face the opposite direction.
The propeller is the trickiest part of the construction. The hub has to be carefully removed from its sprue. I painted and stained the hub, then attached the 5 separate propeller blades. I found a good picture of a 5 bladed prop on the internet, scaled it to match, then carefully aligned each blade using that as my guide. Not the most difficult modeling job I’ve ever done, but one calling for a steady hand and some patience to attach and align each blade.
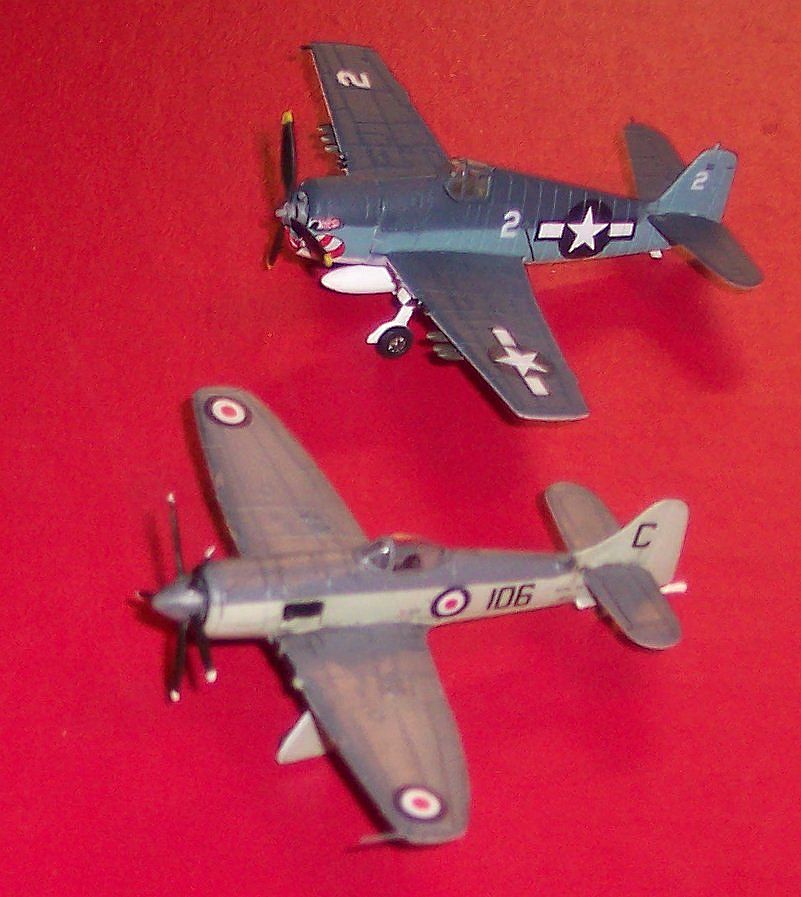 At this point, I finished assembly, attaching the prop, wheels, and tail hook. I used the kit tail hook but would recommend creating one from thin wire or stretched sprue. Also, the tail hook housing appears a bit undersized on the kit and you may want to use a bit of putty to make it more prominent.
I added the canopy last, using white glue to attach it. The kit does provide two canopies in case you mess up. In this case, I painted the frame before removing it from the sheet and this made the job of cutting the canopy easier since the edges were more visible.
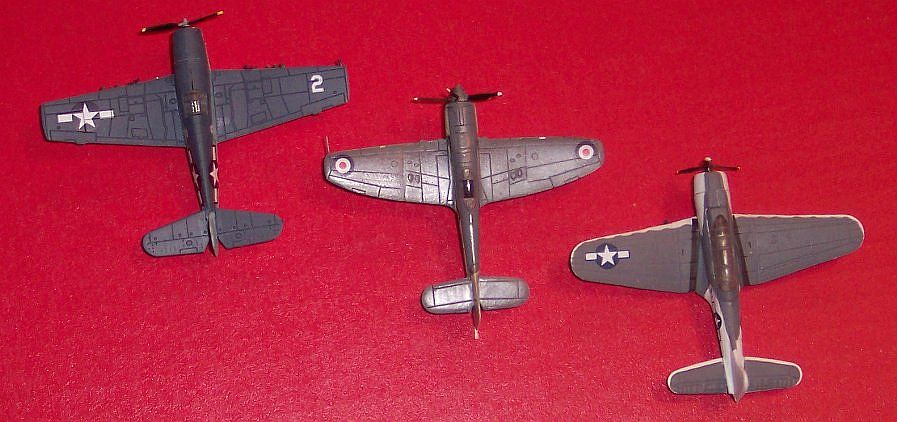 All in all, this is an easy build and a nice representation of the Sea Fury. Those of you looking for a 1/144 Sea Fury racer now have something to work with. Photo’s are with a 21st Century Hellcat and Dauntless to provide some perspective. Things I would change:
-
I used the kit doors because I was reviewing the kit. You might cut new doors from thin sheet plastic since the kit doors look too thick. It will be tougher with this model because the main doors are molded with the landing gear strut and a small outer door as one piece.
-
Replace the tail hook as noted above.
Thanks to Miniwing for the review kit.
