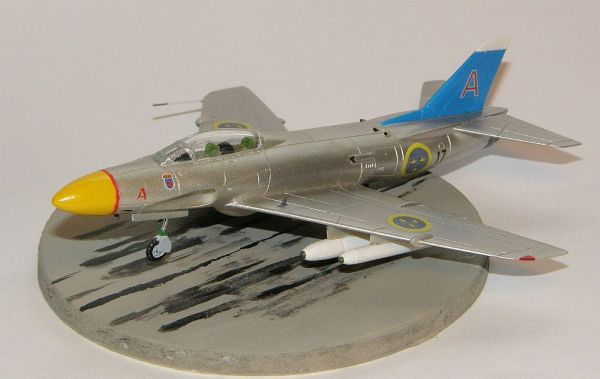
Miniwing 1/144 SAAB J32 Lansen
By David Haas
Miniwings' Lansen Takes Flight
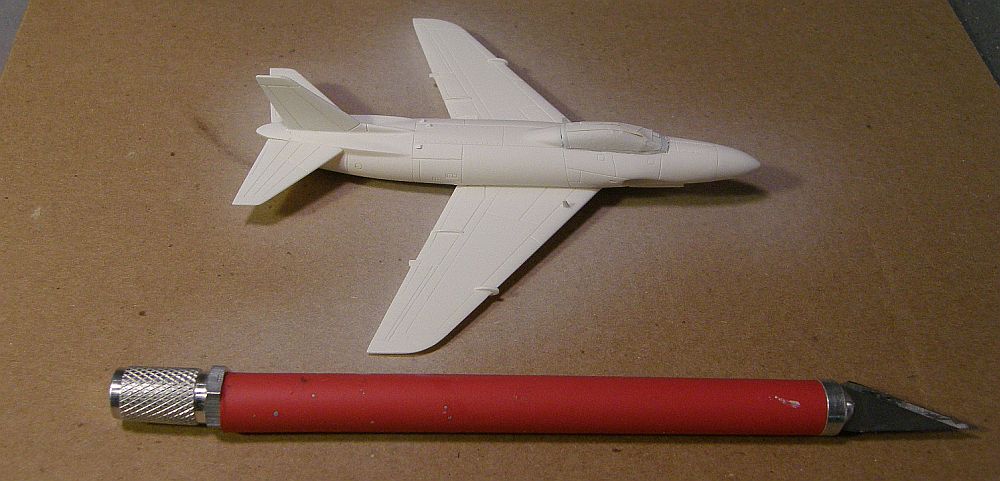
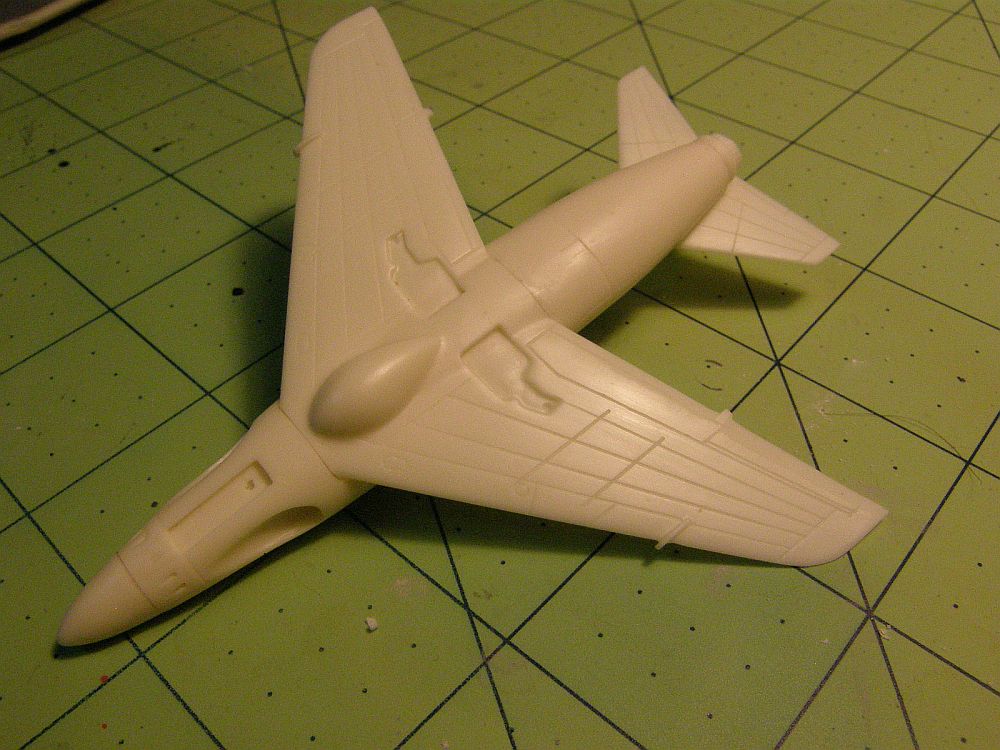 Let me start this build review by raving enthusiastically about this little kit. The resin is marvelous, with a very smooth, creamy texture, sharp surface detail, and NO BUBBLES. The resin is unusually flexible and durable, well able to withstand working, but it is soft enough to sand and polish easily. This is by far the nicest resin I have ever worked with. Parts' fit is excellent, and the kit's design avoids seams and wing attachment issues entirely. All you need is some gel CA glue, and you're ready to go! If you have been waiting to take the plunge into resin, this is an ideal candidate for your first resin build. The overall dimensions of the kit are accurate to within a millimeter, and the shapes are correct as well. Take care not to remove the projections that stick out beyond the wing's trailing edge, because they are supposed to be there. When completed, the model captures the shape and stance of the real jet beautifully.
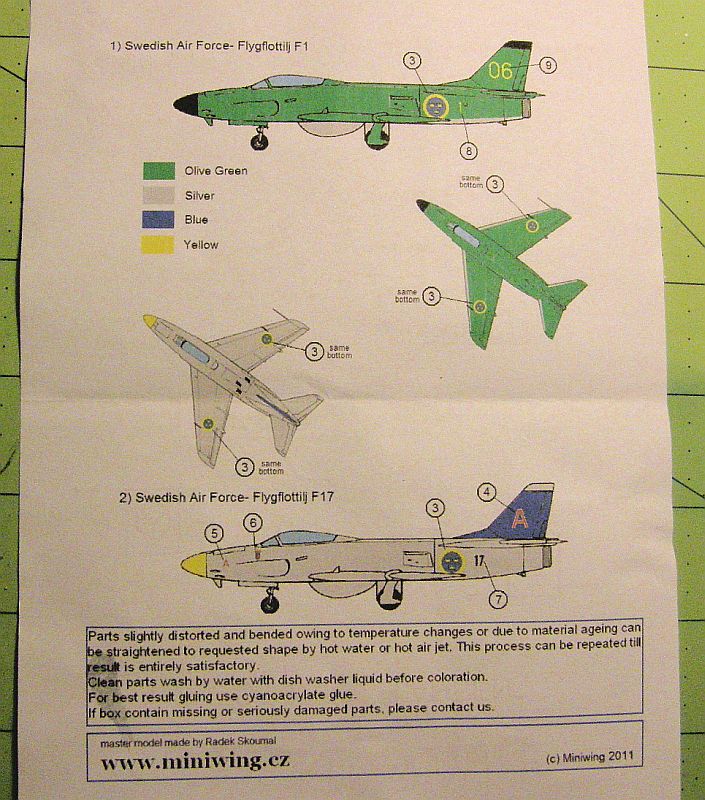
 As the preview noted, the kit comes with instructions and decals for two color schemes: an aluminum-lacquered bird from Flygflottilj F17, and a green camouflaged one from Flygflottilj F1. Naturally, I chose the more attractive and colorful aluminum scheme, and began my research into this sleek Swede. I found a wonderful reference for modelers at https://www.plasticwarfare.se/2012/01/saab-a32a-walkaround/. That was when I discovered that the color schemes actually represent two different variants of the basic airframe; the F17 bird is the initial production variant, an A-32A ground attack fighter-bomber, while the F1 bird is a J-32B or J-32D interceptor variant. The airframe parts are quite accurate for a J-32D,
 less so for an A-32A. I went for the A-32A regardless, and then found another interesting factoid: when parked, all Lansens have four odd little airbrake segments that flop out of the fuselage just aft of the wing as the hydraulic system relaxes. The brakes are not provided, and they ruin the smooth, muscular lines of the jet. It took me a while, but I achieved a work-around that I like. More on that later.
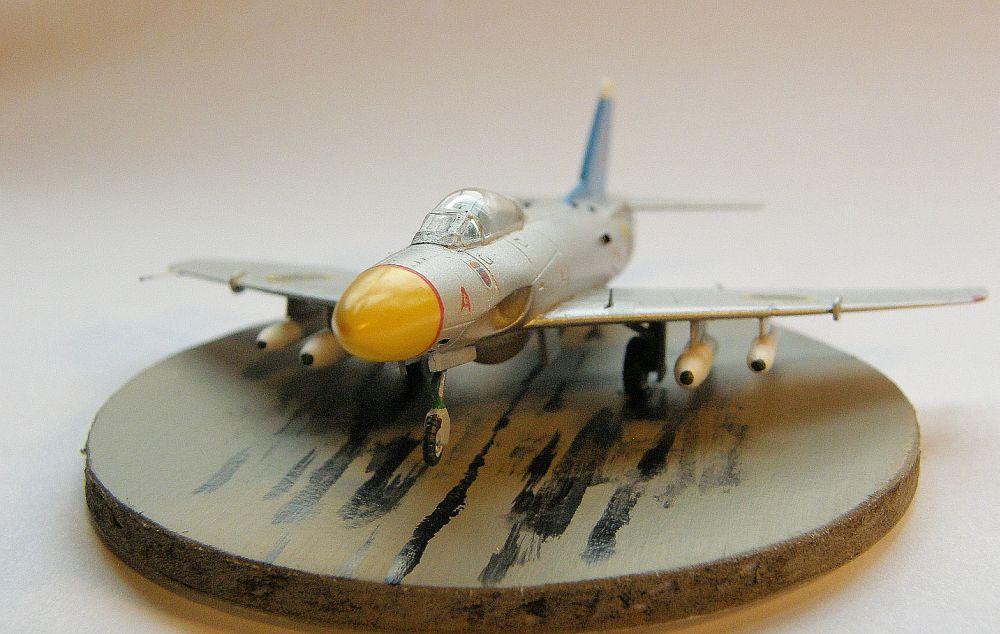
 The build began with assembly of the main components. With just a little sanding on the upper surface of the wings' center joining surface and a bit of gap-filling super glue, the wing-fuselage joint was done. Wow, that was cool! I then scribed a line at the base of the ventral fuel tank (not a drop tank, but a removable assembly) to replicate the real installation. The radome and exhaust pipe are separately cast pieces and there is a top reference line molded into the casting blocks. I transferred the marks to the back-side of the parts in question and put them into place. The parts are not symmetric, so pay attention here. The radome is a masterpiece of accurate and subtle shaping that looks great on the jet's nose. Wow, more cool! Another subtle point in the kit is the use of
 engraved lines to indicate correct placement for butt-jointed parts that attach to the fuselage and wings. This allows very accurate placement of parts without compromising joint strength. Wow again! I decided to install the four pylons provided before painting to keep things strong. I cannot vouch for the accuracy of that weapons fitment, and the instructions are ambiguous. That said, the pylons have a gently curved upper surface that mates perfectly to the underside of the wings. I've built countless bigger models whose pylons did not fit as well. More wow! To top it all off (literally) the kit provides a one-piece drop-in cockpit assembly and decals for the instrument panels and seat backs. I trimmed and glued those into place, then added some sheet styrene shims to represent side consoles, and closed things up. The clear resin canopy is well-molded, thick, strong, and surprisingly clear. At first it seemed not to fit, but I found
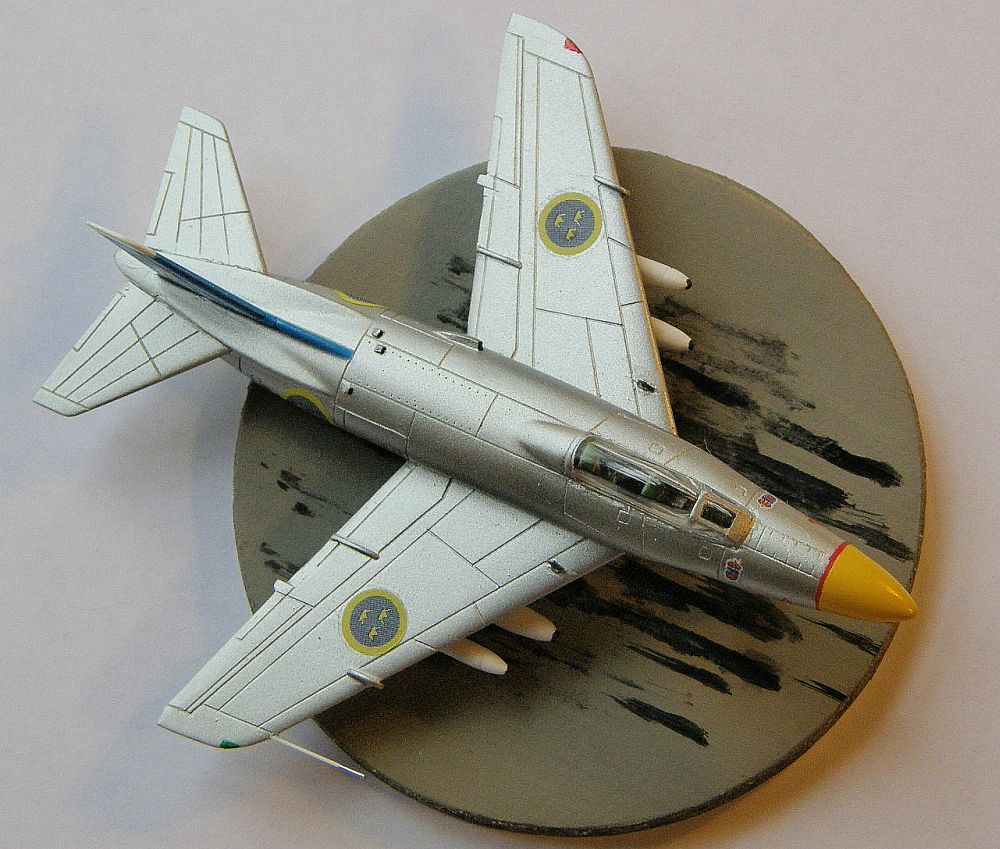 that with careful sanding of the bottom side (edges?) of the canopy, a good fit could be had. With a little trimming of the front frame and some Mr. Surfacer, the installation is once again better than one finds on many larger, costlier kits. Kudos to Miniwing! In order to represent the A-32A variant I made and installed 3 small intakes to the dorsal surface just ahead of the vertical fin. These are not found on the later variants. The only other variant-specific fix I added, was to thin down the trailing edge of the ailerons, which were actually thickened - as molded in the kit - in the later fighters. The exhaust nozzle and "pen nib" fairing just above it are specific to those variants, but they are so nicely molded that I decided not to replace them. If you won't tell anyone, I won't either. The trailing edge of the wingtips is actually truncated to be perpendicular to the fuselage—easily done.
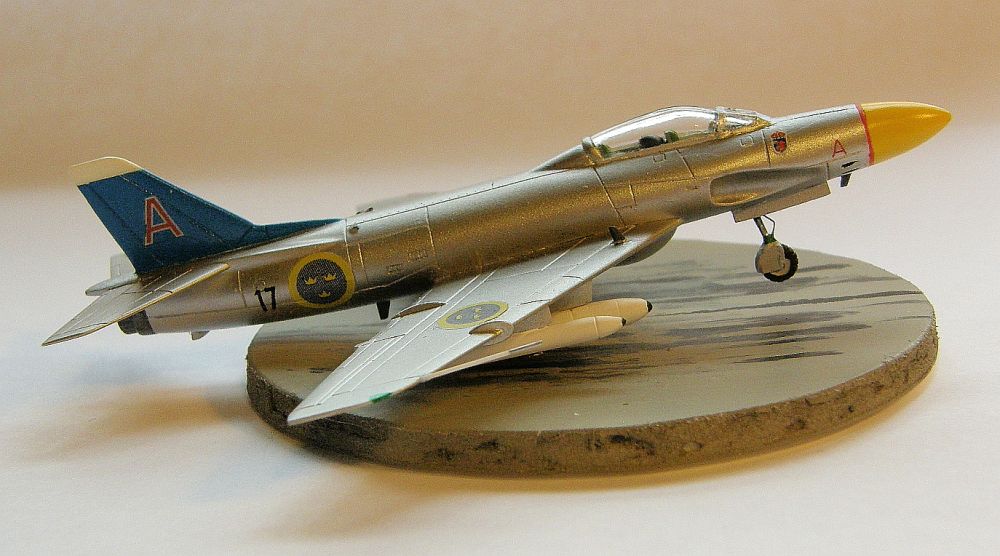 I primed the model twice with a mixture of white and clear satin paint. Then I sprayed the vertical tail with a medium blue, the radome with yellow, and both with gloss topcoats. I sprayed the rest of the airframe with a mixture of silver and gunmetal, topcoated with satin. All of these these paints were Vallejo Game Colors thinned with Testors Universal Acrylic Thinner. At that point I added the photo-etched antennas and the air-to-ground rocket pods, then finally, the landing gear and pitot tube.The
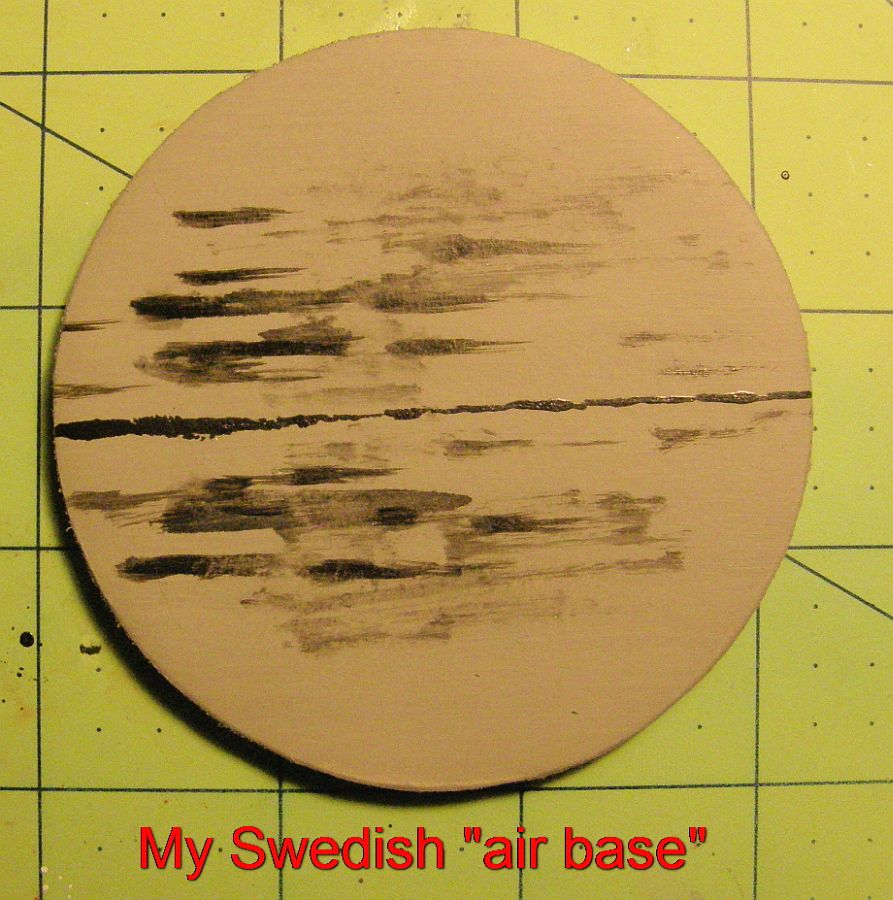
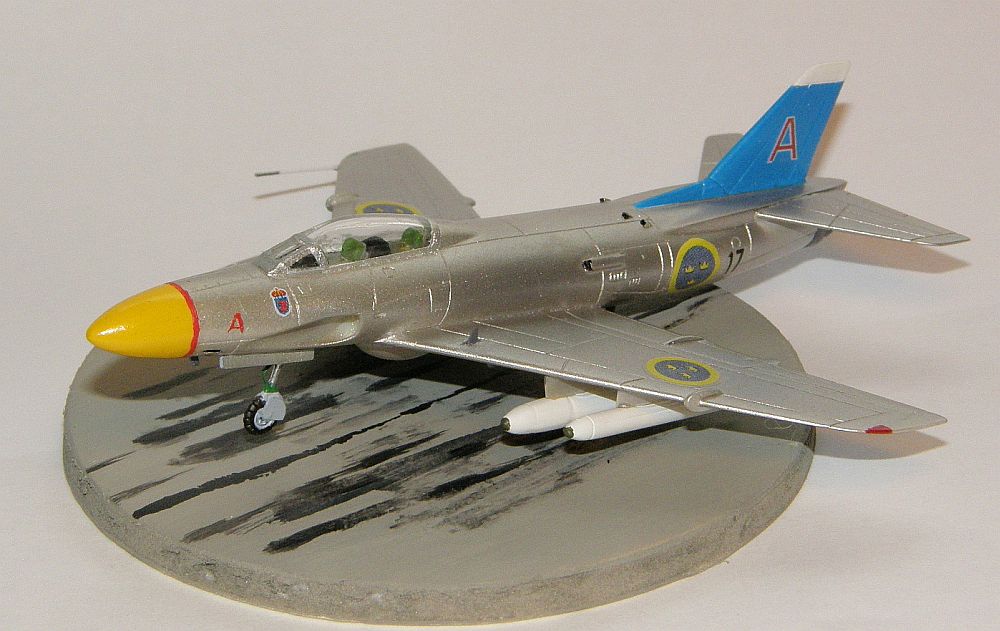 kit provides a small length of plastic for a do-it-yourself pitot tube and main landing gear retraction links. I used it for the pitot but made up my own links, because they have a sturdy square cross-section in real life. During this process, I determined that the model is an eager tail-sitter, and accidentally fed the beautiful nose gear strut to the carpet monster (oh, @#$%!). I had already decided to display the jet at the moment of rotation on takeoff, so I made a new nose strut assembly with its oleo extended. Thus, I did not have to scratch-build the funky airbrakes, and got a little dynamism for the final product. My "runway" is a small disc of foam-core board painted appropriately (I think). Time for the decals, which have nice opacity, are strong enough to be handled easily, and respond well to Solvaset. I carved two divots into the base, applied some CA gel glue, and Voila, all done!
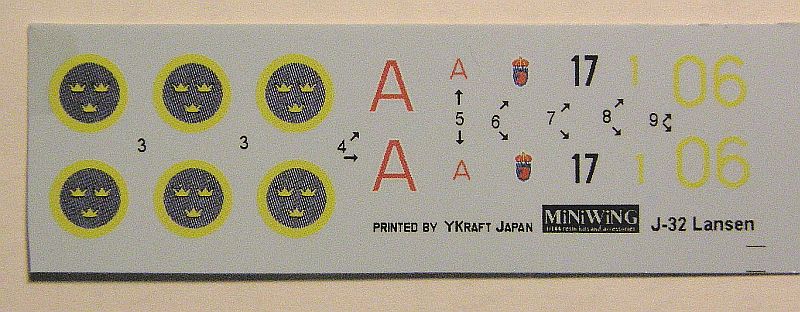 My quibbles with the hardware are few: the trailing edges of the flaps are too thick, landing gear wells are (of necessity) too shallow, and the decals' colors are not smooth, reminding me of speckly, old newspaper photos. The instructions are clear, color-coded, and user-friendly. I would have liked some information regarding variants and weaponry; on the other hand though, research is good for the modeler's soul. Over all, I loved this little jewel. It was a fun build, and I can recommend this kit without reservation to builders of any skill level. Well done, Miniwing, and thank you for the review kit!
