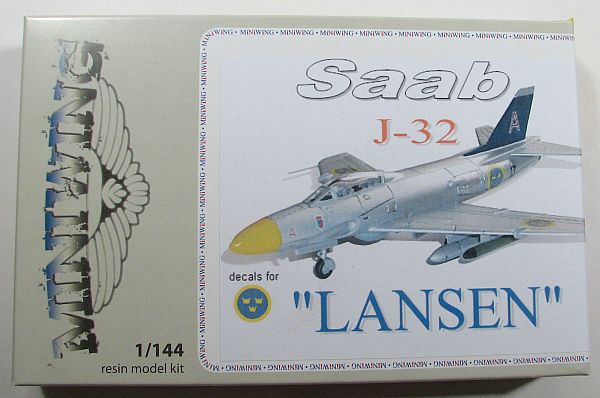
Miniwing 1/144 Saab J-32 "Lansen"
By Matt Bittner
Introduction
The Saab 32 "Lansen" was first flown in 1953 and served in the Flygvapnet (Swedish Air Force) way past the 1960s. It not only served as an attack aircraft, but various subversions were built to provide reconnaissance, electronic warfare, target tug as well as a front-line fighter.
The Kit
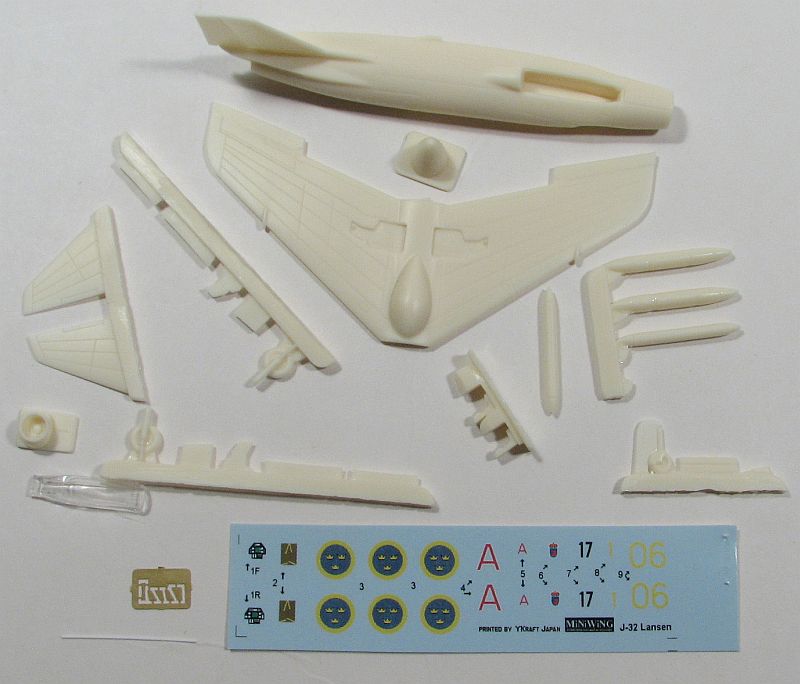
The Miniwing 1/144 Saab 32 "Lansen" consists of 23 pieces of cream-colored resin, one piece of plastic rod (for the pitot tube and retraction, main landing gear struts), one clear resin canopy, and a photoetch fret with five pieces. Decals - ALPS-printed, so care must be taken - are for two Lansens, an overall olive green machine that flew with Flygflottilj F1; and a overal natural-metal-finish bird, with a blue vertical tail, the flew with Flygflottilj F17.
The cockpit is a one-piece tub to which you add the decal instrument panels and seat "cushions and belts" after painting the tub(I'm not sure what color the cockpit is, though). This is then inserted into the cockpit opening in the one-piece fuselage and construction continues after that.
The wing is a one-piece affair that is added to the underside of the fuselage. Then the horizontal tail pieces are added along with the tail pipe and nose cone. Pay close attention to those two, though. Their orientation is marked on the pour block, so be sure to transfer it to the part once it's cut/sanded off the block.From here the instructions take you to adding the "stuff" on the underside of the model, which I would leave off until painting. In addition are the photoetch pieces. The small photoetch fret contains antenna for under the fuselage, small wing strakes for the top of the wing, and an oleo for the front nose gear. Nice!
After painting add those pieces, along with the landing gear, gear doors and wheels, along with the pitot tube and retraction struts for the main gear, which are to be cut from the small piece of round sprue provided. There are also external fuel tanks for under the wing to add.
Be aware that when the Lansens were on the ground, their air brakes were always open, so you would see those at all times. Unfortunately they're not your typical air brakes and scratching something could take some imagination. If you must have these open then view all photos to get an idea of what these looked like and where they were on the airframe.
Conclusion
Another winner from Miniwing! If you can get around the lack of speed brakes then this model will be one that won't take a long time to build.
Huge thanks to Miniwing for supplying the review model.

