Finishing the ViZi Models 1/72 Avia BH-1 Experimental
By Matt Bittner
Overview
Earlier this year, March 2022, I wrote a First Look on the ViZi Models Avia BH-1, this kit. One aspect of this hobby I truly adore is the learning it affords. I knew the Czech aviation history was vast, and one could easily say one of its starts is with the Avia BH-1.
I will refer the reader to my First Look on what is provided in the box. It's one of the best 3D printed kits I have come across. Yes, there is "banding" (striations, print lines, whatever you want to call it) but they're very fine and actually are used to advantage in an aircraft left "natural": all-wood fuselage, struts, landing gear and ailerons; with linen wings, rudder and horizontal tail surfaces. Leaving the "banding" in place does not detract from the model at all, plus it alleviates the problems one could have with sanding away the expertly printed fine detail.
Construction
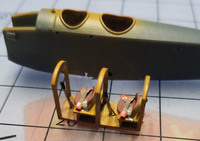
Building the ViZi Models 1/72 Avia BH-1 will not take long, unless you're a builder like me: even a quick build could be glacial in speed. The one-piece cockpit is a joy, although I had to provide my own seat belts. The entire cockpit - and inside of the fuselage - was painted Vallejo Model Air Wood, while the seats were finished in "leather". The belts were the "Super Fabric" Eduard used to make, meant for their Avia B.534, but I only used the lap belts. The control sticks were painted black.
After the one-piece cockpit was finished, it was inserted into the bottom of the main fuselage piece, and the underside fuselage piece glued on. With no gaps. Excellent!
|
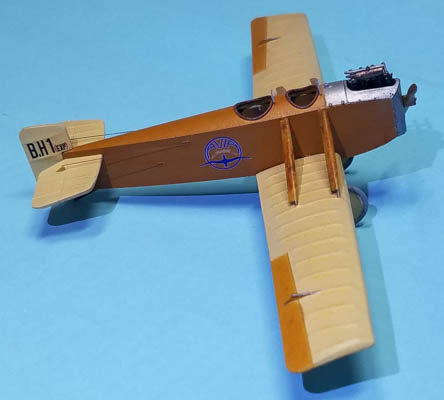
For anyone else construction would go fast at this point. Not me. I did prime all the parts - left separate, as the wings had a noticeable gap on the real thing - which makes painting super-simple. Vallejo Model Air Beige was used as the basis for the linen wings and tail parts, while Model Air Wood was the basis for the fuselage, all struts, including landing gear, and after masking, the ailerons. Once the paint was dry I sprayed a layer of what-was-once Future over the all the parts. Now it was time to start the weathering.
I weathered the linen with different Faber-Castell and Prismacolor colored pencils, including Prismacolor water color pencils. I don't remember the exact ones uses as I was just pulling pencils out I thought would work. And for me, it does.
|
The wood areas were treated a little differently. After the painting I did play with colored pencils, but I also used a bit of different colors to dry-brush. However, after I thought it was coming out too dark, I added Tamiya Clear Yellow to more Future and sprayed that over the wood areas. Now it was the color I liked, so I stopped.
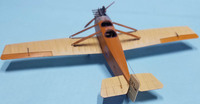
With all parts having being finished, color-wise, it was time to assemble. The horizontal tail slots into the fuselage with no isses and the rudder is glued on as well. The one-piece landing gear will take gentle persuasion to get into the slots for it in the fuselage, but once they're on a small bead of CA was used to keep them in place. I also glued the nose-piece on, as the engine would slide into it and the fuselage with no issues.
|
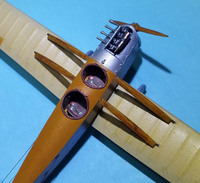
Let me talk about the engine for a paragraph. It truly is a remarkbale piece of 3D printed mastery. The entire engine is one piece, including the hollowed out exhausts. Amazing! This shows what can be truly acheived with 3D printing if you take the time to design the parts correctly and have the best 3D printer. It was painted with a number of metallic colors including the P3 Molten Bronze used on the upper water tank. Then washes and dry brushing and it does truly pop. A true piece of art.
Now it was time to turn my attention to attaching the wing and this is the only tricky part. Basically the posts on the wing roots and the struts keep the wing in place, keeping the wing-root-gap in place. I honestly struggled here and while in the end I was able to make it work, wish I would have used epoxy instead. Even the slow-drying CA I used was too fast and I fumbled, here. All problems in this area were mine alone and not indictative of the model. Its design is flawless.
|
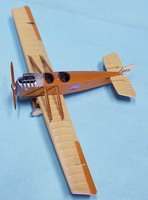
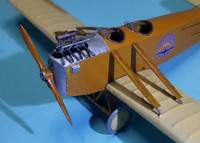
After the wings were attached I then glued in the engine - using the slow-drying CA again, which worked this time - and it was kept in place while it cured with the prop just put in place and not glued. This was because I wanted to keep the prop glossy in the end. The decals went on without any issues and I only used Micro Set once in place. I rigged the tail using Nitinol .005" wire and after the glue cured on those, the entire model was sprayed with Vallejo Premium Satin. I then glued the glossy prop on and I have an Avia BH-1 sitting on my shelves. Oh yeah, don't forget to glue on the windscreens.
Conclusion
Did I make it obvious that this is a work of art? The ViZi Models Avia BH-1 is one of the best models I have ever assembled, regardless of my bungling. I truly enjoy Czech aviation and having one of their first-aircraft ever flown in my model collection is an honor.
|
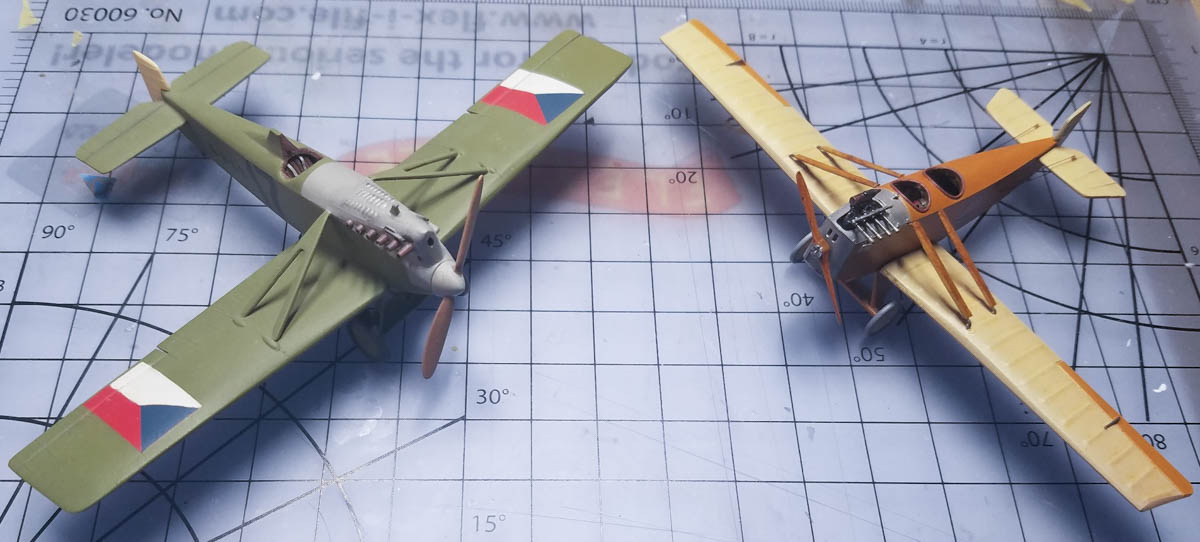
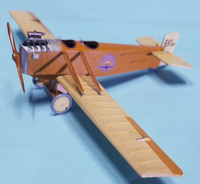
Please note that in the last image, where I have it sitting next to it's newer sibling the BH-3, the KP BH-3 was built early in my modeling life and with the decals being quite horrid I took it upon myself to paint the flags on the wings. Without knowing the orientation of the colors on the flags. For that I apologize but I hopefully do know better now.
|
Huge, HUGE thanks to ViZi Models for the honor to build their Avia BH-1 Experimental. In case you didn't know, there is a replica of this maching flying to this day. Now to work on their BH-17...

