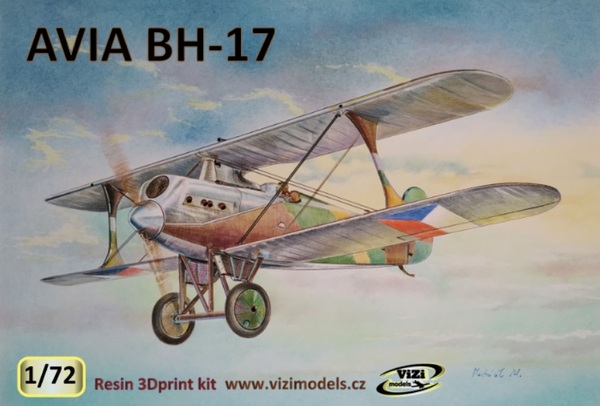
ViZi Models 1/72 Avia BH-17
By Matt Bittner
Introduction
A decent description of the Avia BH-17 can be found on the All Aero site:
"Although the prototype BH-8 designed by Pavel Benes and Miroslav Hein, beat competing Letov S-7 and Aero A-20 types in competition, it was never accepted by the military. The IMO and engineers were not fully satisfied with its performance and characteristics. The original model BH-8 was reworked, as the Avia BH-17.
"A number of characteristics of BH-8 was maintained - still it was the all-wood biplane upper wing seated on a central pylon, box structure of the fuselage and tail surfaces were not changed. Among the most significant structural changes include reduced wingspan, increased area of the wings and extended fuselage. Coolers were moved between the undercarriage struts. The oil tank was placed in the leading edge of the central pylon."
|
The text continues, so be sure to read through the entire entry.
The Kit
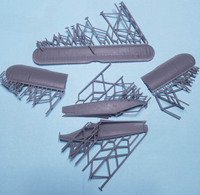
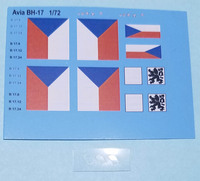
The ViZi Models 1/72 Avia BH-17 consists of 21 pieces of gray, 3D printed resin, one small sheet of clear windscreens and decals for the two schemes, nicely printed and in register. Both aircraft were the three-color camouflage of the era, consisting of ocher, green and brown on the uppersides, and aluminum on the underside.
|
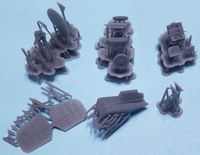
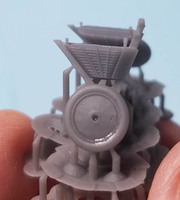
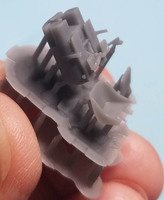
Once parts are removed from their "runners", or "sprue", then construction won't take long. As with their BH-1, the cockpit is a piece of art, consisting of four pieces: the forward cockpit that contains what I think is the fuel tank, rudder pedals and other parts; the control stick; the seat; and the head rest. Seat belts aren't included so you'll need to source those on your own. ViZi Models doesn't include any information about interior colors, but it appears that everything was left "natural", so wood for the cockpit bulkheads, sides and floor; leather-covering for the seat; and aluminum for the rudder pedals and protective sheets under them.
|
Construction should not take long. Once the cockpit pieces are painted and added to the starboard fuselage half then the fuselage halves are assembled and the upper, forward fuselage piece attached (maybe even left off until after painting, since this entire piece/area was left in aluminum). Then the wings, interplane struts and tail pieces are added creating an aircraft. The final bits of construction are added: the one-piece landing gear; wheels; prop; venturi tube to the top of the upper wing; the single gun to the port side of the fuselage; and finally the tail skid.
|
I personally will wait to add the landing gear and tail skid until after painting. In fact, you could probably get away with painting every piece separate and glue all together in the end.
Conclusion
|
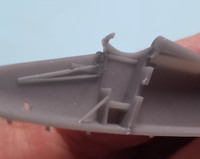
Another beautifully printed 3D kit from ViZi Models. Yes, there is some slight "banding" (striations) in the print, but it's very slight and not obvious at all. You could lightly sand the surfaces, but be careful, because there is a lot of expertly done, small details that could be removed during sanding, something you definitely want to avoid.
|
Huge thanks to ViZi Models for supplying the review model. Once I finish their BH-1 I'm definitely looking forward to starting their BH-17.
