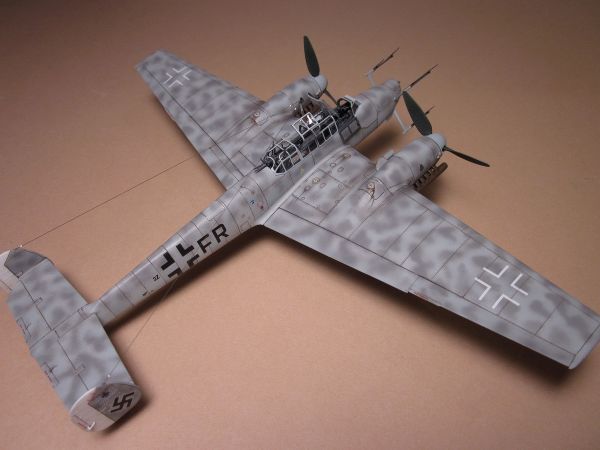
Eduard 1/72 Messerschmitt Bf 110G4 Nightfighter - ProfiPack Edition – Part 2
By Steve Hustad
The Extras
Welcome to the 2nd and final installment of our 1/72nd scale Eduard Bf 110G4 ProfiPack kit and 'extras' review! (You can still find Part 1 published earlier.)
We've now progressed past the point of sticking most of the parts together (a very nice fit overall - Eduard is to be congratulated), and have now graduated to slapping some pant on this beast...
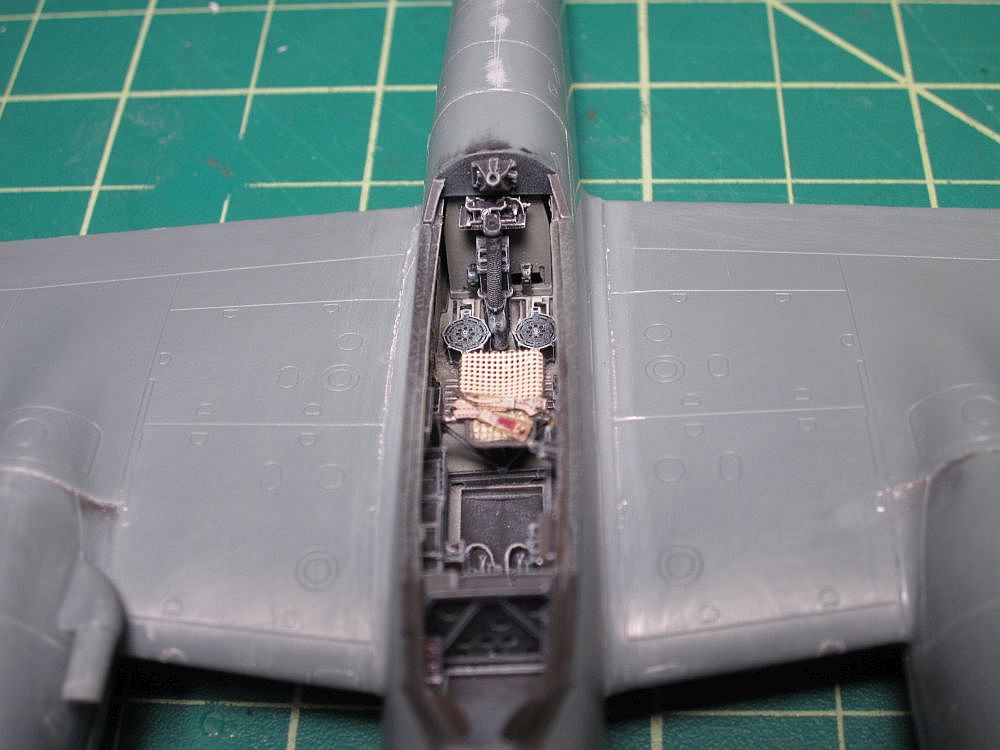
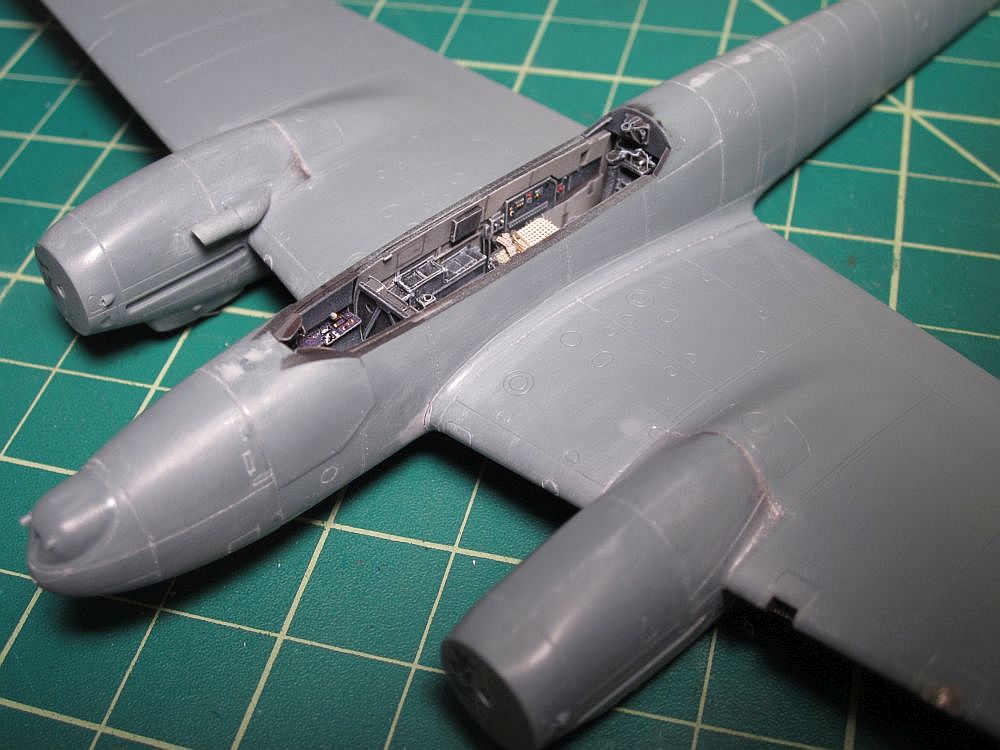
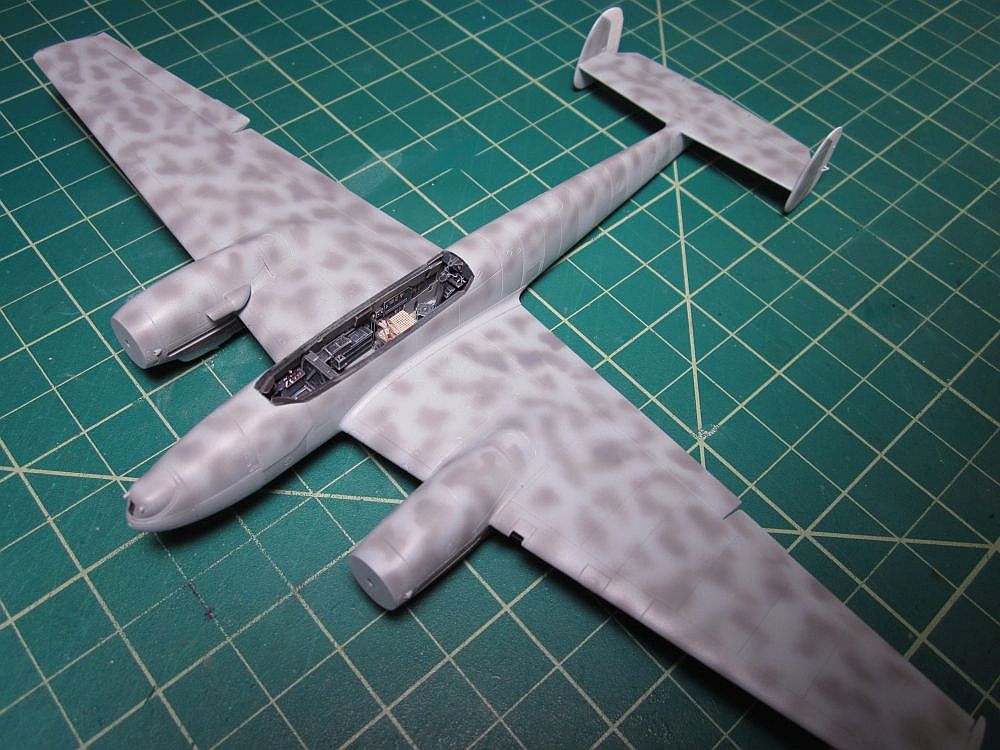
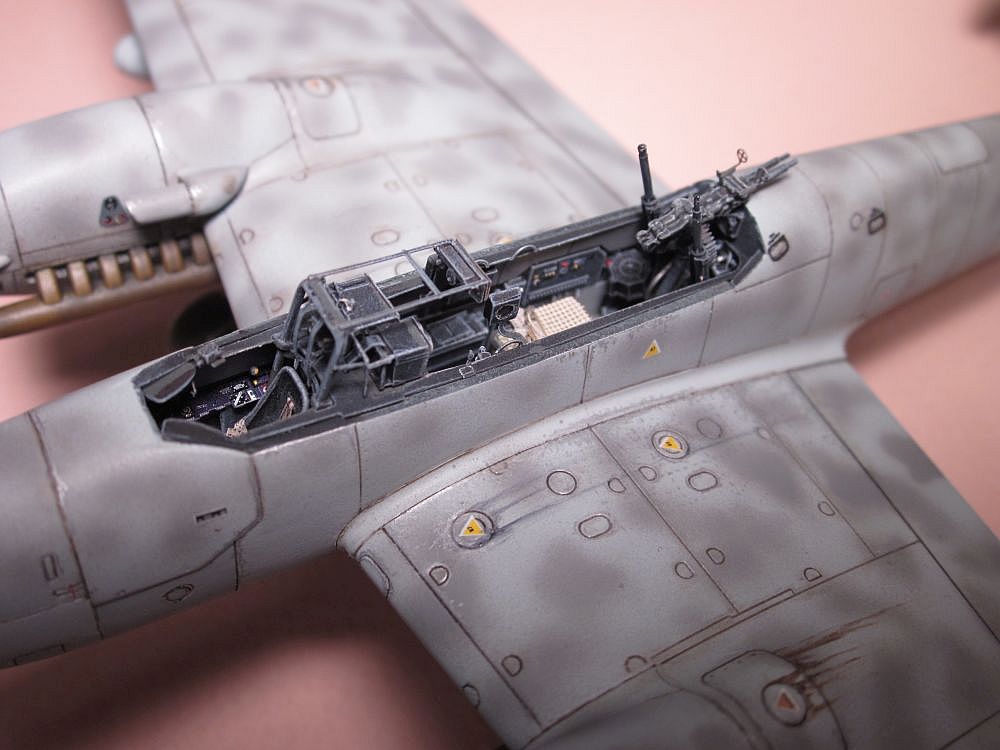
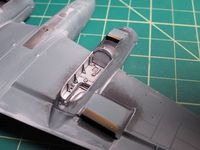
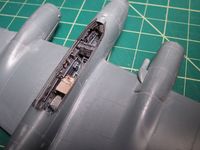 Last time we left off with basic assemble and some fit/putty notes leading to getting that beautiful Brassin resin cockpit into place, and some of the adjustments you'll need to make to the plastic main wing pieces to get the proper fit. Speaking about the 'proper fit', let's talk a little about 'proper dihedral'. If you just get rid of the obstructions and glue the fuselage to the main wing it will fit, but from head-on it will look wrong. Yes, the '110 didn't have a lot of dihedral, but it did have some, and it will look odd unless you take some steps here at this point to make sure 'you get some' (so to speak...). Fortunately, all you have to do is apply the glue, join the assemblies, and then apply pressure on the fuselage top - downward pushing it down while raising up the wing tips. I used a couple decent sized rubber bands to hold the shape overnight while the glue set, and then I got the proper dihedral. If you don't do this, it will never come out and you'll end up with one of those 'regret models' that litter too many of our collections!
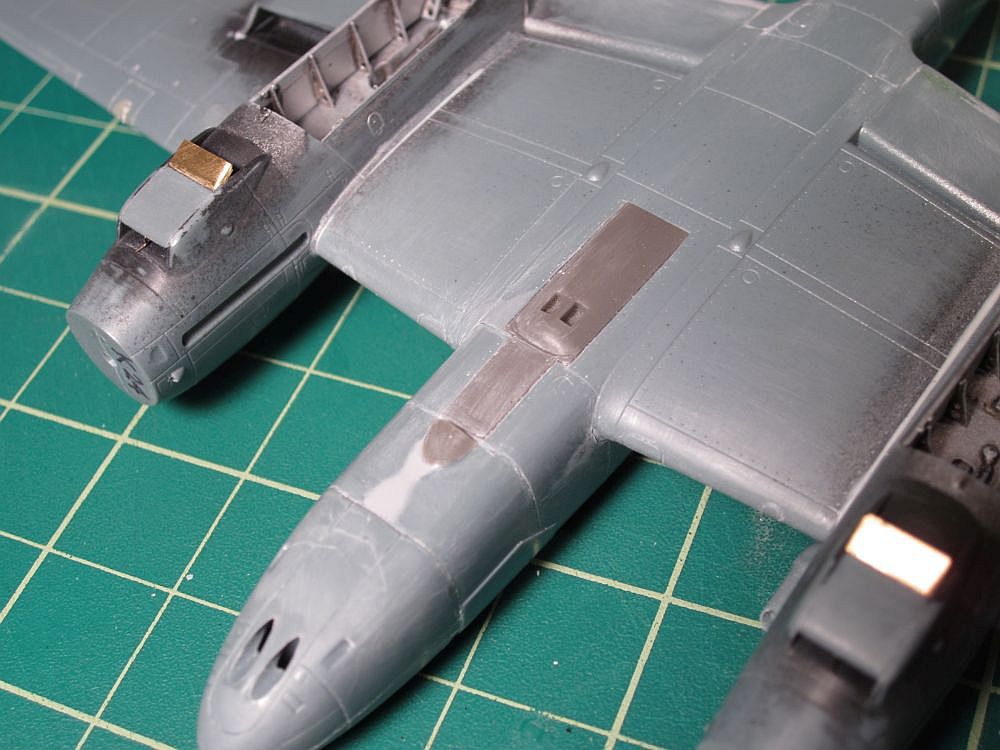
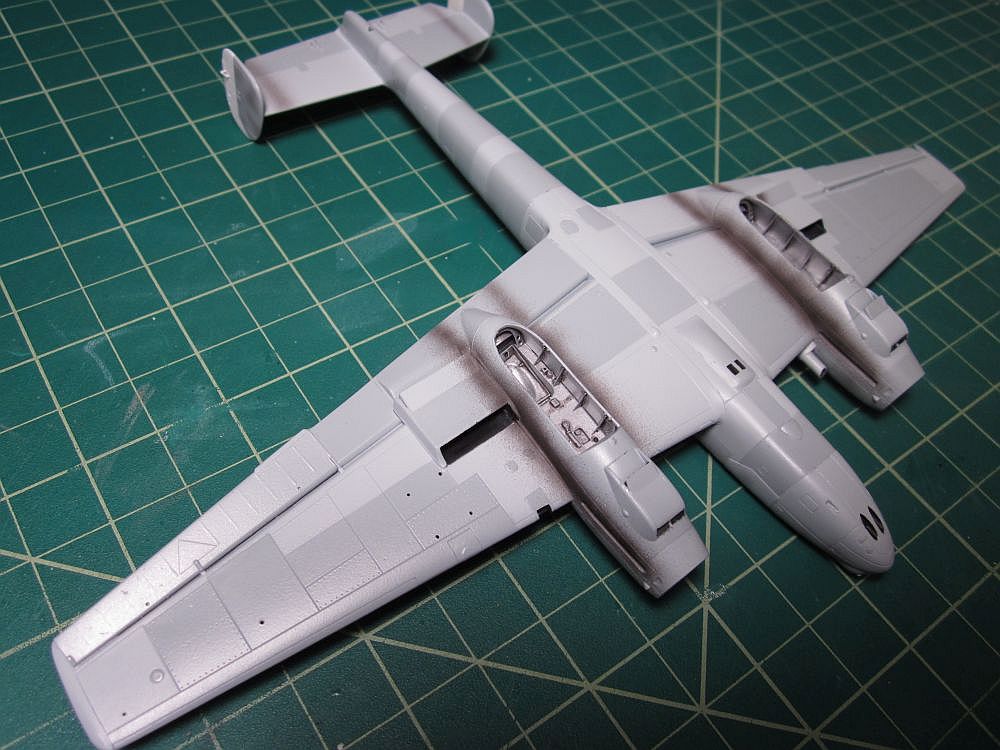
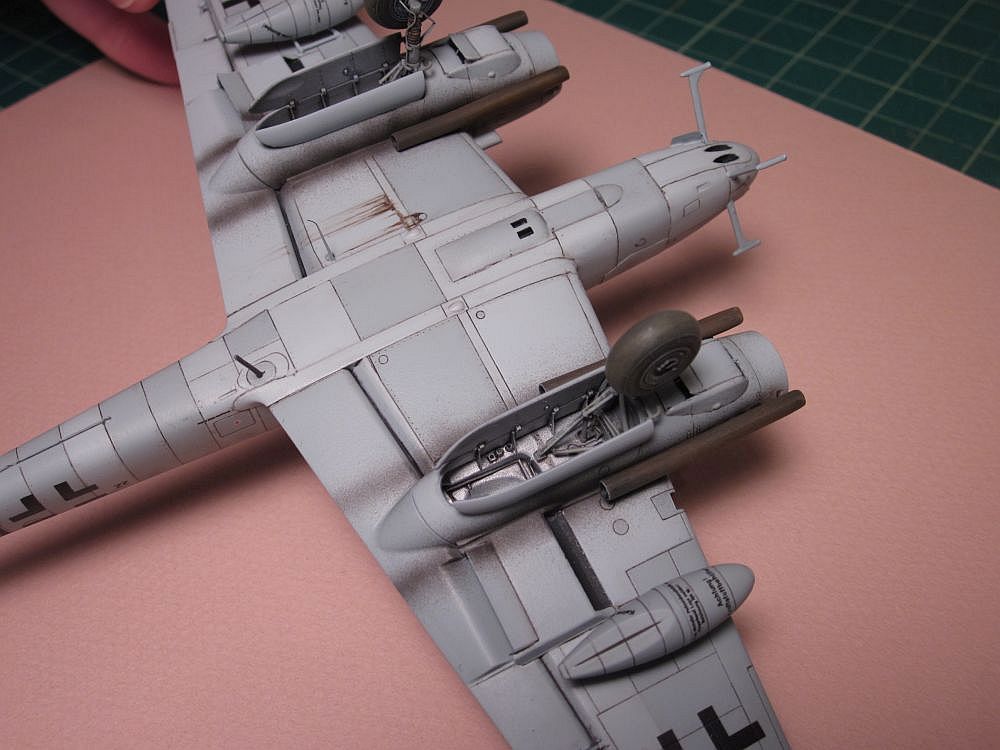
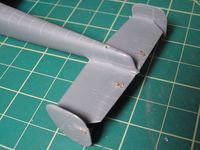 Moving on with the major assemblies, the tailplane and rudders will also need a bit of attention. These fit okay, but need to be properly aligned with the fuselage and main wing from looking at it head on. Take your time to do this right too because it's easy for things to get just a bit out of whack when bringing together so many parts. Lastly before paint, add the ailerons, underwing radiators, nacelles, under nacelle air scoops, etc. No fill should be necessary, just a little sandpaper cleanup of any glue residue and so on.
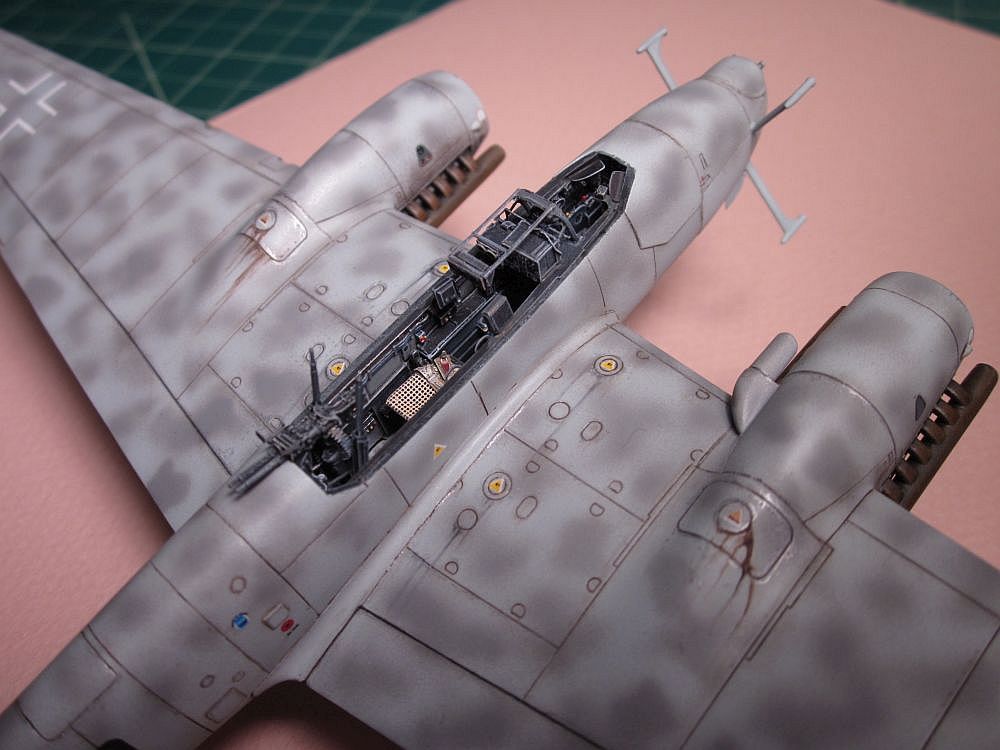
 One other improvement I made was replacing the wing tip lights and the port wing leading edge 'headlight' with gel super glue embedded lamps – red & green for the wingtip lamps, clear for the headlight. Fellow modeler, Rob Willis taught me this trick a long time ago and its quite effective when you don't want to trust the kit pieces to fit that well. Eduard's piece fit well, but I used this method anyway. Drill a hole, insert a sprue with heat rounded head, paint, and then cover it with gel super glue followed by an accelerator, then sand it smooth before it hardens to something much harder than then surrounding plastic! Mask, paint around it, then at the end brush it with Future to bring out that final gloss glass-like shine.
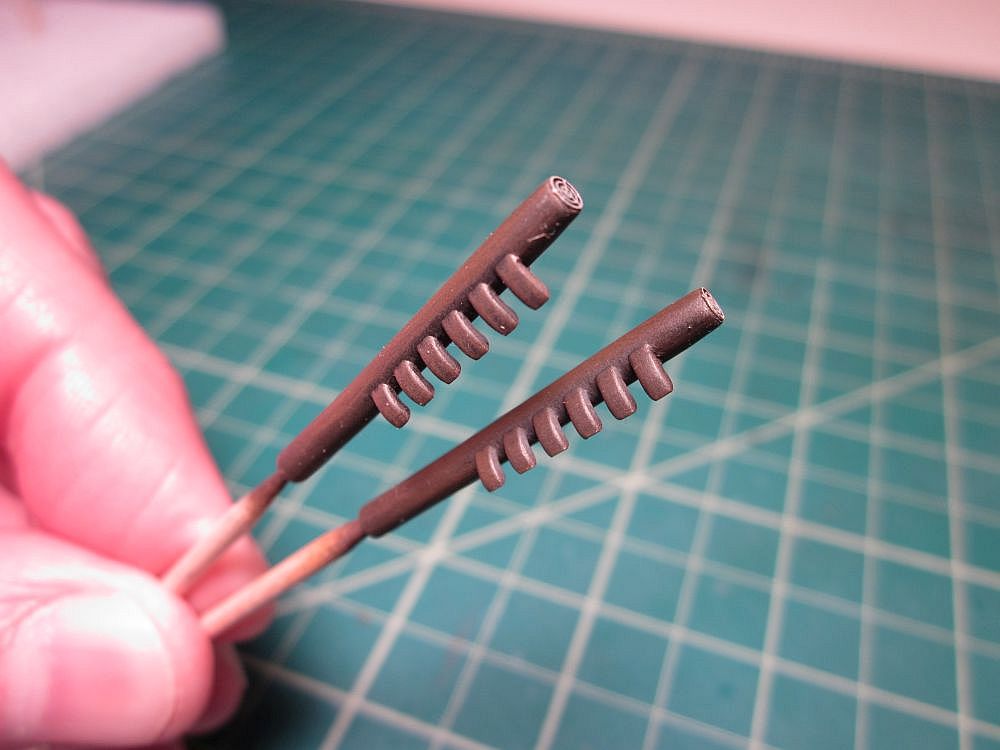
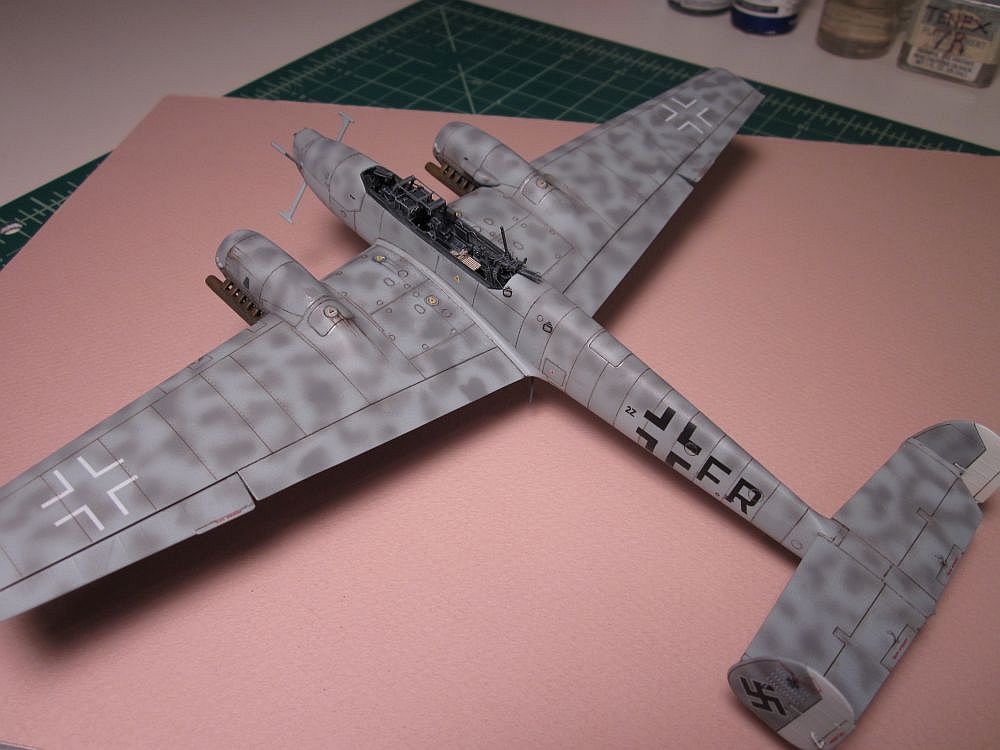
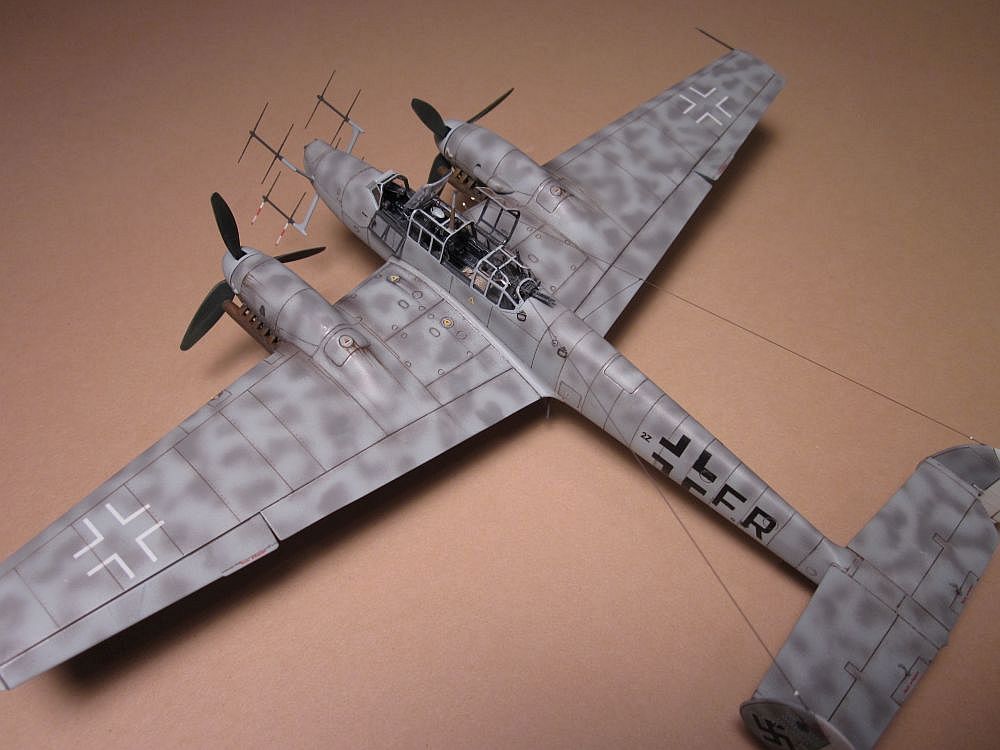
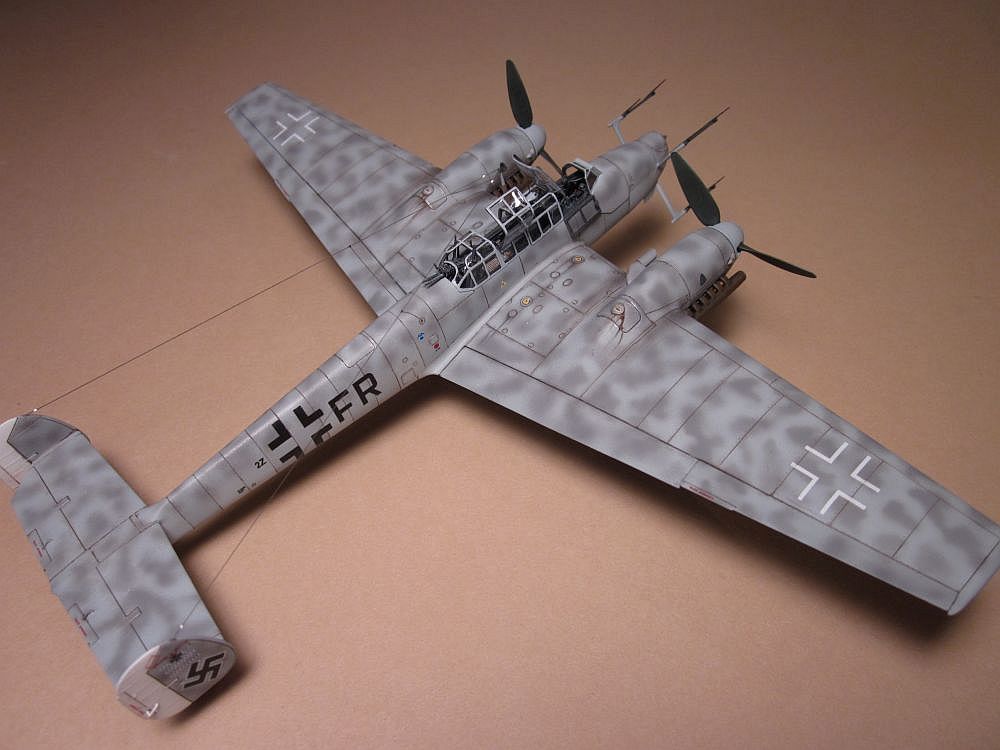
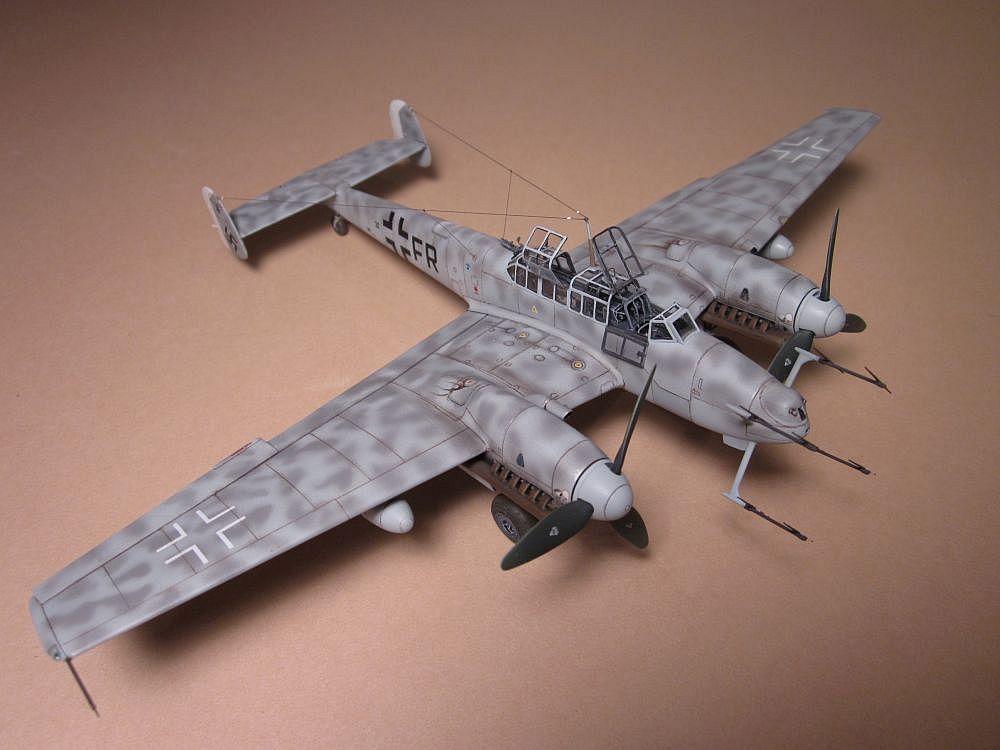
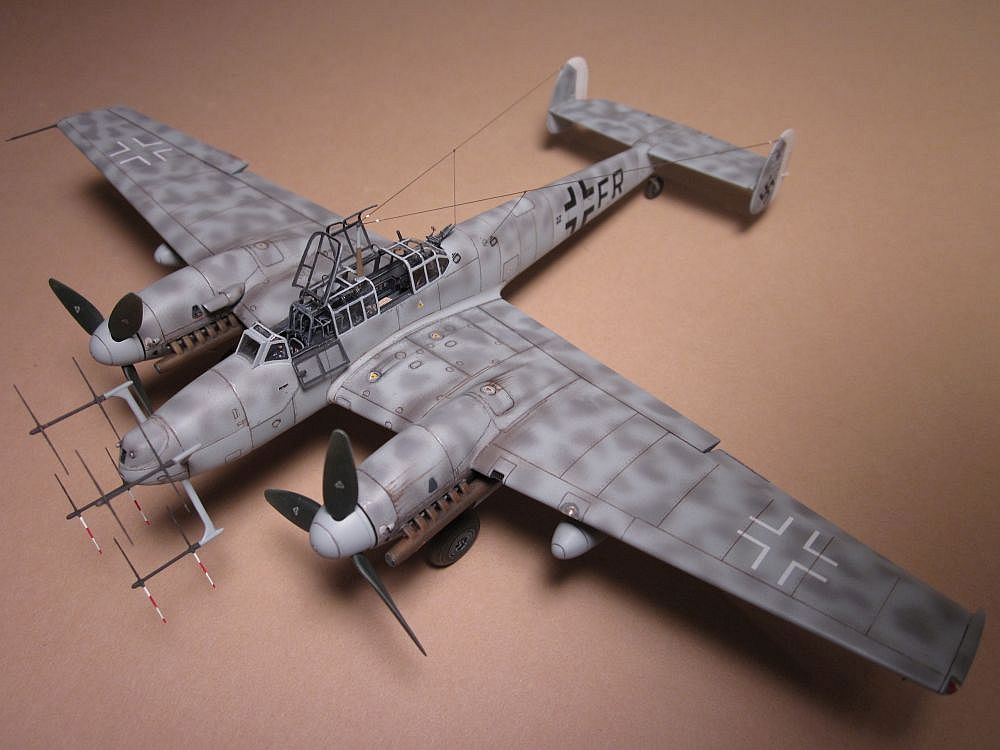
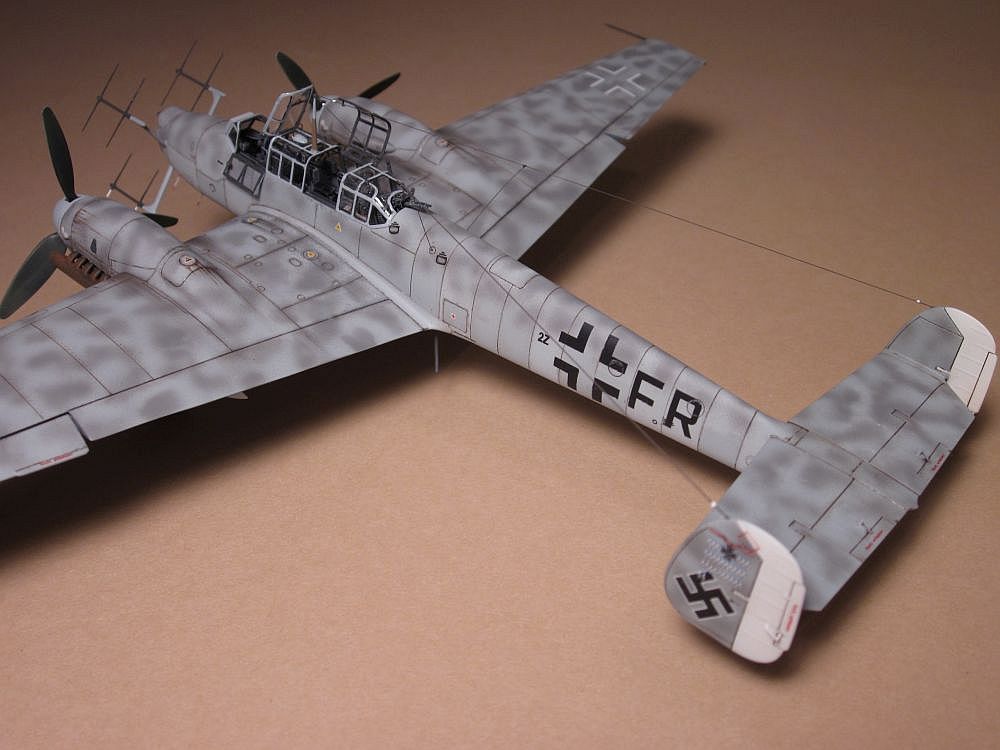
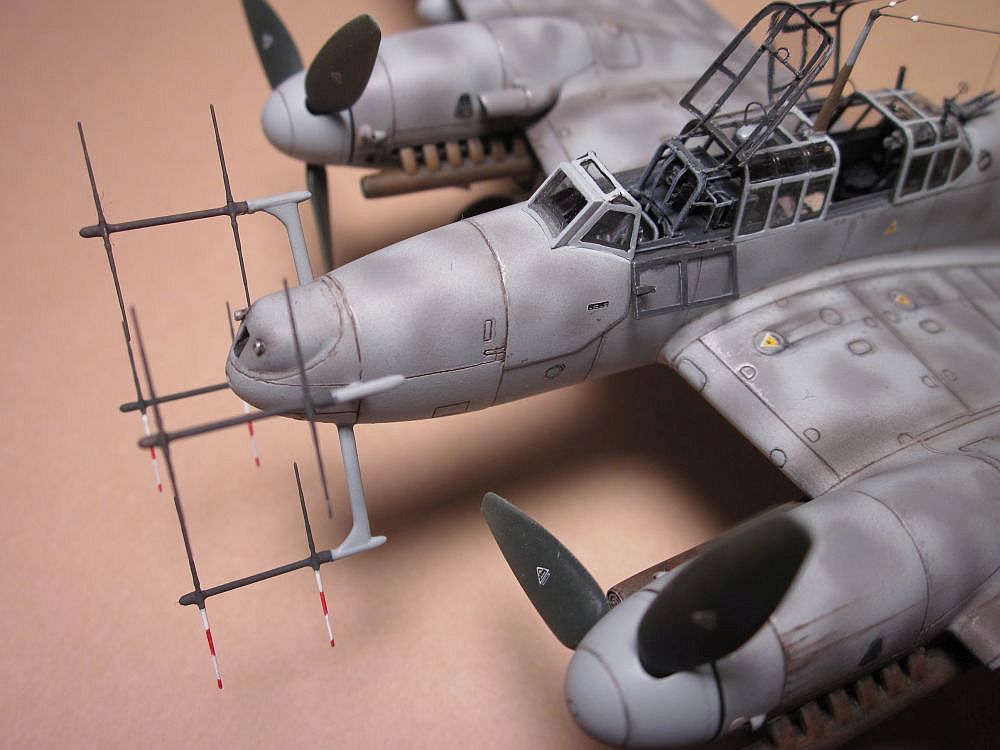
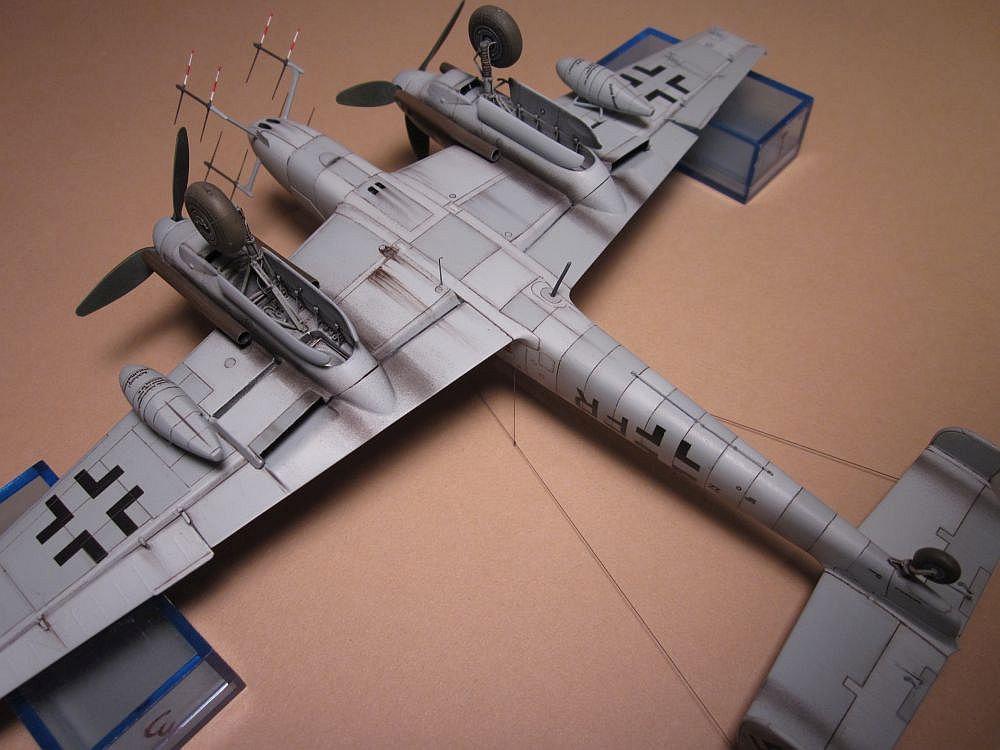
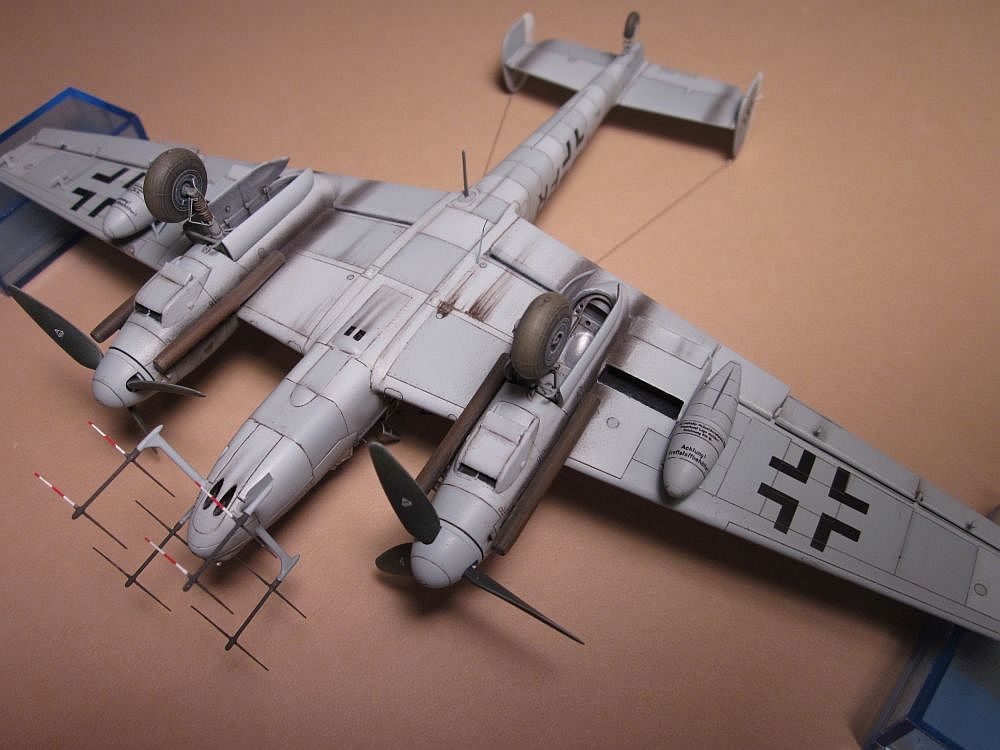
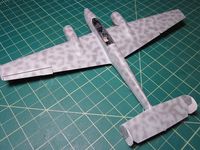 For the scheme, I decided on Bf 110G4 "2Z + FR", Hauptmann Wilhelm Johnen's final machine captured at Neubiberg Germany at the end of the war. He served as the C.O. with III. /NJG 6. This crate is interesting as it's got the FuG220 radar array canted at 45 degrees, and also sports the final version flame exhaust dampers - the (so called) 'Eberspacher type' that were all completely 'under wing' - no over-wing monstrosities these! Eduard provides decals for four schemes, and this is one of them. The color notes provided are mostly accurate and attractive, with one exception. It appears that this '110 had white painted rudders and not RLM 76 Light Blue/Gray as per the instructions (see Classic Publications, "NachtJäger, Volume Two" in their Luftwaffe Colours Series, pages 180 – 182, 2005).
My model is painted entirely with Testors Model Master II Enamels and some Humbrol Enamels. Since this is a kit review, I won't go into detail about how I painted and weathered this model, and try and concentrate on the kit and accessory sets used.
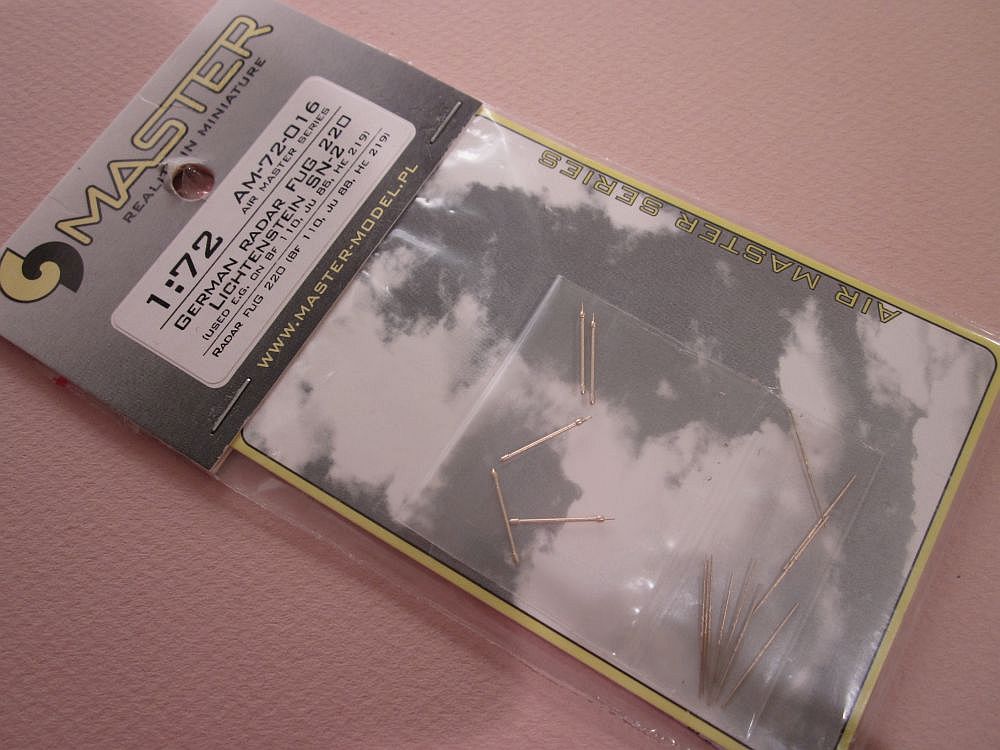
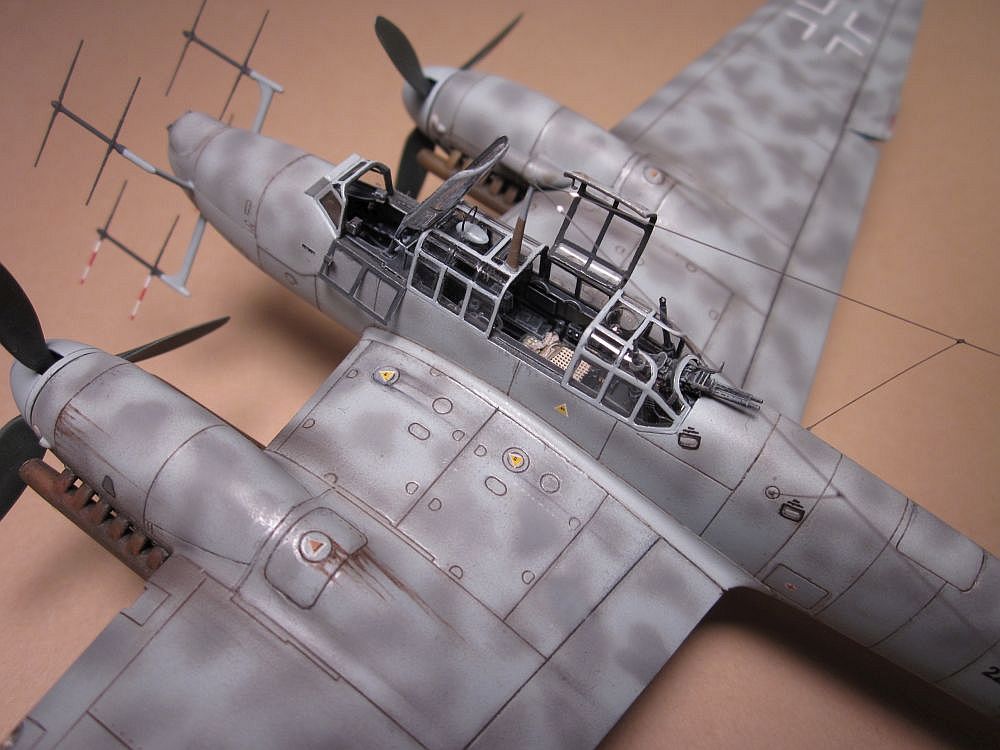
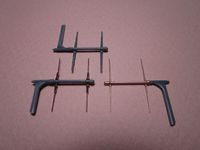 I used all the Eduard accessory sets that Eduard kindly sent a long except Photo Etch set No. 72-561, the FuG 220/212 brass PE set. I dutifully cut away the plastic kit parts and cleaned them up, and cut out a sample 'deer's antlers' pair and went to work. But I quickly noticed that the plastic parts were too thick (which I already knew), but now was also realizing that the PE replacements looked too thick in their centers to play the part too! At about this same time I recalled a new company's 'turned brass' 1/72nd FuG radar sets – by a company called "Master-Model" out of Poland. Mentioning my dilemma to John Roll (who's king of Roll Models online Hobby Shop), Roll Models kindly donated a set of the Master-Model FuG220 to this project, and those are the ones I ended up using. See the comparative photo showing the original plastic parts, Eduard PE, and Master-Model versions all side by side and you'll see what I mean. The Eduard PE versions would have been fine in a pinch, and were still better than the plastic parts for same, but neither captured the delicacy of this radar array quite as effectively as the Master-Model set does. You can see the final results in the photos.
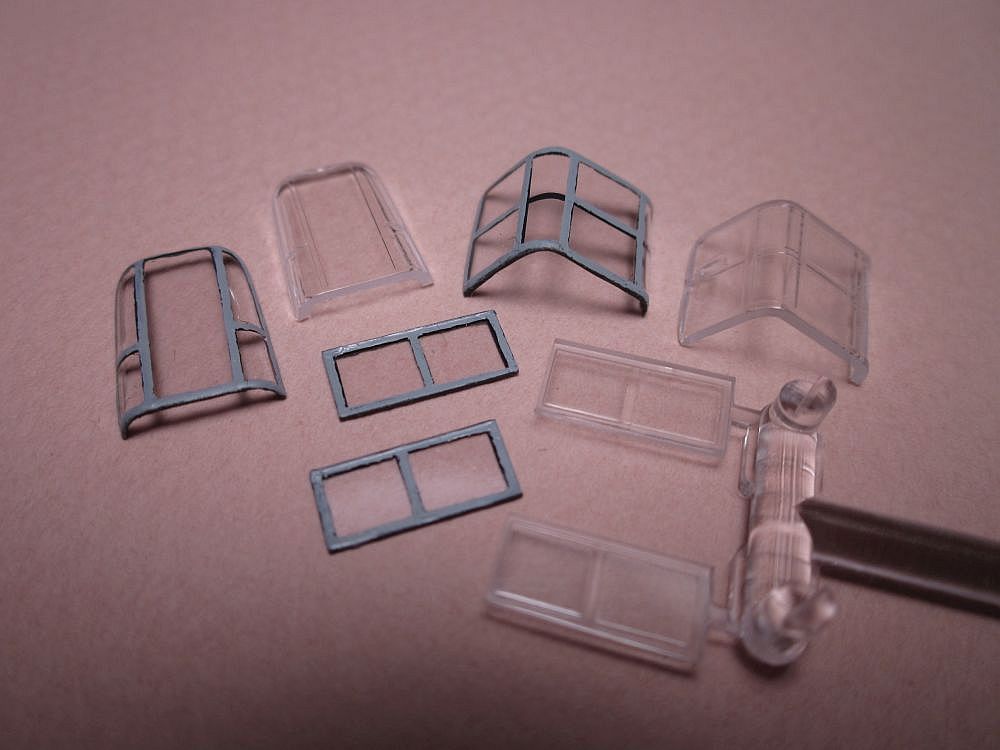
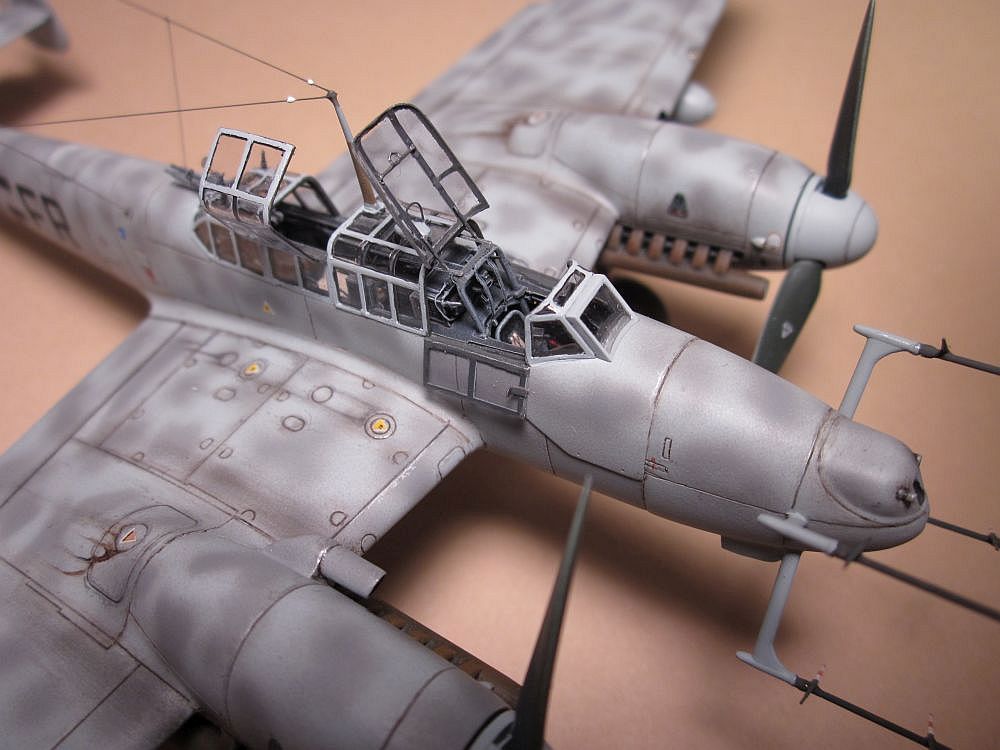
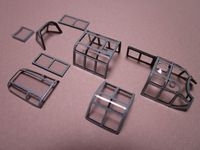 The clear canopy sections are all very nicely molded, very accurate and clear, and fit quite well to the fuselage and to each other. But they're thick. So for any sections meant to be in an open position I replaced with home-made 'heat & smash' versions made with the clear plastic that comes as tops on Christmas card boxes. Then for the main kit clear pieces that I am using, I carefully thinned the edges that would end up exposed. This gave a much better overall 'scale look' to the cockpit and canopies. The Eduard canopy masks that were provided in the kit fit really well, and I used most of them, hand painting the balance. I used painted decal strips for the RLM 66 interior framing. The wheel masks worked equally well.
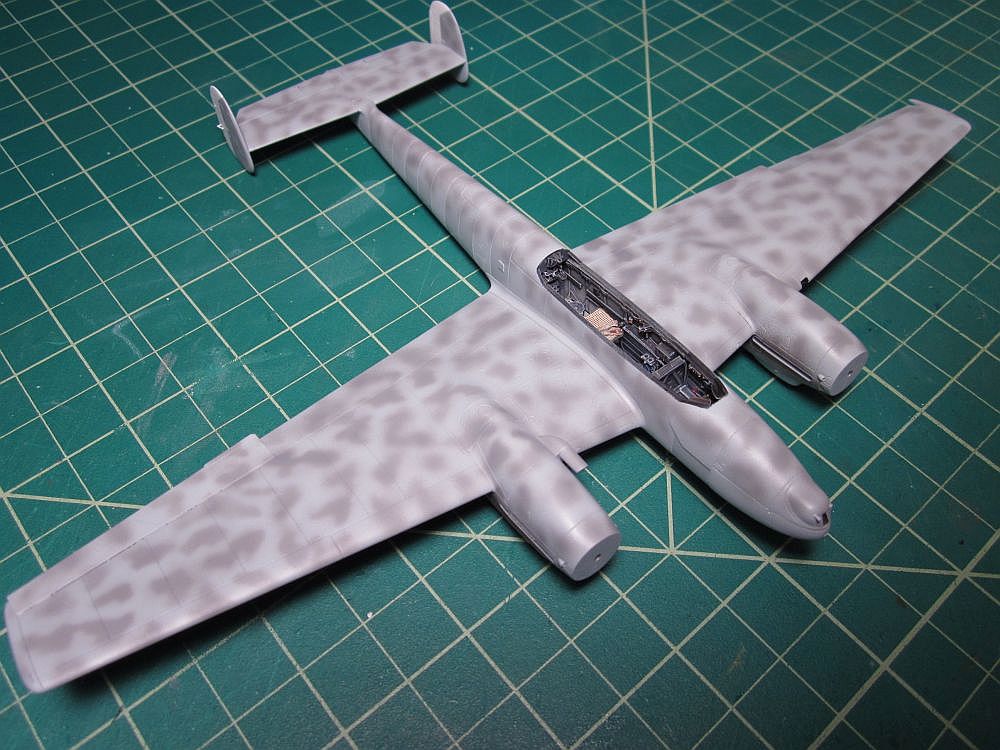
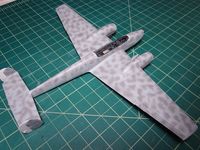 Fast forward through the airbrushing to the final airbrushed paint job (see photos) prior to application of a gloss acrylic floor finish - "Future", what else? By the way, some say the 'new Future' (by Pledge) isn't the same good stuff as the old stuff was. They're wrong. This new Future sprays and behaves identically - and that means wonderfully. I always add a single drop of liquid dishwashing detergent (Ivory) as a wetting agent before spraying to avoid the stuff 'beading up' on me and I highly recommend that step.
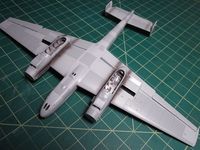 After the Future, the Eduard decals went on as nicely as any I've ever used. These are very thin though, so will require some careful handling. I used Microscale's "Set & Sol" and everything went down just fine. A full set of stenciling decals is also provided which takes some time but is worth it for a complete look.
After decaling, I sealed them in with another selectively shot layer of Future, let dry, and then did my usual weathering sequence with oil paints, pencil & pastels. Finishing work included stretched sprue aerials, getting the canopies in place (using while glue), Pitot tube insertion and FuG 220 installation. And there you have it!
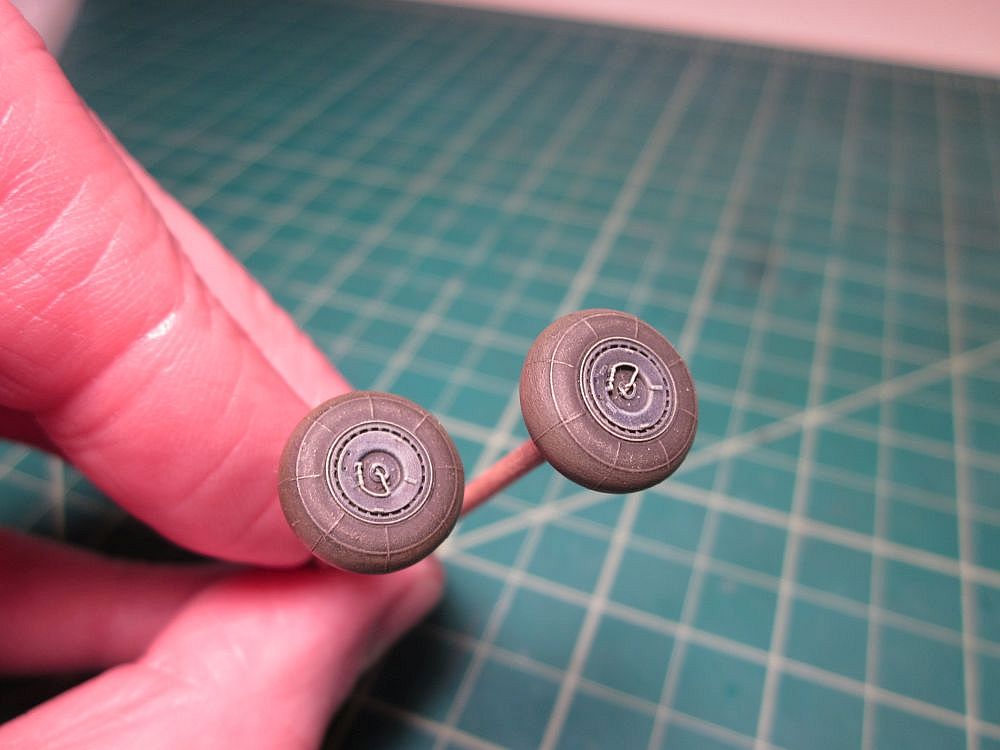
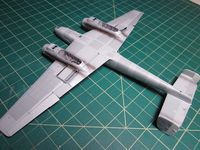 This 1/72nd scale Bf 110G4 is indeed the kit that long suffering 1/72nd scale Luftwaffe modelers have long been waiting for. The associated 'Brassin' resin cockpit and wheel sets as well as the photo etch sets made for this model are wonderful additions that really bring the project to life, and are highly recommended!
This wraps up the second and final installment of this builder's review of the 1/72nd Eduard Bf 110G4 ProfiPack kit. Many grateful thanks to Eduard for donating this kit and for most of the accessory sets, and to Roll Models for the Master-Model FuG220 radar set.

