Eduard 1/72 Messerschmitt Bf 110G4 Nightfighter - ProfiPack Edition – Part 1
By Steve Hustad
The Extras
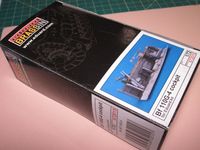
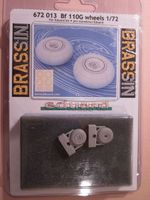
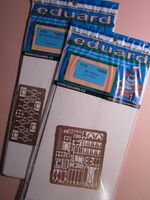
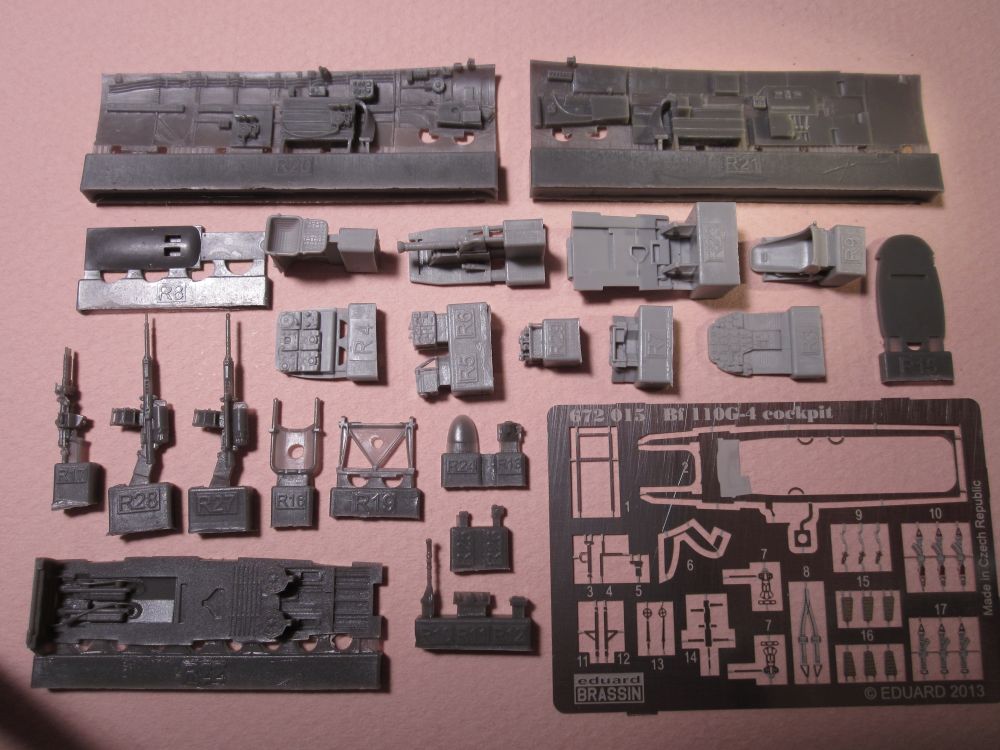
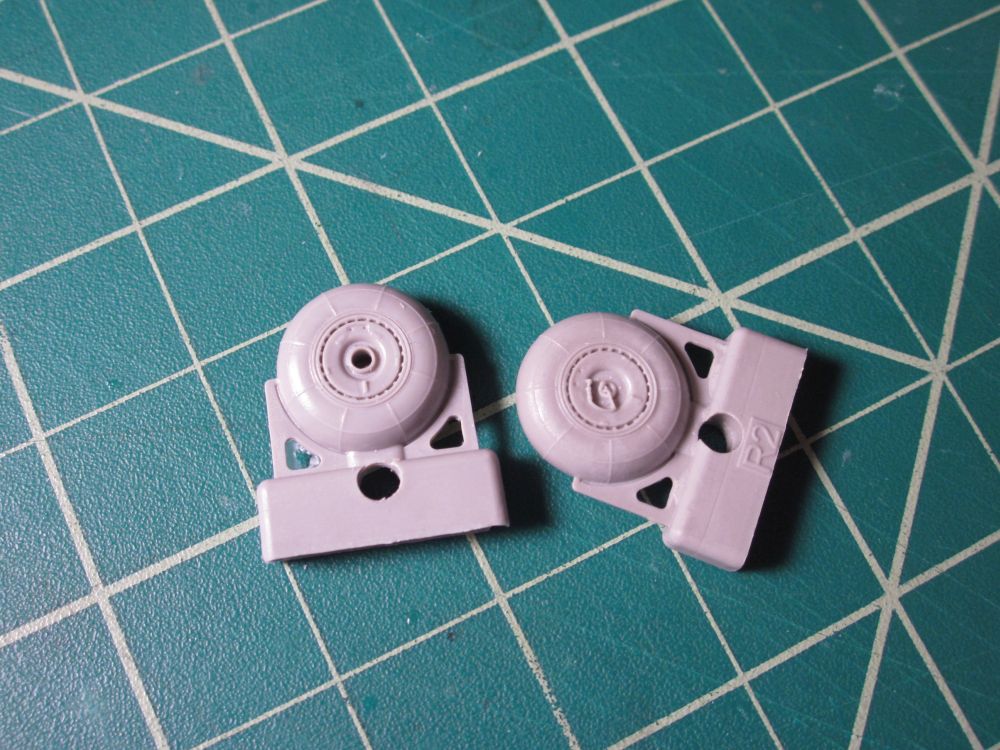
Eduard was kind enough to take us up on our suggestion to include all of their other new BF 110G accessory sets for this kit while doing the full build of the ProfiPack kit. They agreed, and sent us the following listed sets, and I've included a brief write up of each before we dive head first into the overall build effort (also see the previous First Look to see what the kit box contains):
That's it for the extras Eduard provided for this (now far more comprehensive) review. Onto the 'meat & potatoes' of getting this famous Nightfighter together and into the air!
Test fitting all the main pieces
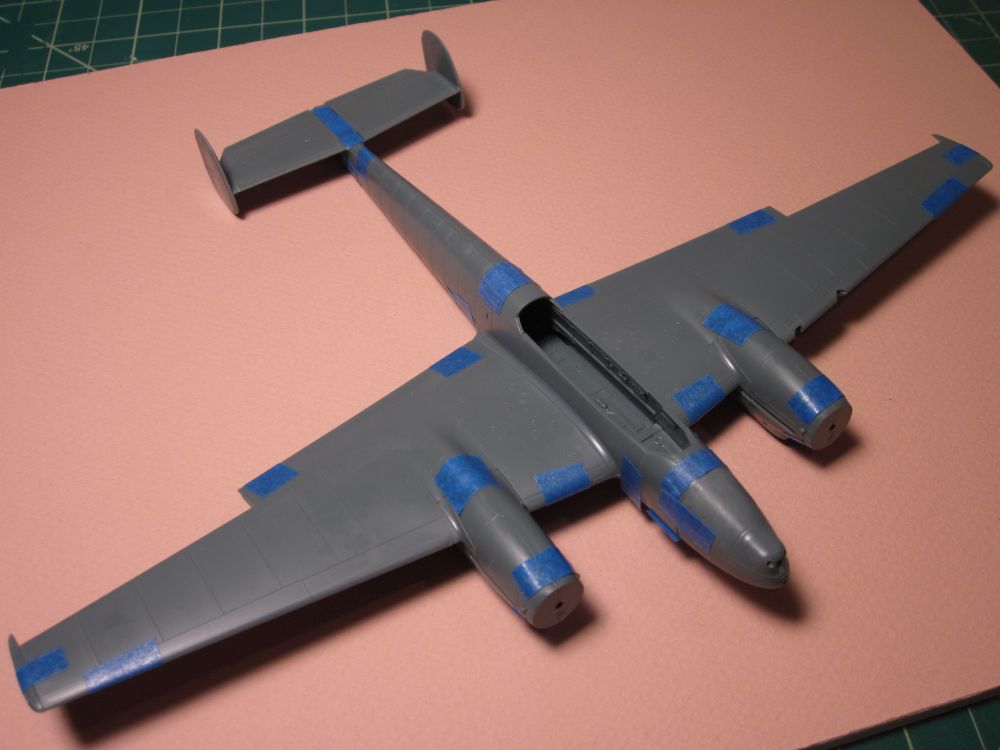
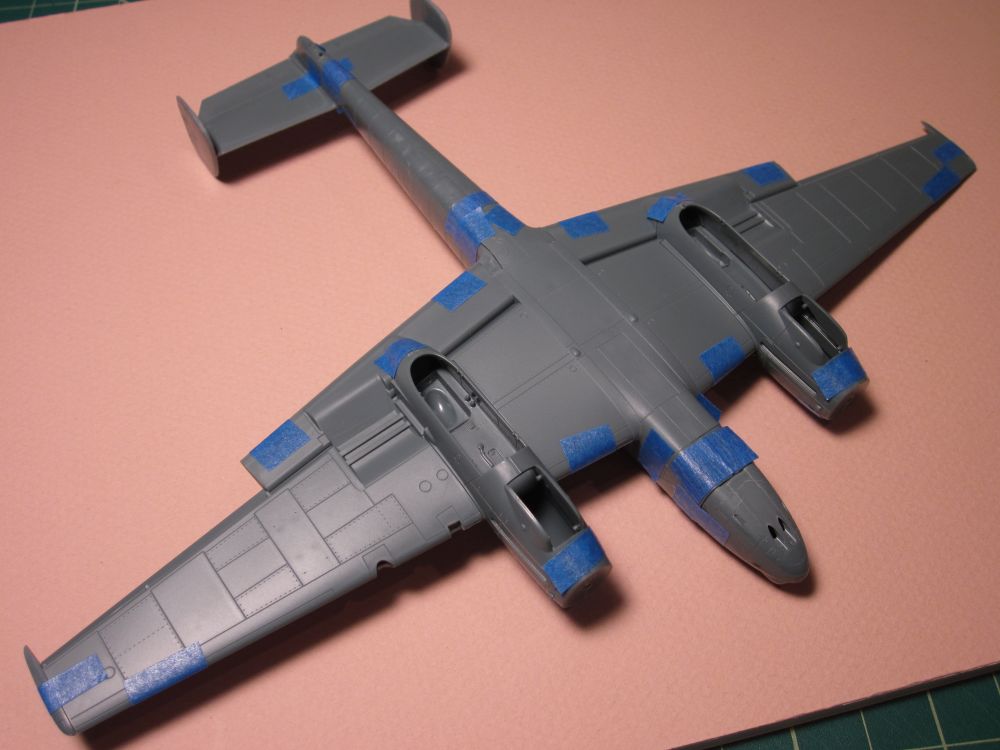
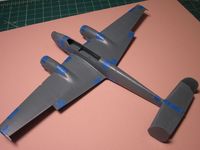 I separated all the main components from the sprue and test fit the fuselage, main wing, tailplane, vertical stabs, nacelles, under-wing radiators, nacelle intakes, and nose section (see the blue-taped together mock up photo). I'm pleased to say that all but the nose fits well and will require no filler putty. The nose section shows some 'steps' at the sides that will need some attention with sandpaper to bring the 'step' between the nose and fuselage down to an acceptable look.
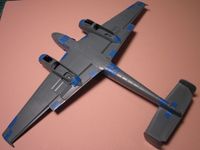 There is one issue you'll want to deal with and that at the main wing's underside at each flap's trailing edge. Eduard has molded the flaps trailing edges here as part of the upper wing moldings, such that when joined you get a nice sharp trailing edge – which is great. But the problem is it leaves a fairly big seam (that doesn't exist on the real aircraft) about 2mm forward from the flaps trailing edge on the underside. This needs filling, and you can see the seam in the photo of the taped together model's underside.
Next up, I went through the plastic kit parts and deleted those pieces made redundant by either the Brassin cockpit and wheels set, or the two photoetch sets. This step eliminated A LOT of cleanup work, and so the model Gods smiled...
Fit and usefulness notes concerning the extras
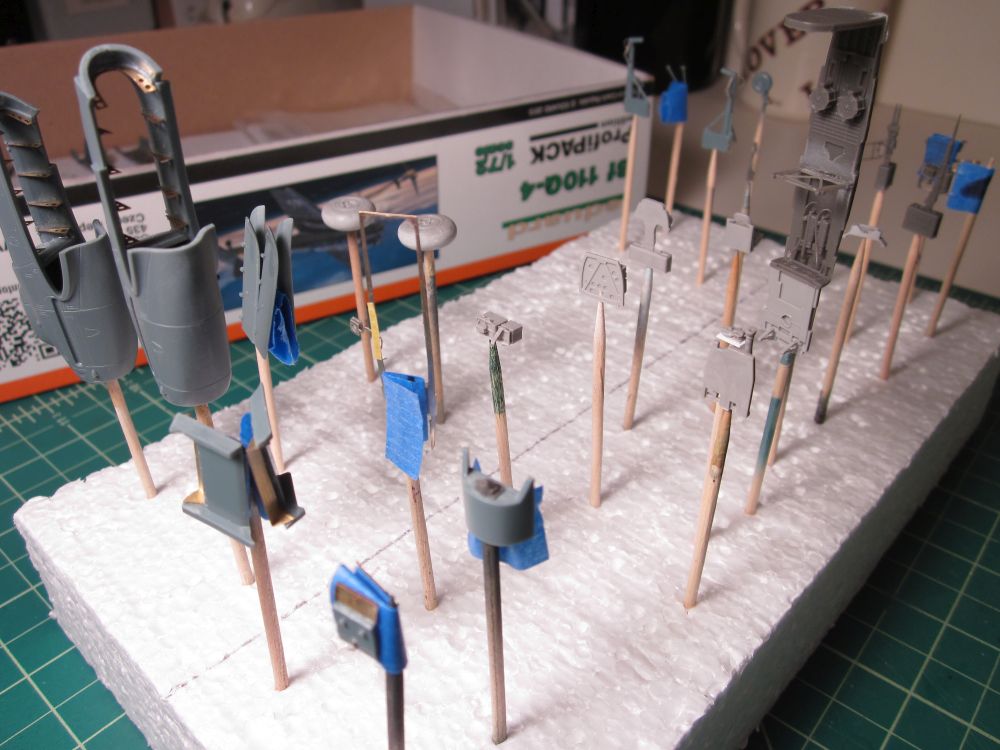
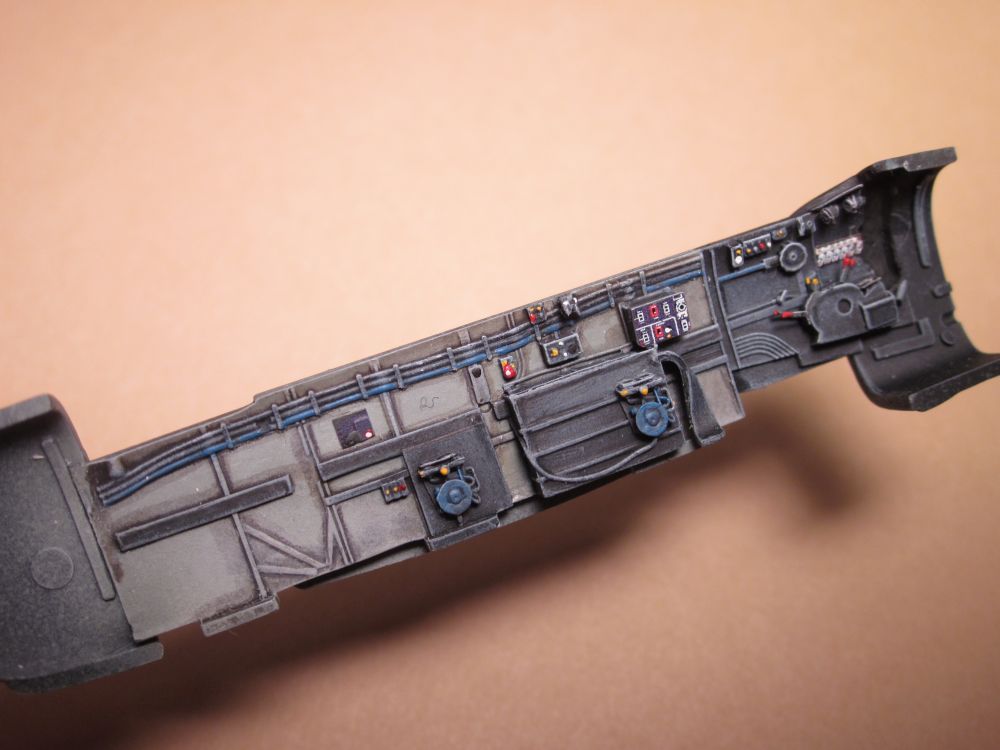
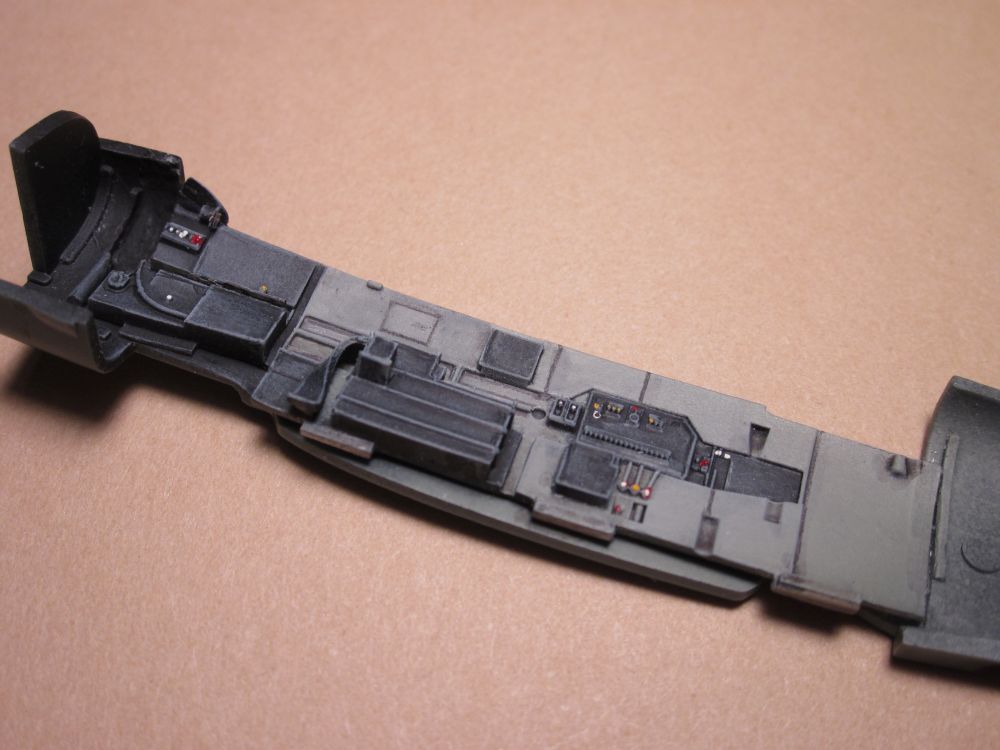
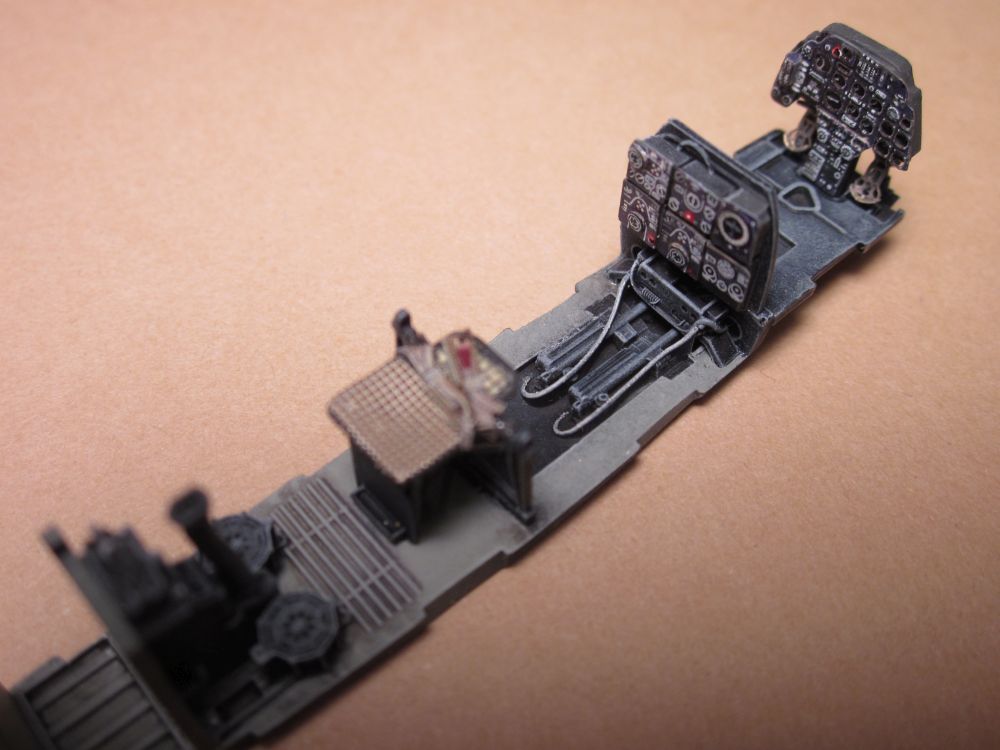
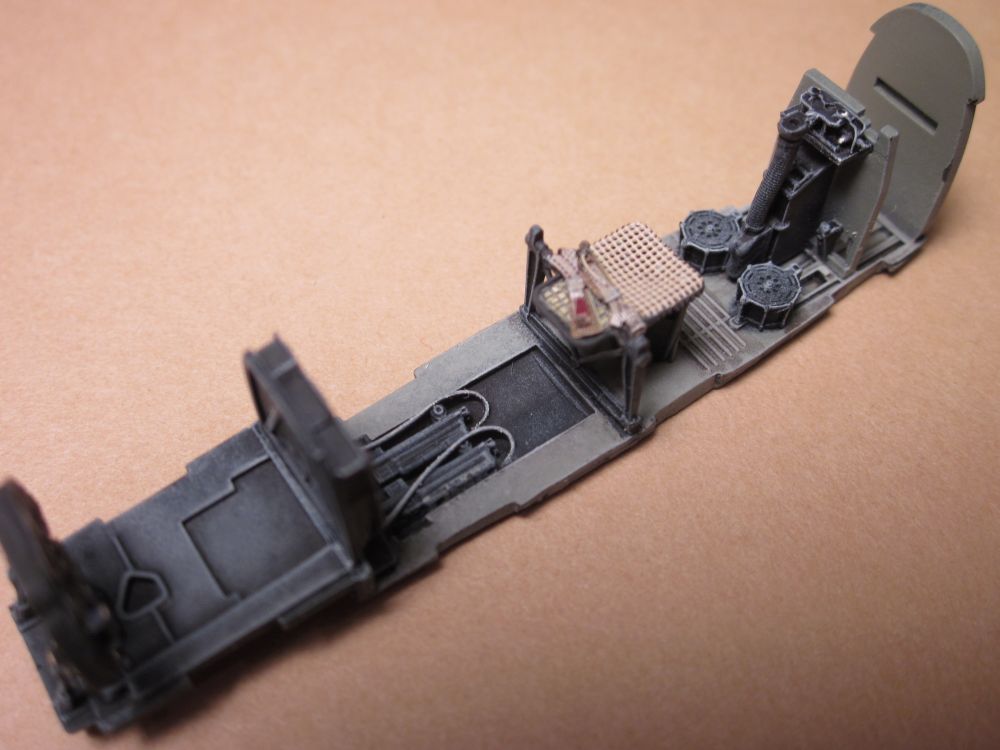
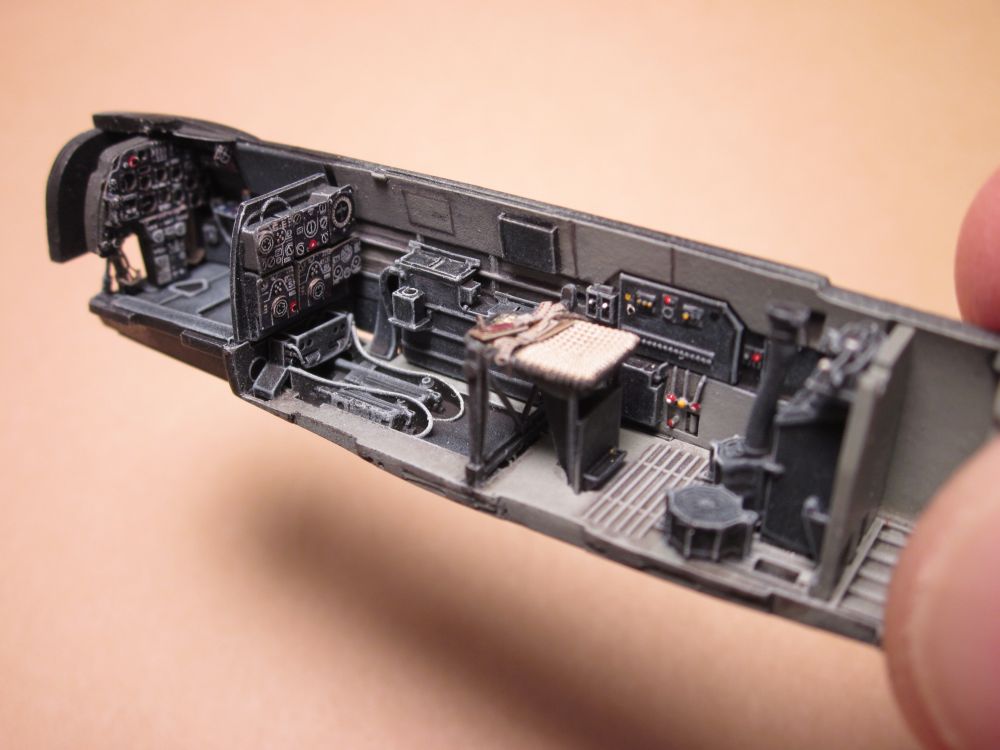
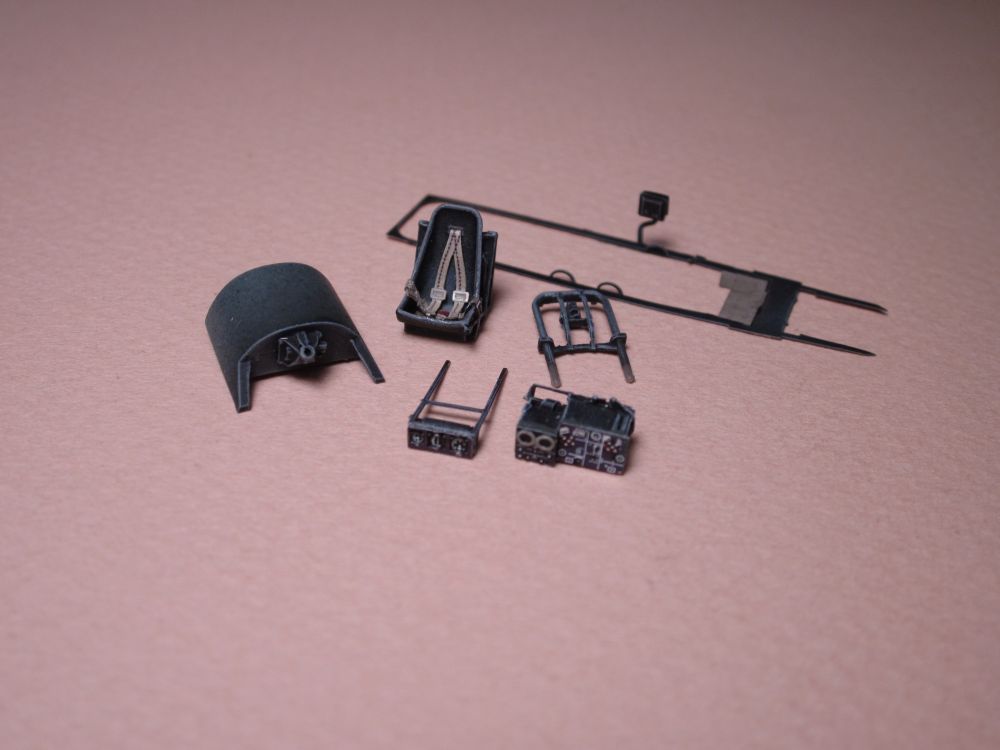
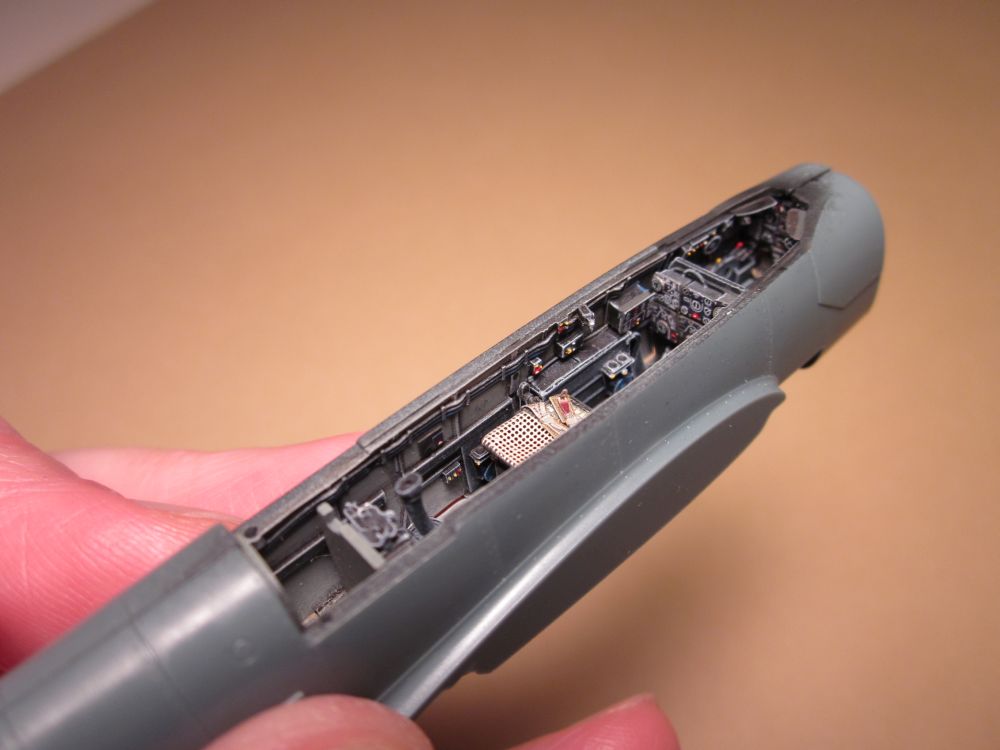
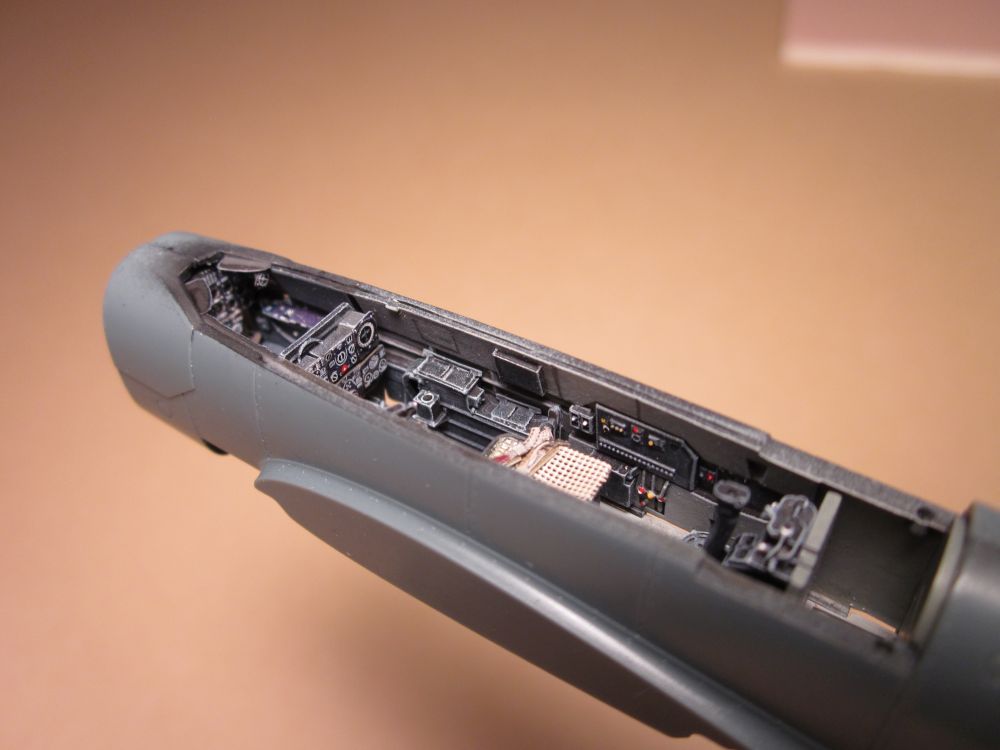
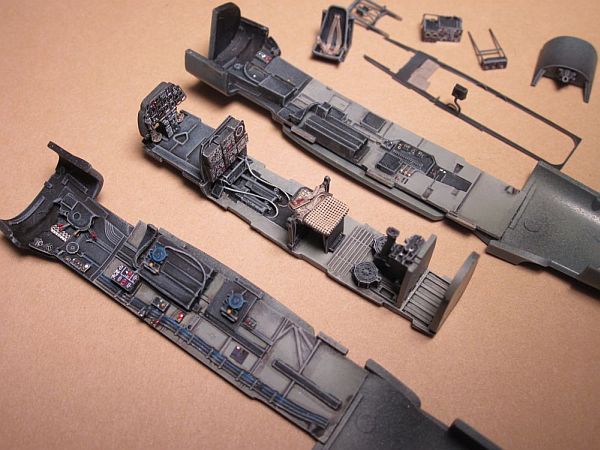
 The Brassin resin & PE cockpit set is excellent, and fits like a charm, but many pieces on the provided colored PE set are redundant to those provided on the ProfiPack kit's fret. Like all of the seat belts, rudder pedals, etc. Perhaps intended for use with a future "Weekend Edition" kit? But then why not just buy the ProfiPack? I also really wanted to use the really finely detailed radio array/stack, instrument panel and radar scope and array set, but try as I may, I still just couldn't get those to looks as nice as the ProfiPack provided colored PE parts, so I ended up sanding those smooth, and applying the colored PE. Too bad, but 'the look' is better I think.
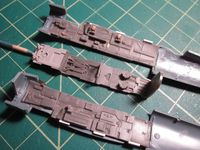 Some fit comments on the resin cockpit set – The provided floor board is too narrow to meet the fuselage sides at the rear (fine at the front), and no, I didn't shave off too much of the molded on fuselage sidewall detail! I beefed up the locator tabs with strip styrene and that did the trick. Oddly, this is the opposite problem (too narrow) that we usually run into (too wide!). And I don't want to give the impression that the set doesn't fit well, everything in it fits wonderfully. Its just that in a couple areas you'll need to be aware and plan ahead.
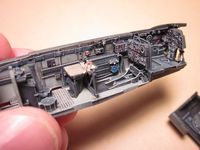 One very nice thing about this resin cockpit set is that it's engineered really nicely, including locator tabs and slots for almost all parts and sub-assemblies that ensure a perfect fit and orientation every time. Eduard is to be highly commended for this!
One oddity though is that the PE numbering on the instruction sheet does not match the numbers on the fret. But unless you're blind (and then what are you doing reading this then, hmmm?), you'll have no trouble ignoring the numbers and know to just go by the pictures.
A last 'fit issue' to mention is that after the resin cockpit sidewalls are glued into the fuselage, floorboard attached, and fuselage halves glued together, you'll notice that the resin cockpit's underside conflicts with the plastic wing's topside. Can't force this, just let out a little 'sigh' and drag out the Dremel, and grind off some plastic from the wings inner/upper mid-section, and also a bit from the underside of the resin cockpit until they fit together without any built in stress.
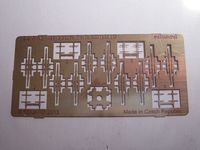
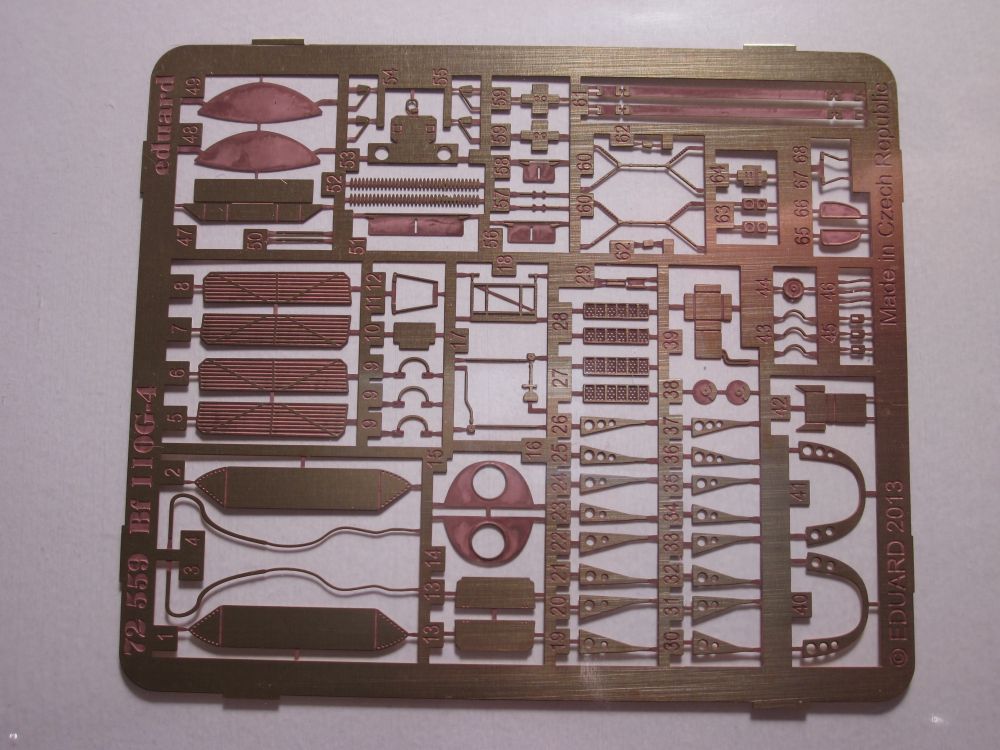
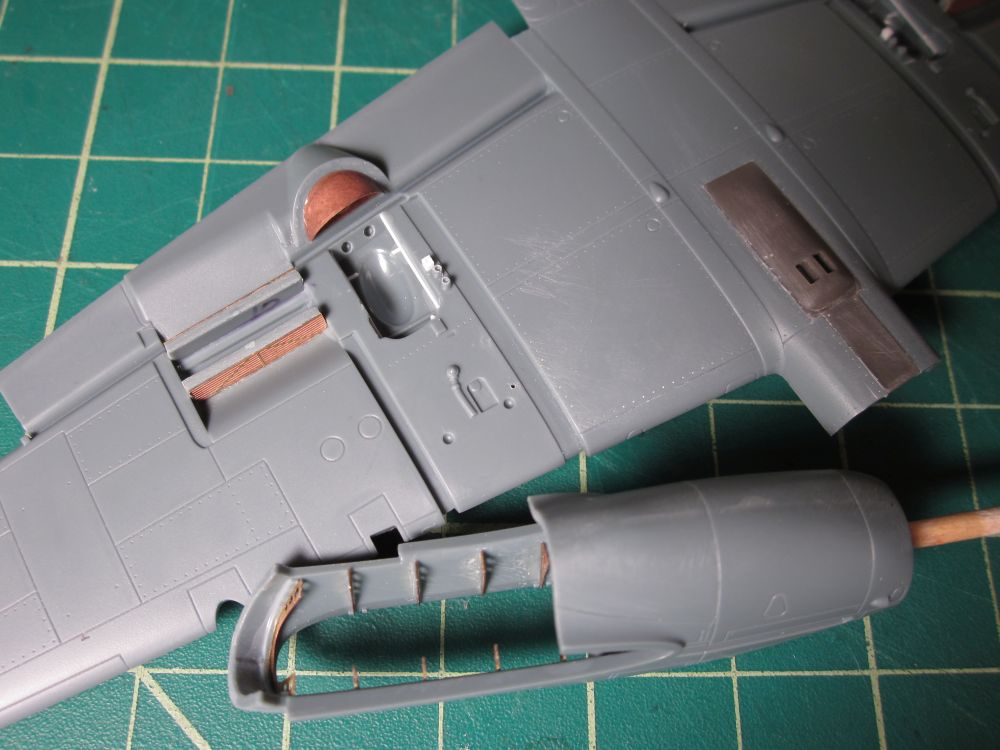
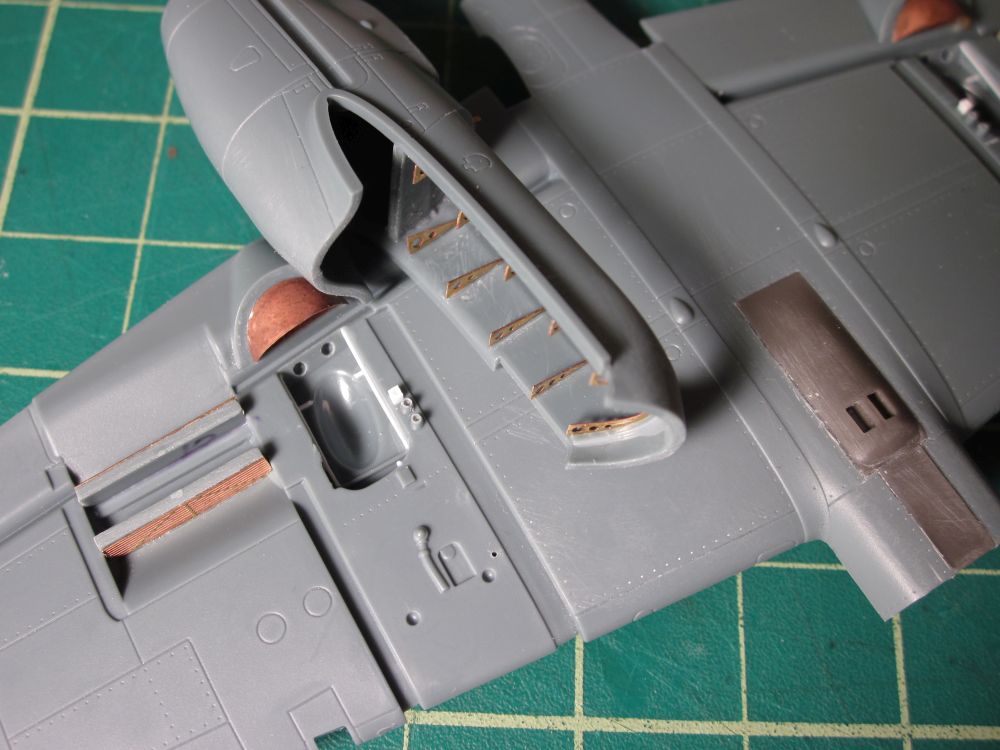
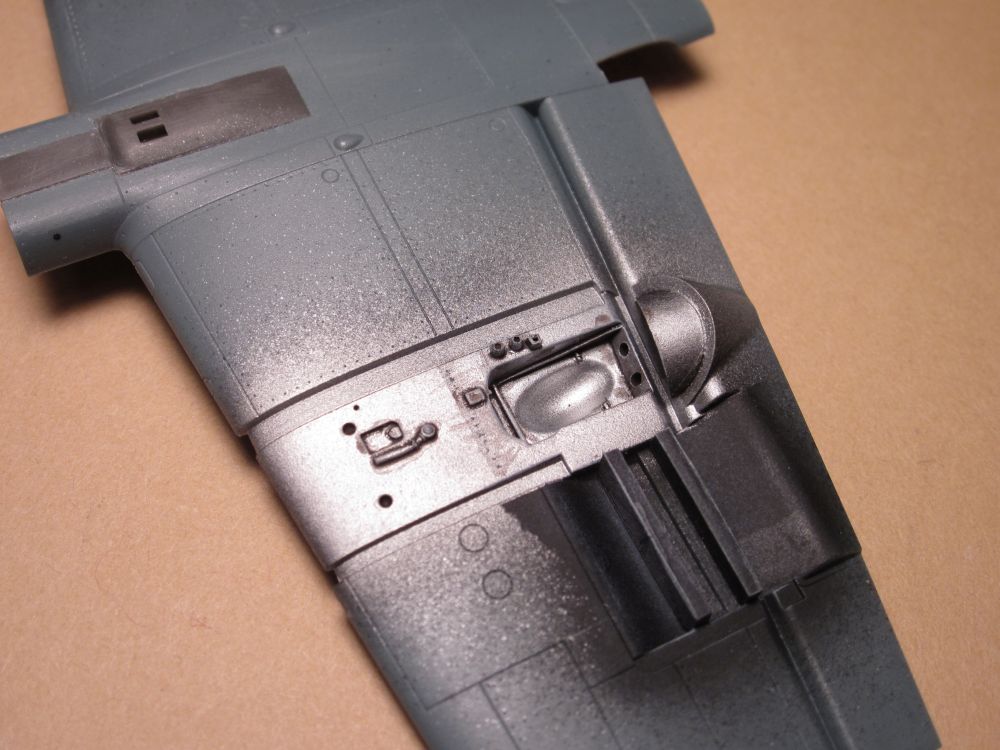
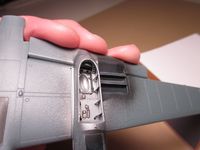 The Photoetch detail set 72-559 is not colored, but does provide some pieces otherwise missing from the ProfiPack kit. Namely, some very nice wheel well & nacelle inner structure detail that really adds to the realism (see photo). Also the inner grilles for the front and back wing radiator intakes and nacelle intakes are provided. Very welcome. All of these parts fit surprisingly well by the way. The landing gear break lines provided are too two-dimensional, and are best replaced with thin wire. Where this set falls down is with the PE bits provided for the cockpit. All parts shown in the instructions steps 1 and 2 are redundant to those already provided with the Brassin resin cockpit set. Though I did use a few pieces atop some of the resin because I though they looked just a little better – see photos of unpainted cockpit and you'll see them.
I'll cover the review for the Photoetch set 72-561 in this review's 'part 2', as it deals with things we won't run into until then.
That's it for Part 1 - the next installment of this builder's review will deal with final assembly, painting and decaling.

