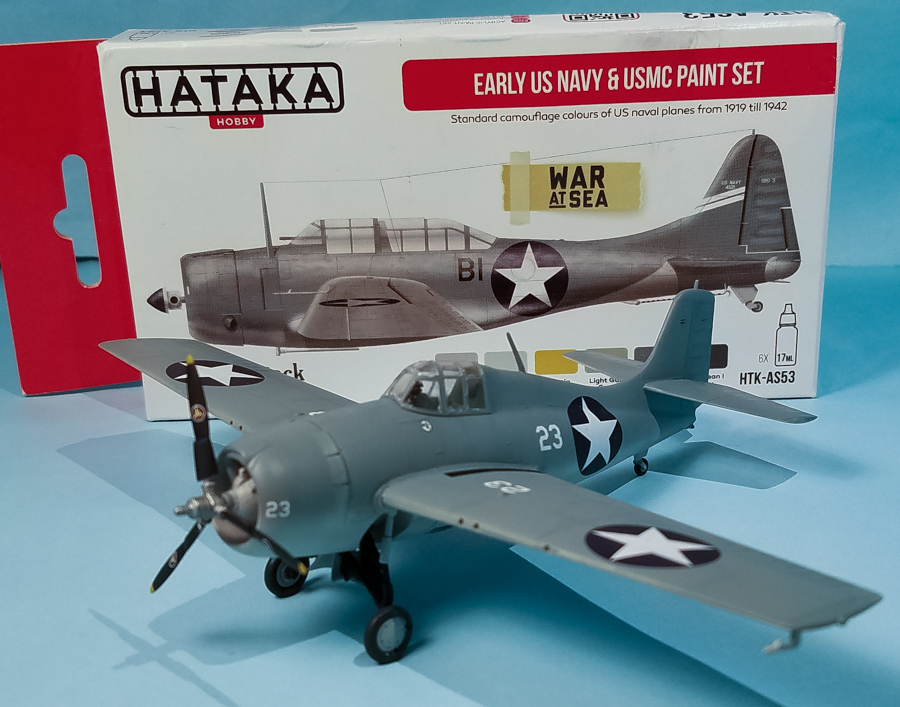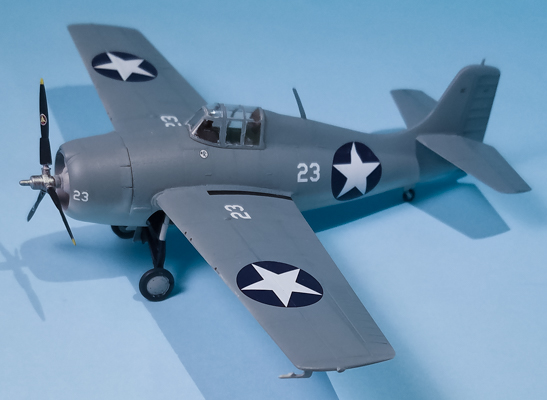
Building the Hobby Boss 1/72 Wildcat with Starfighter Decals
By Matt Bittner
Introduction
I acquired a Hobby Boss F4F-3 Wildcat from a member of IPMS/Fort Crook in Nebraska. It hadn't been started but the price was good and I was intriqued enough to give it a try. Well, it's definitely not the best Wildcat on the market, especially with the release of the Arma Hobby FM-2 series of Wildcats, and it truly isn't that good, either. Hobby Boss boxed their F4F-4 with earlier decals and called it an F4F-3. There's a lot of work to be done to this to actually make it a -3 that I would rather use one of the resin replacement wings on a Hasegawa kit.
But I wanted to give this kit a shot, just to see what was up with it.
The Kit
There isn't a lot of parts to a Hobby Boss kit, as we all know. I won't give the total amount of parts but it has a one-piece fuselage and a one-piece wing with part of the fuselage underside molded in-situ. And that right there is part of the problem. In addition, there are a number of accuracy issues with the kit, the most noticeable being the cowl and underside forward-fuselage isn't deep enough so I thought I would try to make it more accurate with judicial use of Apoxy. Judicial being the key word. I don't think I got it near enough but it does look a little better. I think. Maybe...
|
In any event, yes the wing-to-fuselage joint on the underside of the fuselage is really bad so I had plenty of sanding to do, followed by putty. Again. I did make it better - I think - and the wing-to-fuselage join at the root isn't that bad. Just some application of Perfect Plastic Putty (PPP) followed by removal by water of the excess and that's all that was needed. If memory serves, I used PPP on the stab-to-fuselage joints as well as the gaps there weren't too bad, either.
|
Hobby Boss includes a clear piece for the underside of the fuselage to represent the windows, and not just a couple small pieces of plastic. This was a fuselage-spanning piece that also didn't fit very well so after I glued it in, I sanded the entire thing so it would match up to the fuselage. Once it was blended in I then went over the piece with polishing sandpaper in various grits, followed by an application of Tamiya's Polishing Compound. Because I thought the Airfix kit's mask from Eduard would be close - and it was the only masks for the Wildcat I could find - I used the underside window masks from that set. Good enough. The underside antenna is part of that clear piece so I cut it off before gluing it on, but never replaced it. And doubt I will. For the canopy, though, I had to make my own masks as the Eduard set for the Airfix kit wouldn't work.
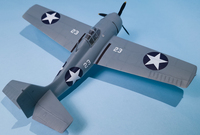
|
I did try a few more enhancements. First I added Monogram seat belt decals and their instrument panel to an otherwise bare interior. These are really old decals and since I was keeping the canopy closed, didn't want to do much more to the insides. Unfortunately most of the decals on this sheet are out of register but I tried to use the best ones I could find. I think it looks okay through the closed canopy. I also tried to hollow out the intakes on the underside of the wings, and I tried to thin the cowl flaps to show them "extended" and more too scale. Neither worked really well so it was at this point I decided I would just finish the kit and not worry about any more inaccuracies or how the kit looked. It would be a back-of-the-shelf sitter.
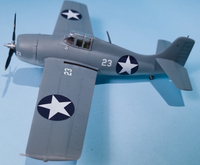
|
But still, I have a lot of aftermarket decals for the Wildcat and since this is truly an F4F-4 decided to use a set from Starfighter Decals and represent an aircraft flown by Thatch. The model was first primed with Vallejo's Gray primer, then I used Hataka paints for the rest. I'm enjoying using these paints as well as the Vallejo because I'm receiving great results with them. I use the acrylic "airbrush ready" paints with the red lid, but still thin them a little more using Future as well as Hataka's own thinner. Because I wasn't going to do much to the kit anymore I just glossed the kit with Future, applied the decals, then applied a Vallejo Premium Satin finish. I used Vallejo Model Washes for the panel lines and around other areas and then called the kit done.
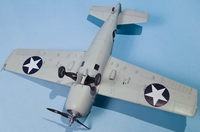
|
The Starfighter Decals set I used is #72-114 "Early Wildcats Part 3" (now unfortunately out of print), and even though they are designed for the Hasegawa kit, really worked well. I started using just the MicroScale decal solutions but in the end had to use Agama's Hypersol, especially on the fuselage stars. I think it was because of the different Hobby Boss fuselage shape from Hasegawa that required the use of the Hypersol. But in the end the decals really settled well and look the part. My only complaint is in their instructions. Thatch's plane had the code '23' on top of the wings and while Starfighter does provide the decals, they do not show them anywhere on their instructions. Just a little bit of on-line research showed me where they should be placed, so it wasn't a huge problem.
Conclusion
Every once in a while you just need to finish it a kit, regardless of how you think it will turn out. This is definitely not a contest-contender and not anywhere near my best effort, but it's finished and while it will sit "at the back of the shelf", I was able to use a set of aftermarket decals I normally wouldn't have. There are other markings on the Starfighter Decal sheet I used I would rather use instead but decided in this case, to use a set of markings that would have not been otherwised use.
Many thanks to Starfighter Decals for the review decal set.

