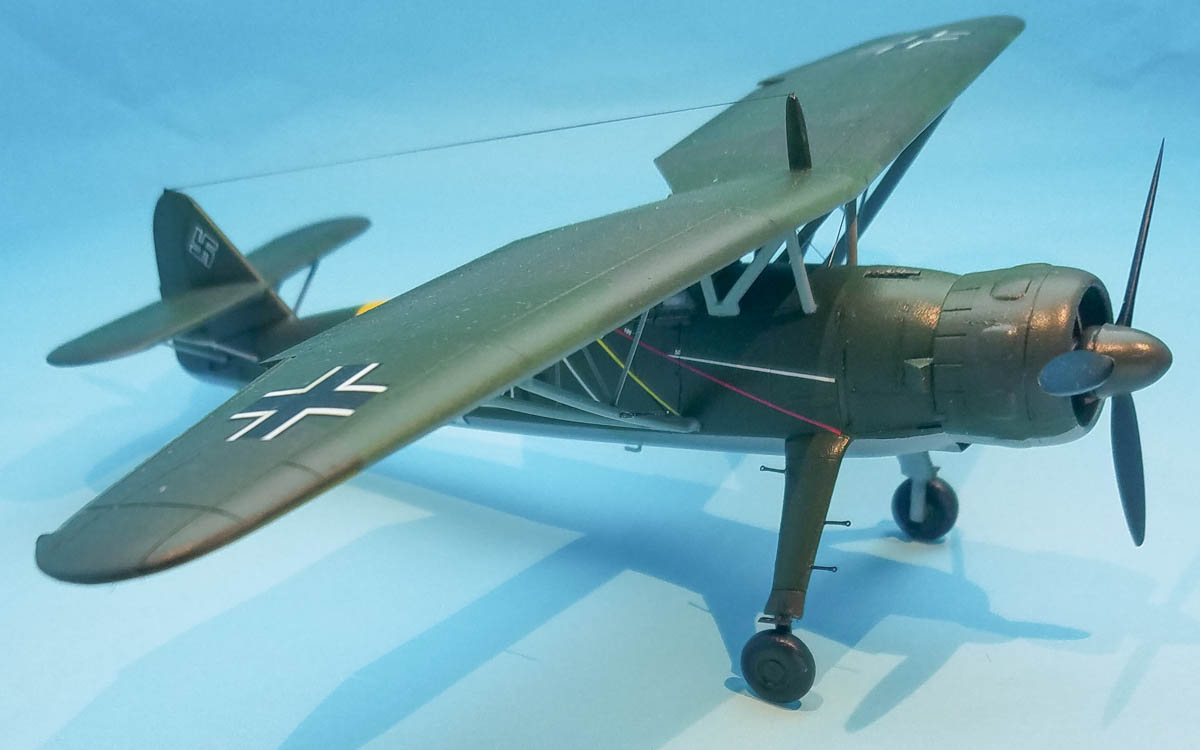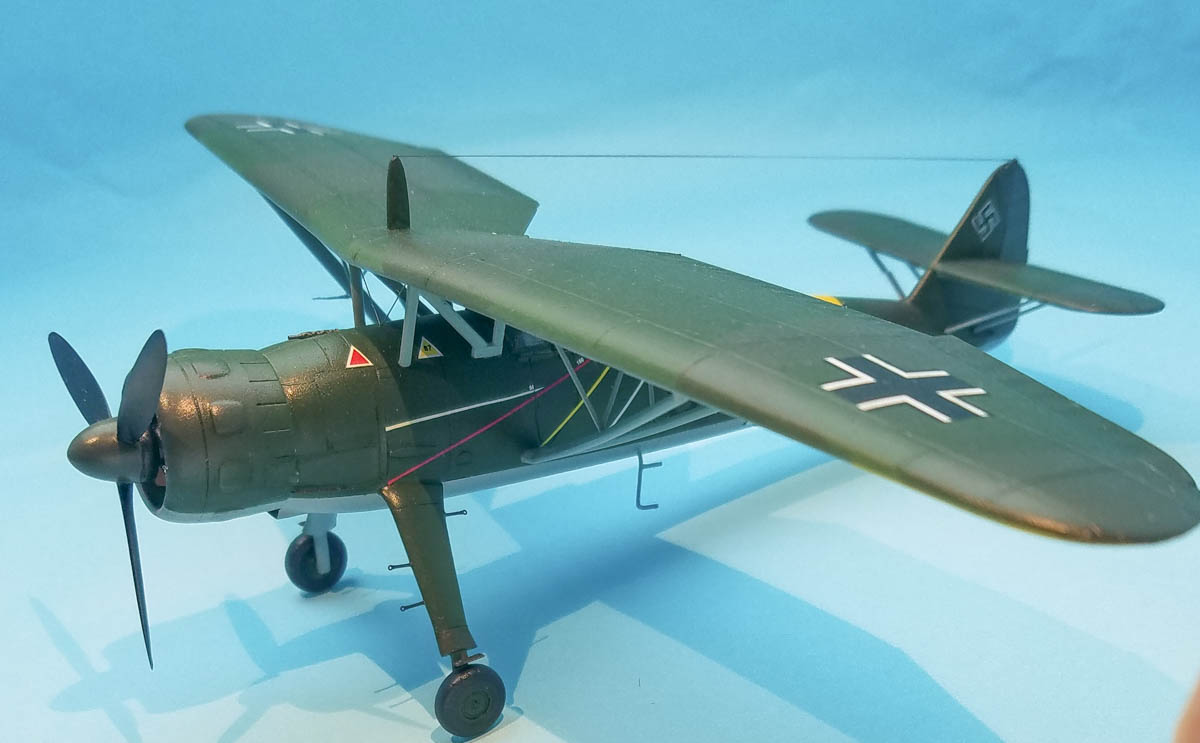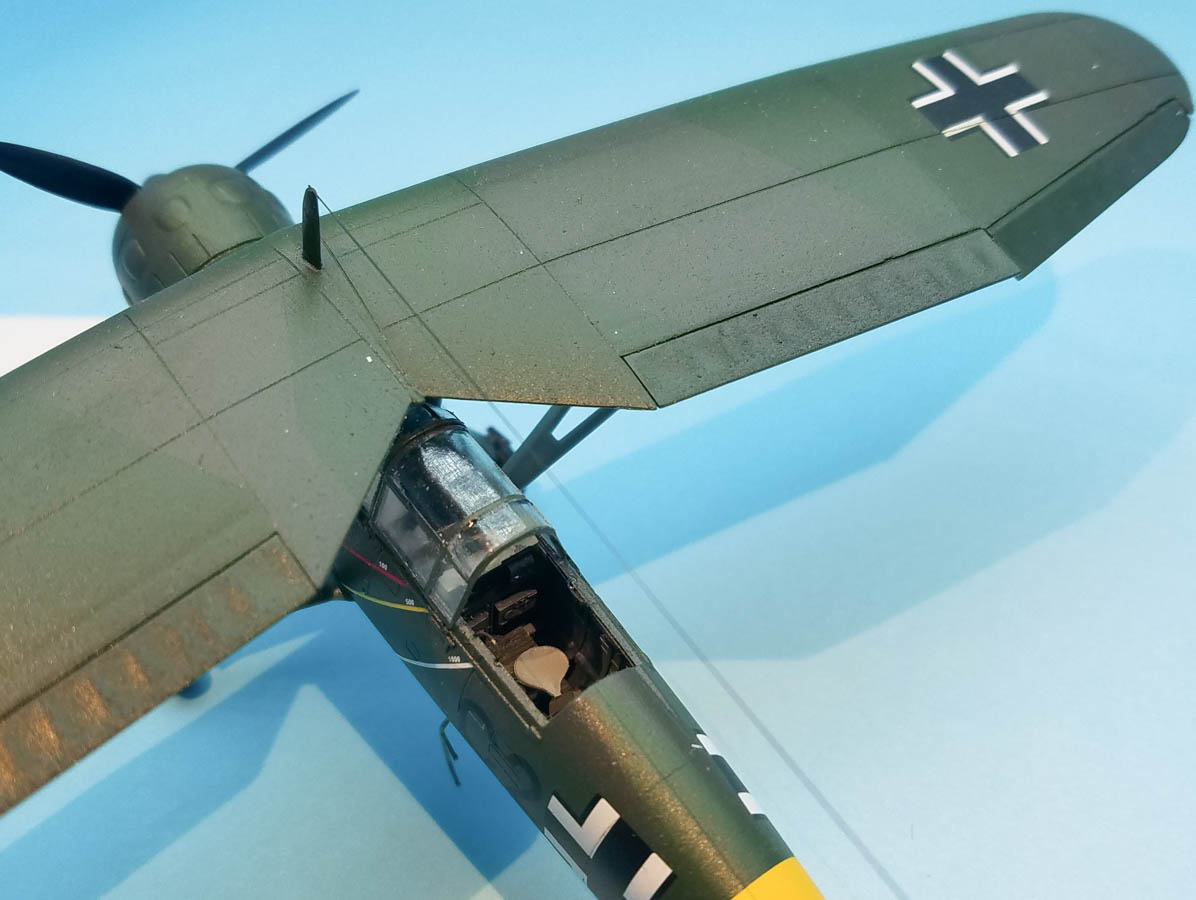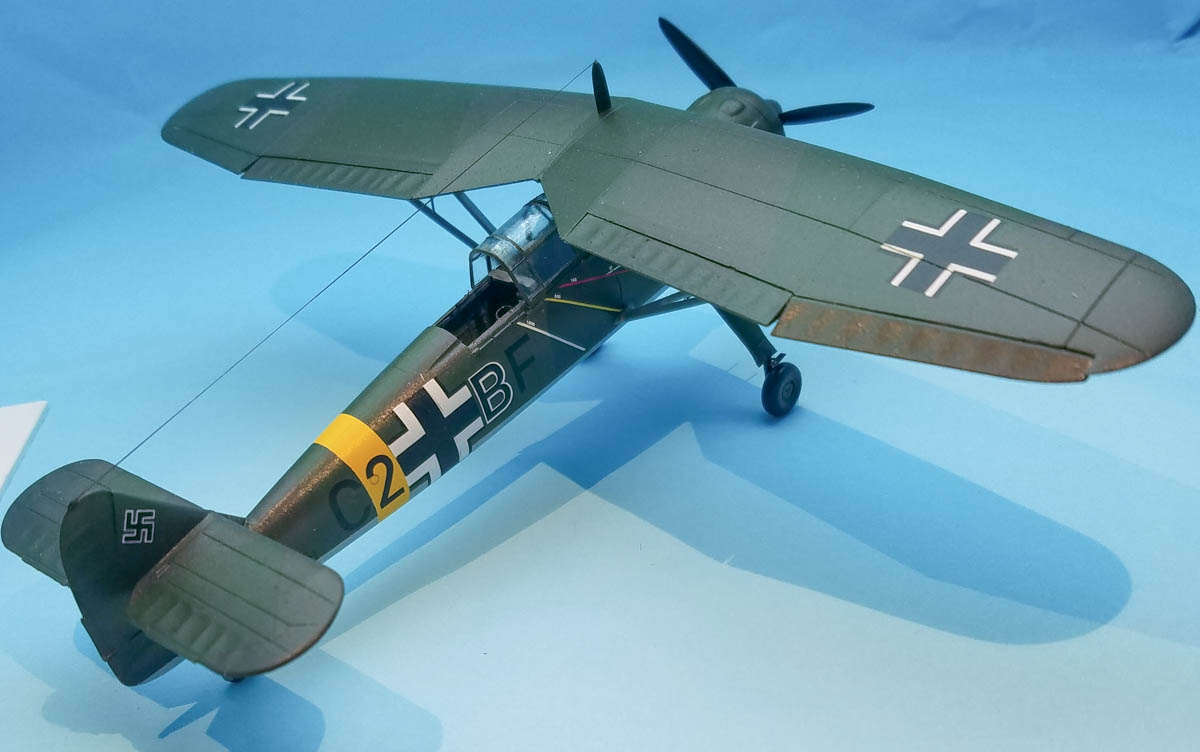
Brengun 1/72 Henschel Hs 126 B1
By Matt Bittner
Overivew
Unfortunately it has been quite awhile since I started the Brengun 1/72 Hs 126 B1, so a lot of my article will be from memory. It isn't a bad kit, overall, and goes together relatively easily.
For what's included in the box, refer to my First Look. Plus be aware that Brengun has also released a detail set for their kit, along with a vacuum-formed canopy and set of masks. Unfortunately I messed up the vacuum-formed canopy so was unable to use it. It was all down to a modeler's blunders.
Construction
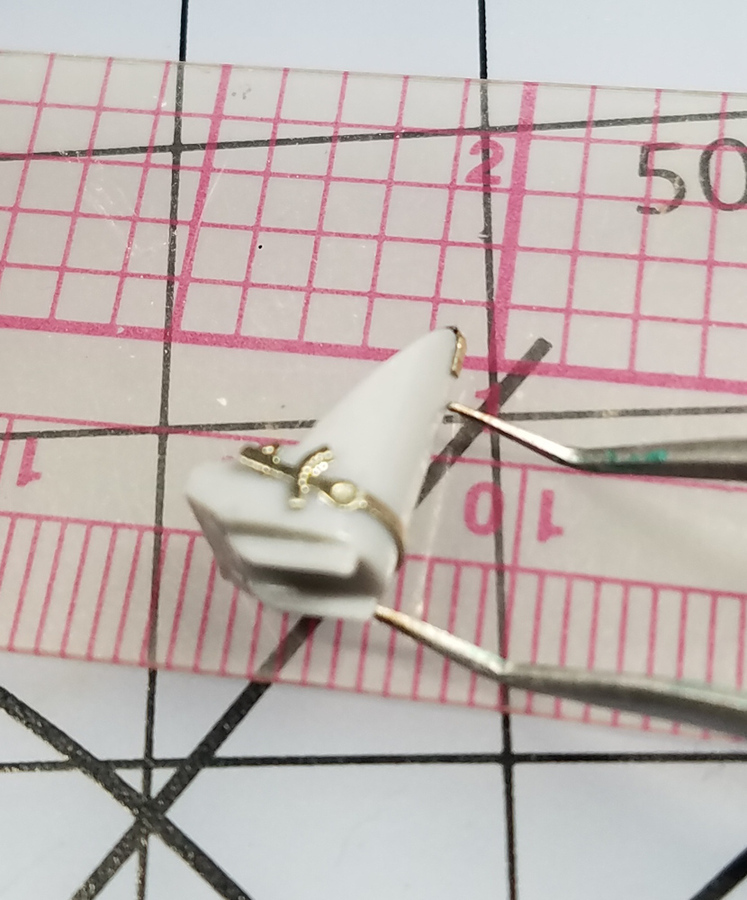
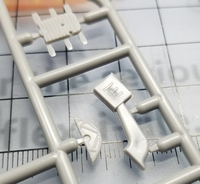
I did make use of most of the parts contained within Brengun's own photoetch and resin detail set. The only items I didn't use were the bomb/bomb rack; smoke/gas generator; tropical filter; and the rear-gun sight. Everything else was used and definitely helps enhance the kit. My only complaint with the resin and photoetch set is that the instructions really don't show where the underside, fold-up photoetch intake should go, behind the cowl. So references are a must to place this in the correct location.
|
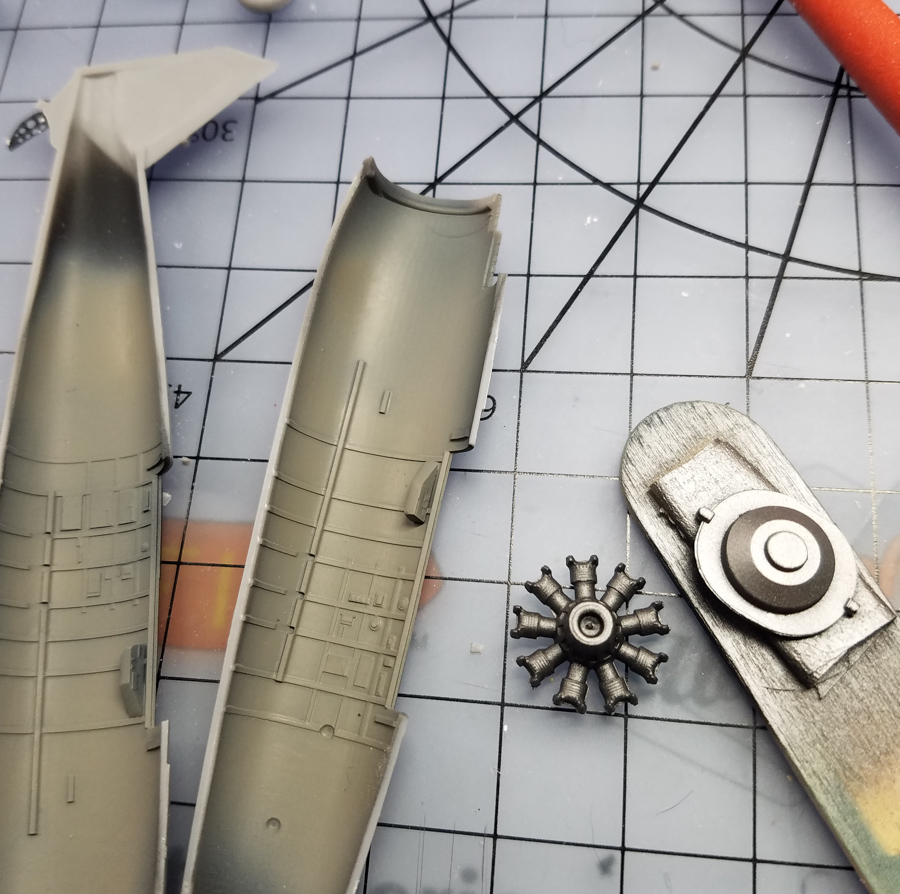
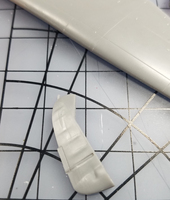
For this model I'm going to let the pictures do most of the talking. I do want to point out there were sink marks in major areas that needed to be addressed, mainly the separate rudder and the ammo bag collector for the rear gun. As that last one won't be seen I wasn't too concerned, but fixed it anyway. The rudder, though, definitely needed help.
|
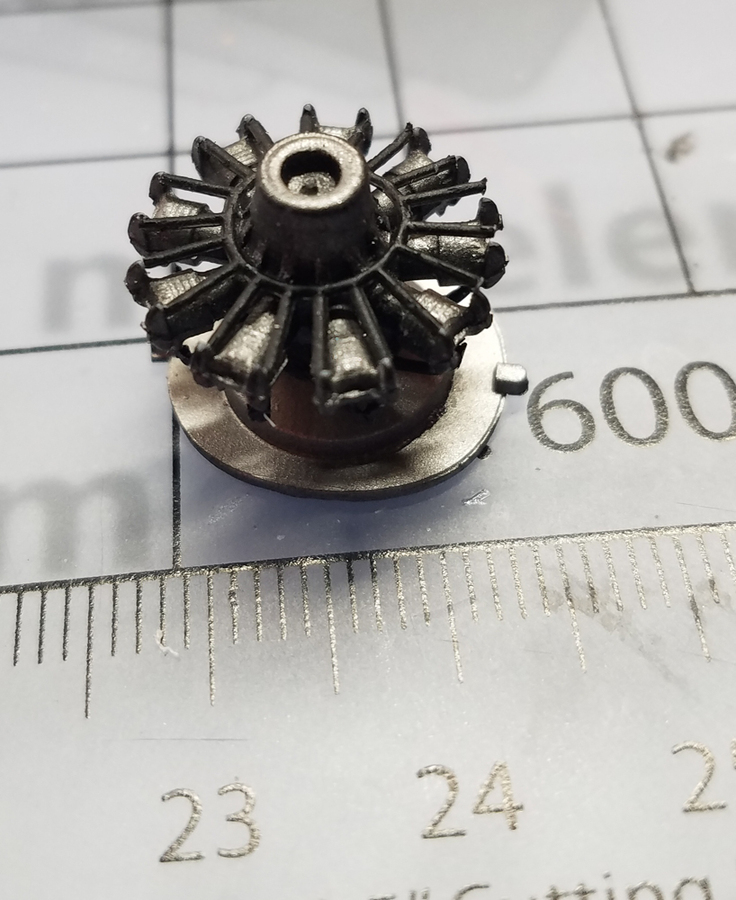
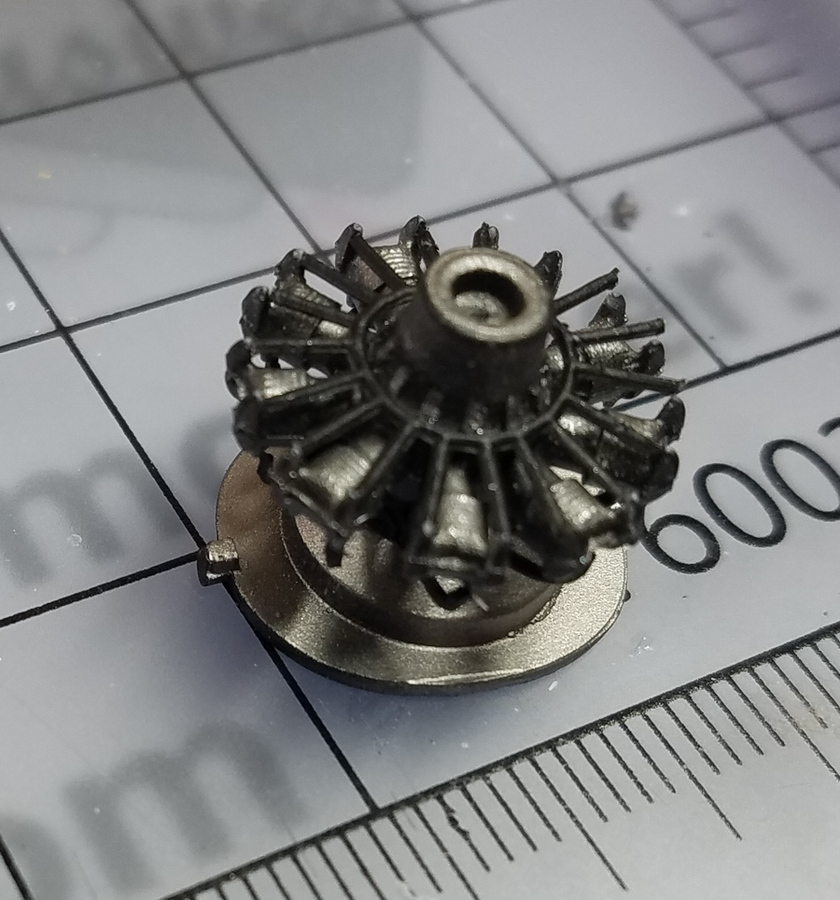
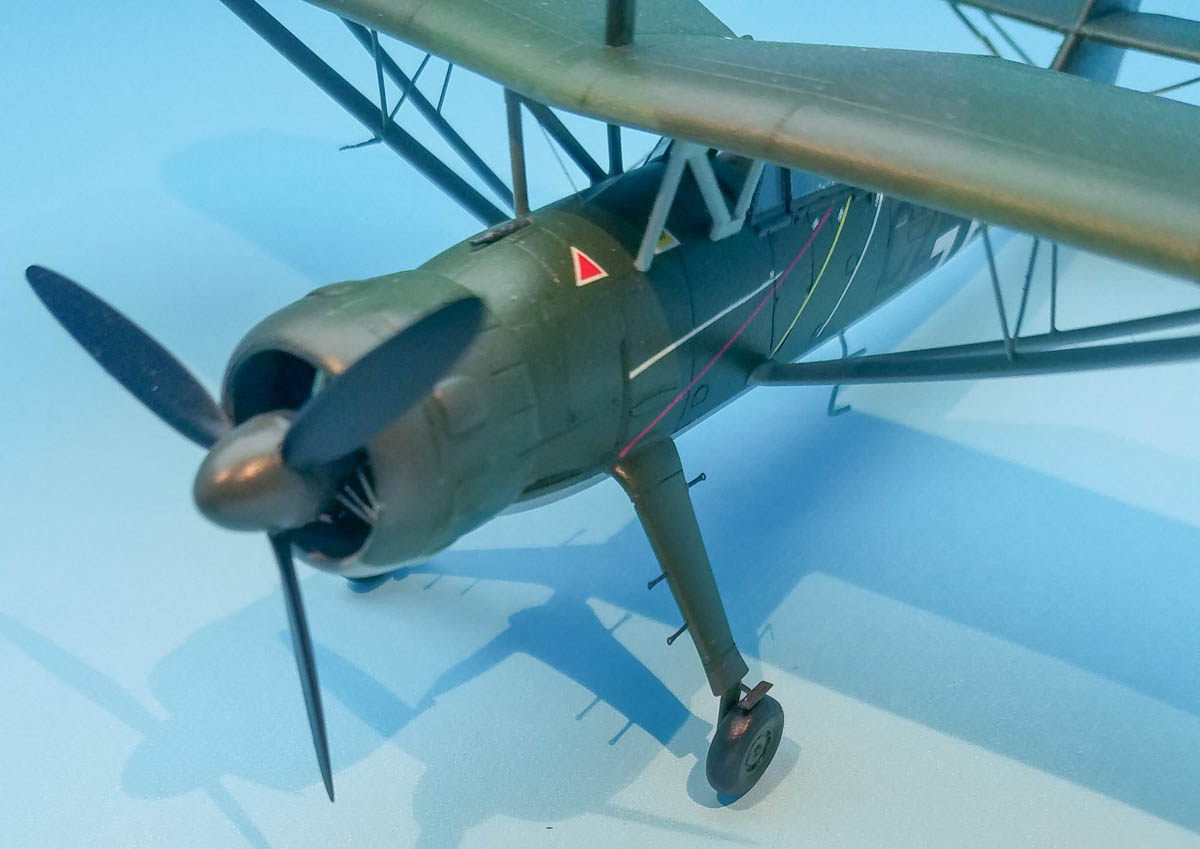
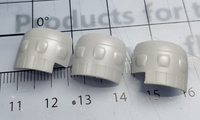
Another area I wasn't happy with was the three-piece cowl. It took me a few tries with liquid cement to get everything line up and even so, I had to use spots of putty here and there. A one-piece resin cowl would definitely have been better.
|
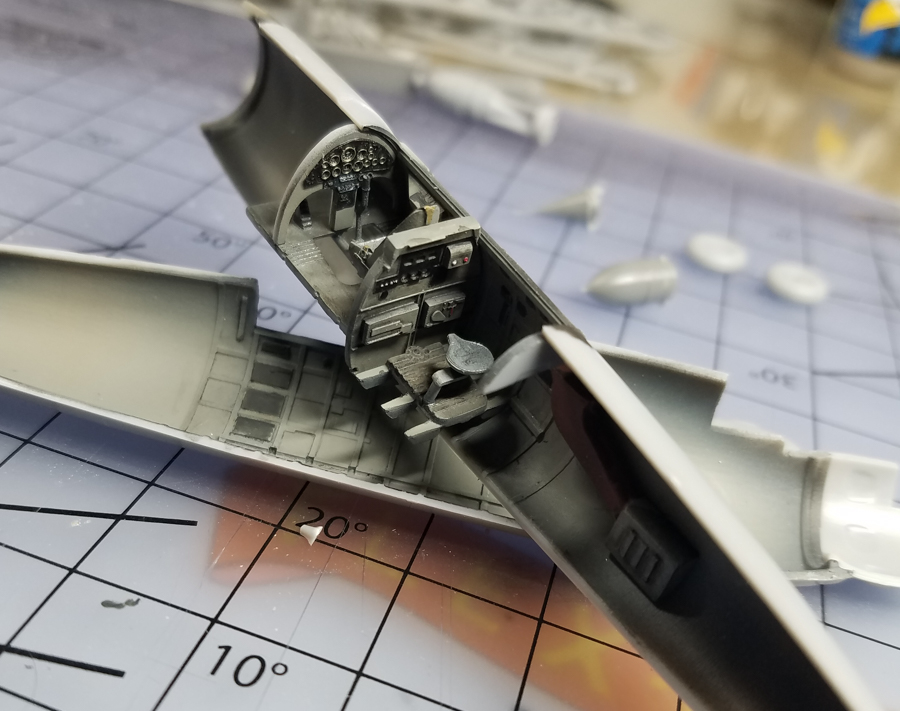
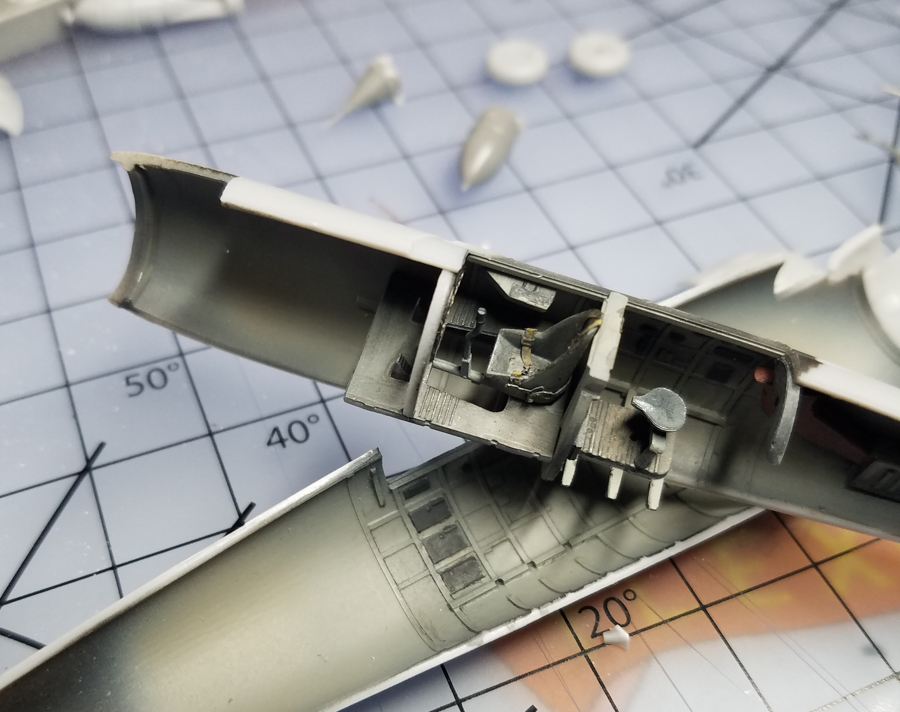
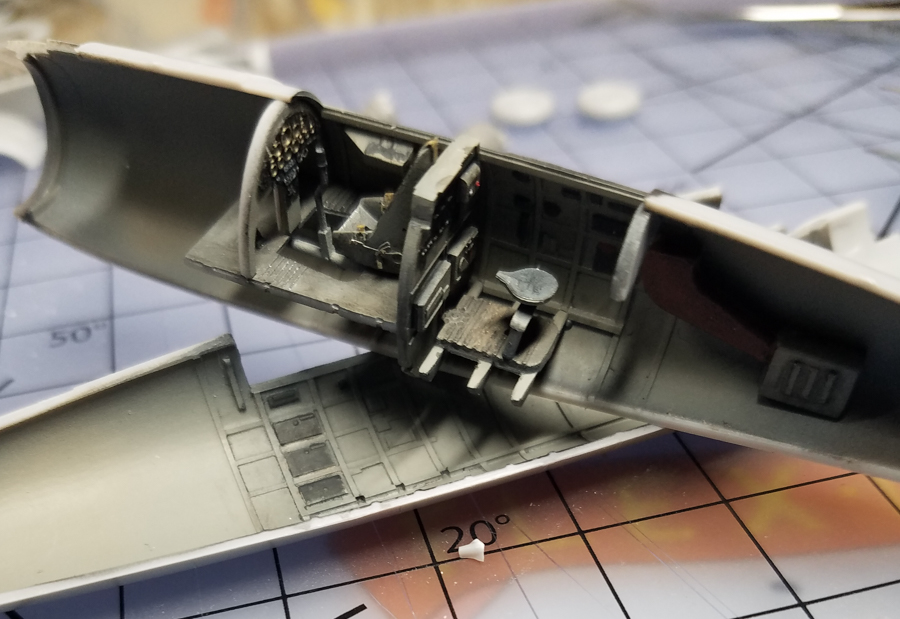
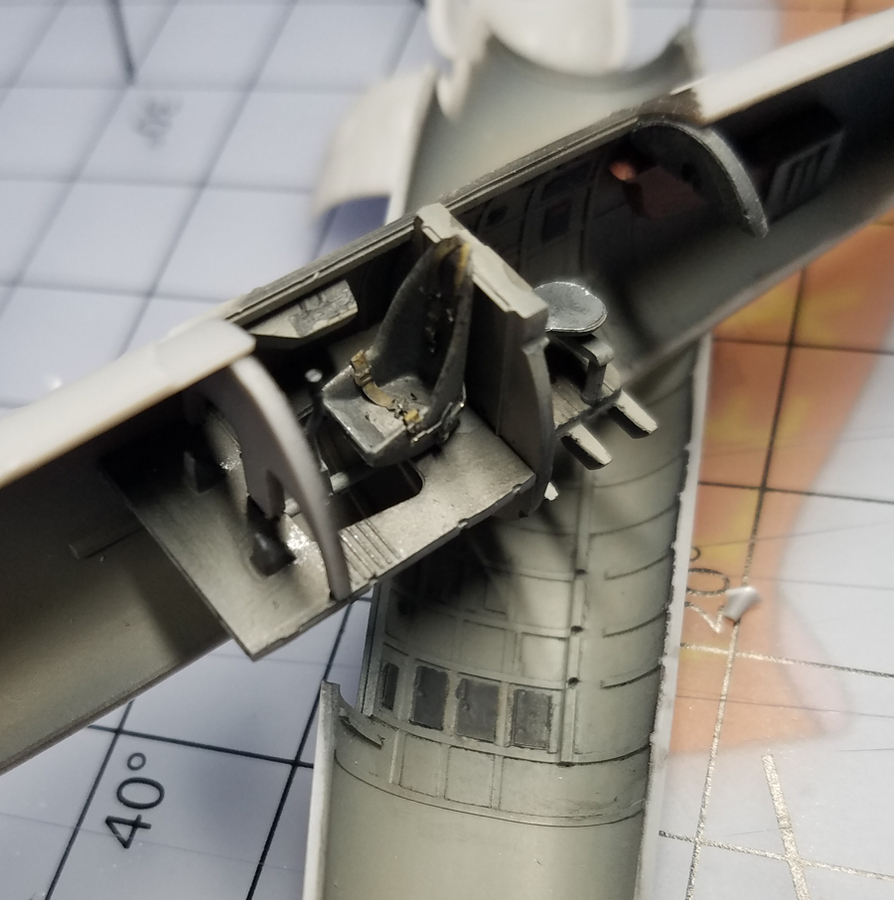
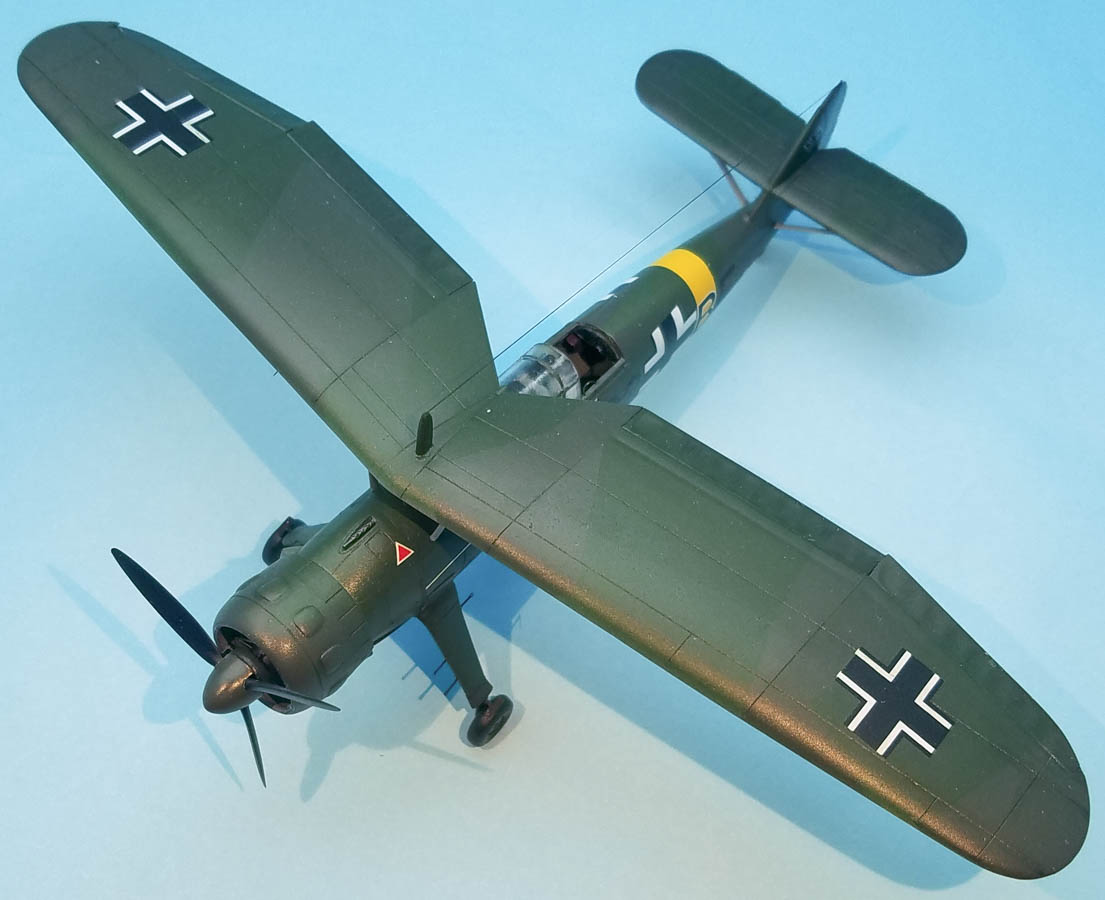
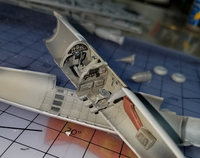
All of the aftermarket addtions to the cockpit really make it look good. It's a shame I messed up the vac canopy but even with using it, seeing inside the pilot's cockpit will be difficult; the rear gunner's position, though, is another story. That can be seen in all its glory.
|
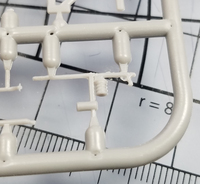
In order to speed up finishing the kit (it had already been over a year since started) I decided to leave the rear gun off. But to be honest, the kit's gun would be better replaced with one from the likes of Gas Patch. Their 3D printed guns are - in my opinion - the best on the market.
|
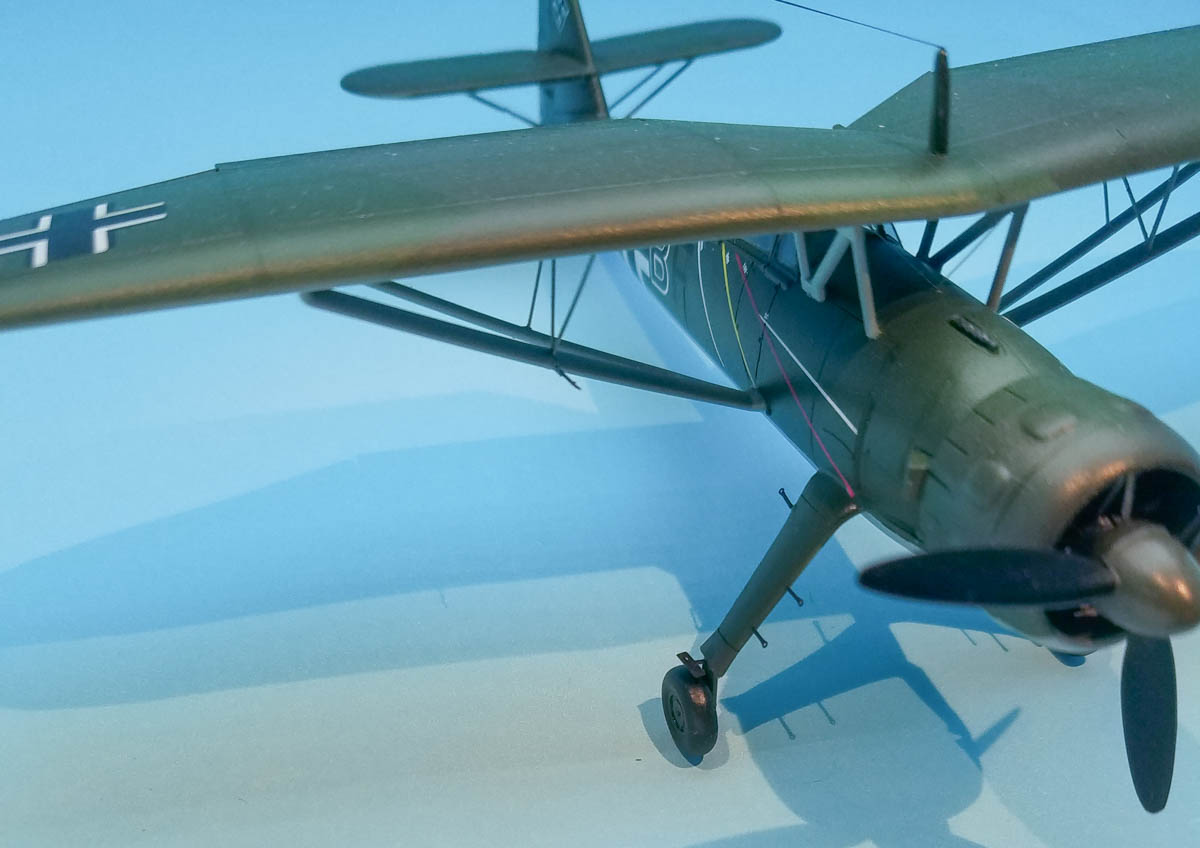
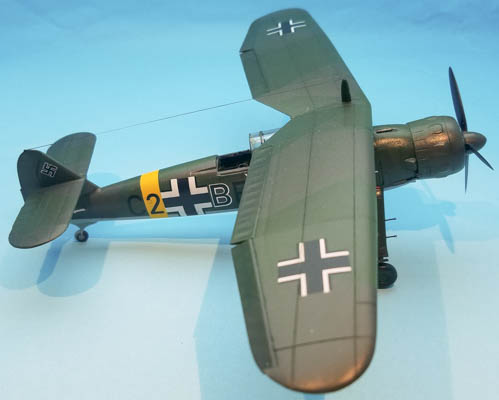
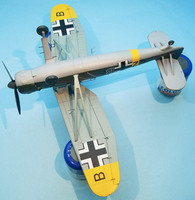
All paints but the yellow were Hataka, the yellow being Vallejo Model Air. Unfortunately I had painted the wing's underside and finished the entire wing months before finishing the rest of the model and didn't realize I had grabbed the wrong color underside blue for the fuselage and stab. I didn't realize this until after I had glued the wing in place, of course. Oh well, we'll just say it was a field-modification. I also used the masks from LF Models but as those were vinyl, getting them to stick on some of the curved surfaces was tricky; vinyl doesn't bend that well. Even so, they were a huge help once I figured out that Brengun has the colors mixed up on their instructions and used the Mushroom Models Publications books on the type to help sort it out.
|
The kit decals went down flawlessly using the Micro Scale system. The final coat was Vallejo's Premium satin varnish.
Conclusion
There are a lot of comments on-line about how this kit doesn't scale out to "true" 1/72. To me it's not that big of a deal because this will be the only Henschel Hs 126 model I'll have and tend not to build WWII Luftwaffe subjects in general, so it won't be noticeable on my shelves. It's a great kit that goes together well and for that I am thankful.
My thanks definitely go to Brengun for supplying the kit and all the aftermarket for it.

