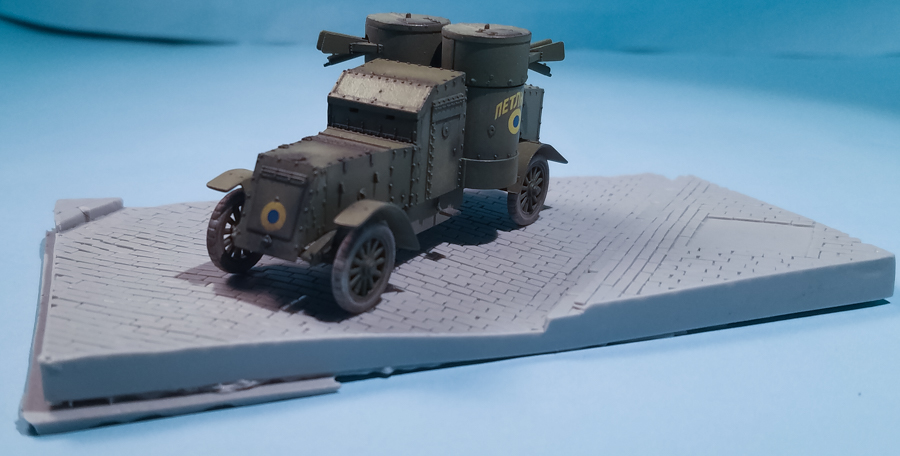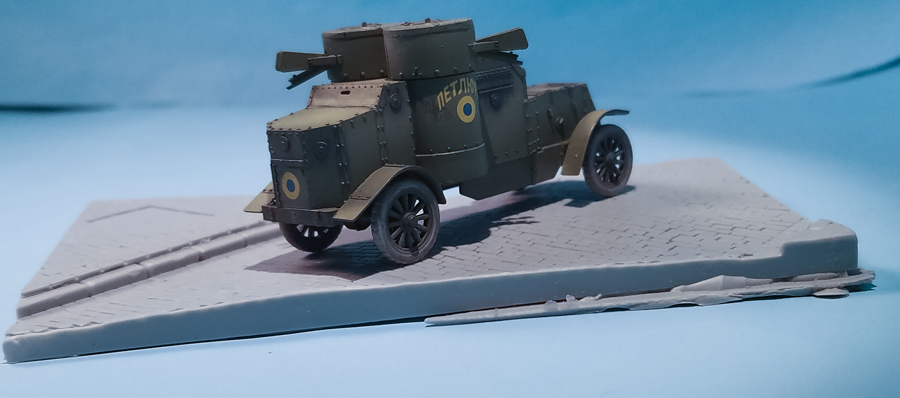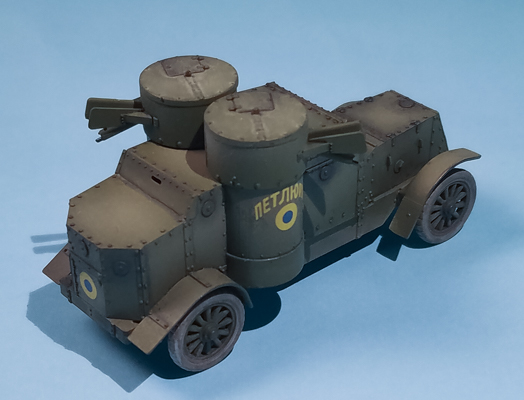
Master Box 1/72 British Armoured Car, Austin Mk.III, WWI Era
By Matt Bittner
Introduction
Taken from Wikipedia:
"The Austin Armoured Car was a British armoured car produced during the First World War. The vehicle is best known for its employment by the Imperial Russian Army in the First World War and by different forces in the Russian Civil War.
"In addition to the British-built Austins, a few dozens of vehicles were manufactured in Russia in 1918–20. These are usually referred to as Austin-Putilov or – if fitted with a Kégresse halftrack chassis – Austin-Kégresse."
"Austin 3rd series – Modified rear section and in the driver's cab, rear driver post, MG side shields, bulletproof glass in front vision slots, no big side windows, no rear hatch. Weight 5.3 ton. Road speed about 60 km/h. Road range 200 km. Crew of 4–5. 60 units built."
One of my major reference sources is an article inside the On The Way website. It deals specifically with the Master Box Mk.III kit, and it outlines each marking choice and the accuracy of each. This article includes a photo that is inside the book Armored Units of the Russian Civil War: White and Allied, New Vanguard 83, David Bullock & Andrei Deryabin, Osprey Publishing 2003 ISBN: 1-84176-544-9, on which markings I used on my model.
The Kit
I wrote a First Look on the kit (and its Mk.IV brother) a few years ago, so refer to that article for kit contents.
|
Construction
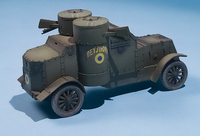
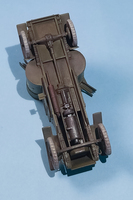
The instructions actually have you start building the chassis. The first steps are to glue the exhaust and fly wheel in, followed by the sides of the chassis. Before gluing the exhaust I drilled the end out to give it a more realistic look. While step 3 has you add the tow hooks to the front, I left them off until right before painting, so they wouldn't be broken off during handling. Now the rear axle and differential are glued together and then added to the chassis. Next, I only glued the front axle to the chassis and left the tie-rod off. I was afraid of again breaking it during construction. Turns out I should have added it anyway, because I broke it after removing it from the sprue, and then while trying to re-assemble the broken pieces I lost them. Heavy sigh.
|
Next the front fenders were added and I skipped step 7 which has you add the wheels/tires. Those were left until after painting was finished. While I glued the radiator on next, the driver's step was left off until the very end.
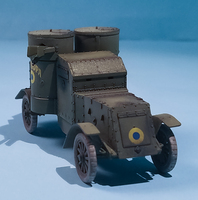
It was time to assemble the body. The rear view-plate was added first, followed by three front pieces: two of the view-plates and the very front of the body. Next the rear fenders were glued on.
Because the car I was modeling didn't have the lights attached to the sides of the turret I left them off. Now the body was glued to the chassis.
|
Finally the turrets were assembled, taking care to ensure the guns actually moved. Unfortunately they move too well so won't stay in a single place, always constantly falling down to their lower-most position. Oh well. I left the turrets off the car until painting was done. I did drill out both barrel ends for again, a little more realism.
Painting and Finishing
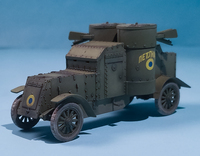
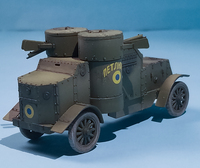
I decided to give a Vallejo spray can a try and chose their Russian Uniform Green. While I like how the spray came out of the can, in the end I won't use these sprays anymore for plastic models. Because the spray came out a little "rougher" than a properly thinnned, airbrush paint, I needed to sand them smooth. Unfortunately sanding the finish meant the car was constantly tacky and wouldn't lose that tack until I sprayed an overcoat on the model. Quite the pain as I constantly forgot to wear gloves while handling the model so had to remove finger prints from the finish quite often.
|
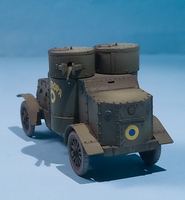
After spraying the car with Vallejo's Premium Gloss I applied the decals, sprayed a coat of Premium Satin and started weathering. I had purchased Scale 75's Scalecolor Artist Smooth Acrylic Paints and wanted to give them a try. I loaded Green Grey, Art Black and Raw Umber into my wet pallete and mixed a color to give a wash to the car, mainly around the raised details. I used their Acrylic Retarder to give me more time to work the paints, and it worked really well.
|
Once the car was dry, I then tried another new product for me, True Earth's Filter & Wash: Light, Desaturation & Fading 1. I loaded it into my airbrush, unthinned because it's very thin out of the bottle, and lightly sprayed the highest areas with it. It worked wonderfully! I really like how the Filter & Wash made the car look. Not only did I spray it on the high areas, but I also over-sprayed the decals to fade them just a little. Excellent.
After everything was dry, I then applied Agama's Mud and Sand pigments to the bottom of the car, as well as the wheels and tires, and then applied Agama's Rust pigment and Vallejo's Old Rust pigment to the exhaust. My last bit of weathering was to apply graphite chalk to the high, metal areas. I liked the sheen of the car as it was so didn't apply a final overcoat.
|
Conclusion
But be that as it may, the Master Box Austin Mk.III is a wonderful kit and won't take long to finish. Be aware that although I didn't handle it, on the left side turret "body" Master Box left in some of the striations of its 3D master model, so you might want to sand that away. But even so, this is still a wonderful model, one worth tracking down. And be aware that NorthStarModels has released a photoetch set for it (unfortunately currently out of stock) if you want to take your armored car to the next level. As I have another Mk.III in my stash (thanks, Rupe!) I have picked up this set and will use it on the next model.
|
Although I haven't started on its base yet (one I purchased from Small Scale Sh*t - unfortunately their site is currently down) I wanted to show how the car would look on its base. Someday I hope to work on that.
Huge thanks to Master Box for the Austin Mk.III to review.

