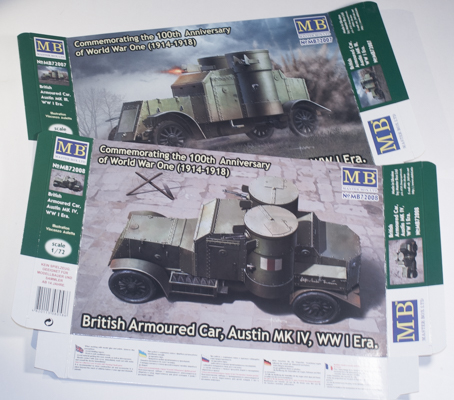
Master Box 1/72 WWI British Armored Cars
By Matt Bittner
Introduction
While the British designed and built the Austin-series of armored cars during World War I, it was the Russians – during WWI but used also in the Russian Civil War – that used these armored cars more.
The Kits
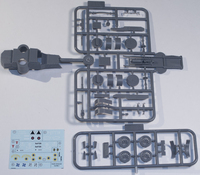
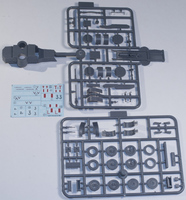
Master Box released two separate 1/72 Austin armored (armoured) cars: a Mk.III and a Mk.IV, both used during – and immediately after – WWI. The Mk.III consists of two, gray-colored plastic sprue with a total of 43 parts; the Mk.IV also has two frets but more parts, 65 in total. This is because the Mk.IV comes with two different styles of wheels. In addition it comes with two different types of weapons along with two different types of "sides" for the turrets. Before starting assembly on the Mk.IV select which version you want to build (three distinct types). The Mk.III is a little easier than the Mk.IV only because there are no choices with assembly.
|
|
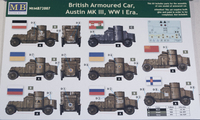
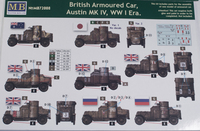
There are decals for 8 different Mk.IIIs and 8 different Mk.IVs. The decals looks nicely done and appear to be in register.
For both cars, assembly starts with the chassis. There is a differential and exhaust to fit first but skip ahead to Step 2 to see where those actually go; in Step 1 it's a bit vague where they're to be added. Step 2 adds sides to the chassis while Step 3 has you add tow hooks. Step 4 you first assemble the rear differential and axel and add it to the chassis. Step 5 has you glue the front axle and stearing-rod together and add it to the chassis. The next couple of steps are where you build up more of the chassis by adding fenders and more sides. While Step 8 has you glue the tires together and add them to the chassis, I would leave them off until after painting. The next step is where you add the radiator. Finally, we move toward building up the main body.
|
|
Most of the main body is actually a single piece of plastic to which you add parts to the front: armored windscreen and radiator cover. There is also a piece you add to the top-rear of the box followed by the rear fenders. After adding what appears to be lights the body can then be assembled to the chassis. There are also other items to add to the body now as well, such as a storage box, etc. Finally construction moves to assembling the turrets. In the case of the Mk.III there is only one choice; with the Mk.IV you now assemble the correct turret based on your earlier decision on which Mk.IV variant you want to build.
Conclusion
These are excellent kits and will look great when completed. Plus I think they shouldn't take long to build, if other on-line reviews are any indication. You could have a WWI-era armored car finished in no-time.
Huge thanks to Master Box for sending the review kits.
