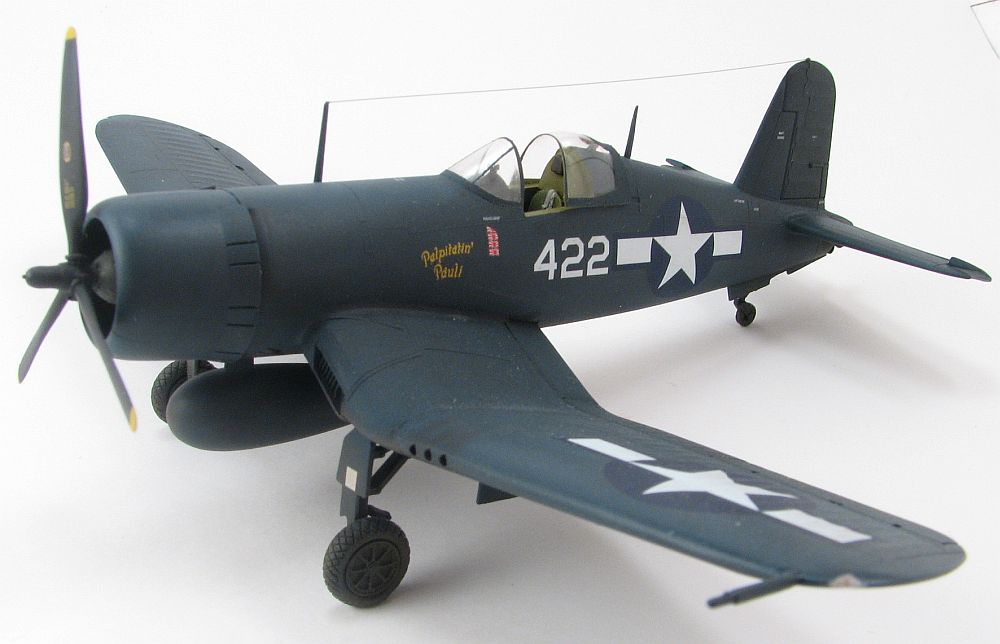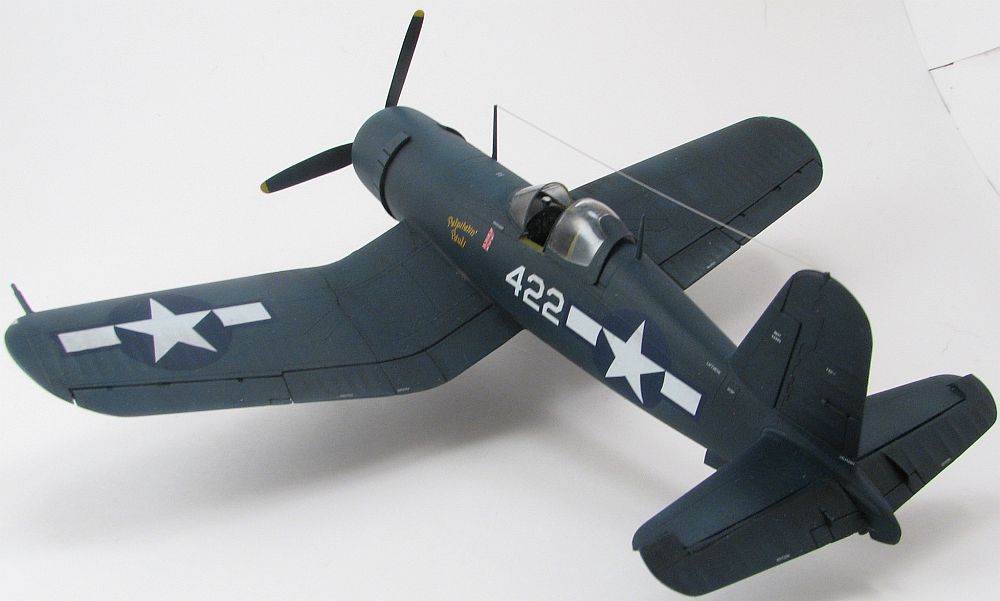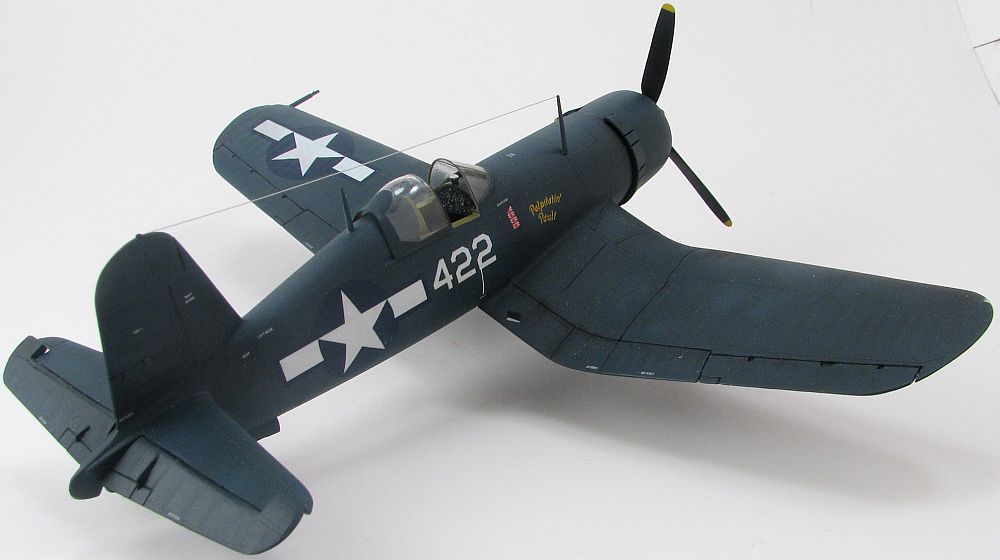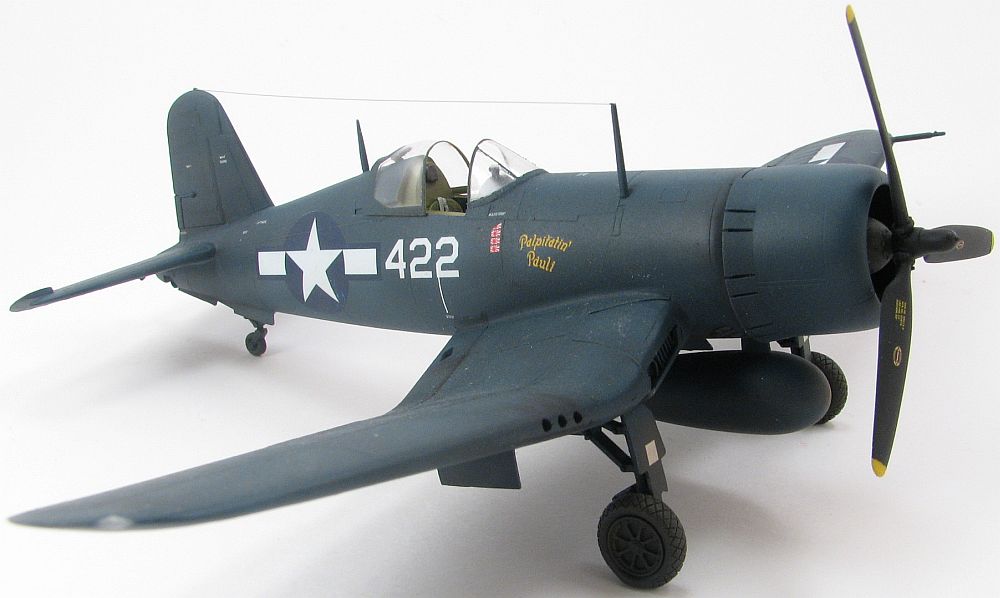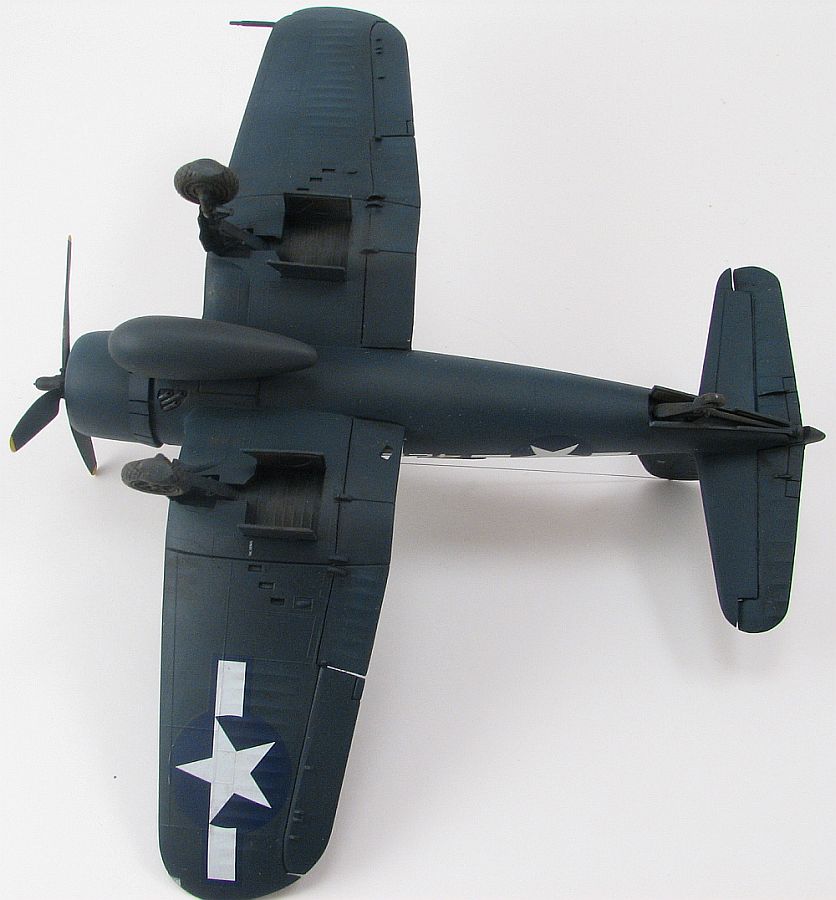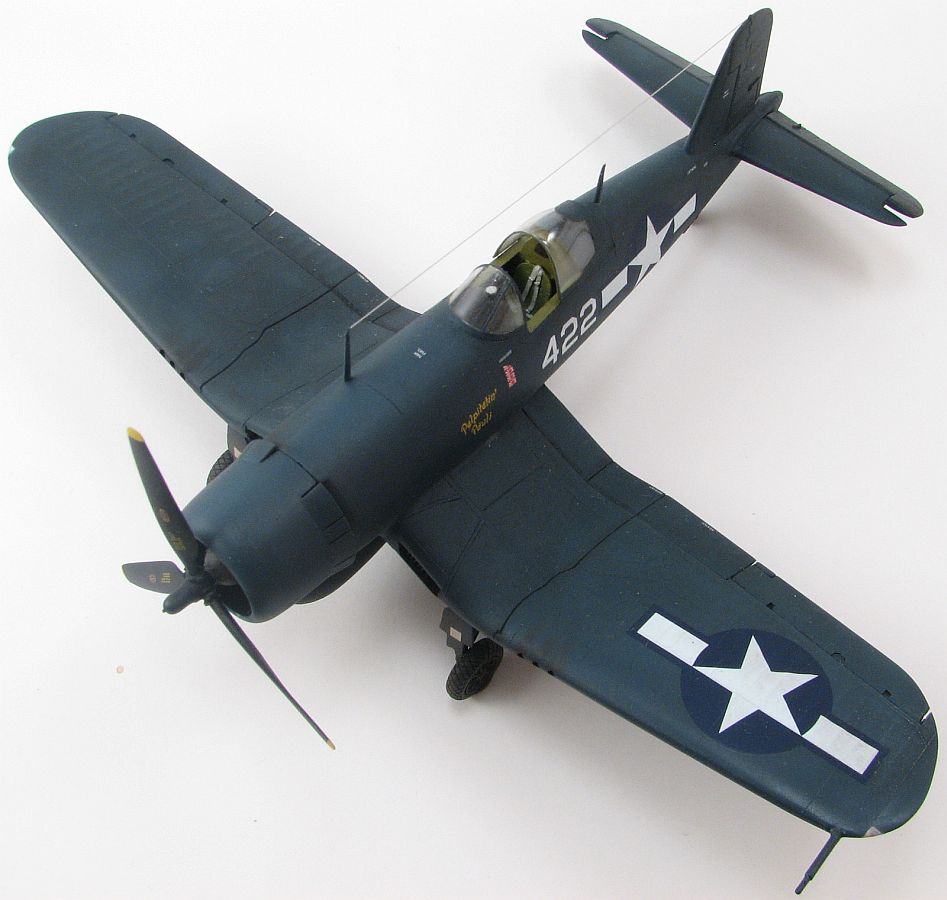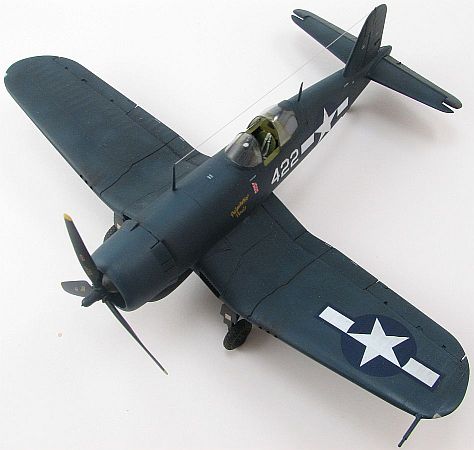
Legal to Vote: The Journey of a 1/72 F4U Corsair
By Matt Bittner
Introduction
How many times have you heard people talk about their "shelf of doom", that place where their in-progress models are stashed? While it's great people eventually take models from that shelf and into completion, I have yet to read about how long the model has been sitting on said shelf.
Well, this Hasegawa 1/72 F4U-1D Corsair has been on the shelf for eighteen years. I've moved since starting this model, held three different jobs, and had a child in that time (whom is two years younger than this Corsair, his older "brother"). I've been in a funk lately, starting a lot more models and finishing none. So, with everything that has dropped into the Internet Modeler "offices" lately, I decided to pull this one out and just finish it, regardless.
The Kit
This is the now venerable - and out-dated - Hasegawa 1/72 F4U-1D Corsair. At the time I started it, though, it was considered state of the art. It has raised panel lines and actually decent detail, but it wasn't enough for me. So, I used the True Details cockpit, wheels and vacuformed canopy/windscreen. But that's where I must end this part because I can't remember much about construction.Construction
What I do remember is I decided to pose the stabs separately, so separated them from the rest of the horizontal tail. After sanding and everything, I do remember putting in a "divot" to the trailing edge of the stationary portion of the tail pieces, and added round sprue to the leading edge of the moving parts. I've brought this model off the shelf from time-to-time, but never really progressed on it. Last year (at least I think it was last year) I contacted Chris Bucholtz of Obscureco to see if he would be interested in taking what I created with the horizontal tail pieces and cast them up. Sure enough, he said yes and they're now out for consumption. Excellent! He was kind enough to send a couple of samples after casting.
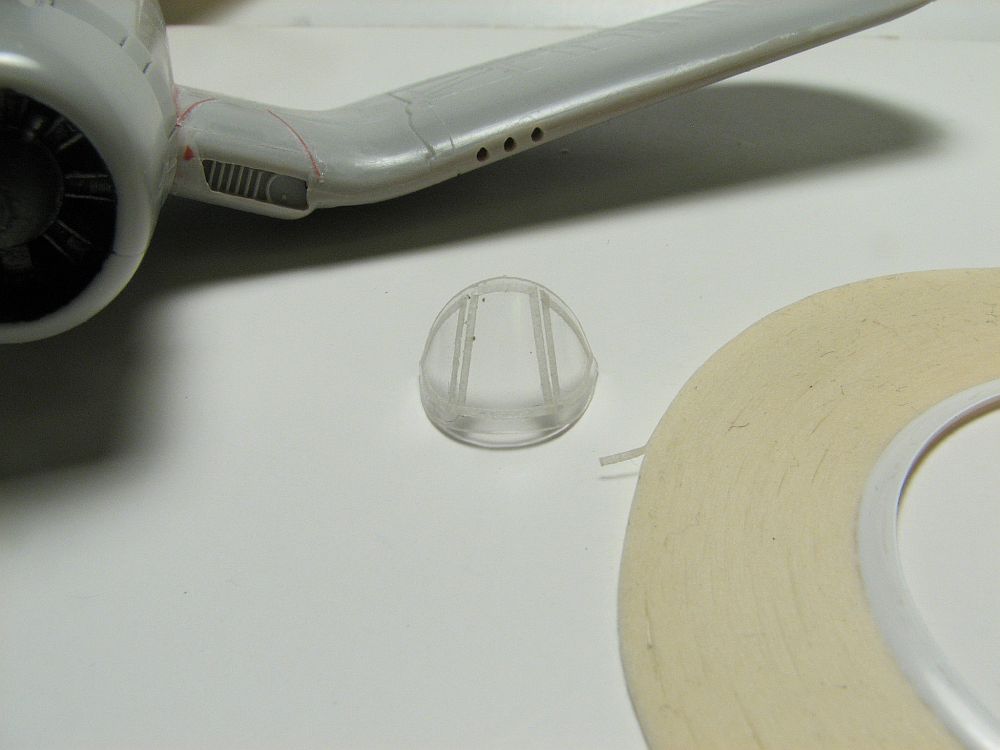
Earlier this year, Barracudacals sent in for review their 1/72 Corsair, Part 1, decal sheet. These were printed very well, so coupled with this release, as well as the Obscureco replacement tail pieces, I decided to finally bring out this "shelf sitter" and finish it up. Since the Hasegawa kit has raised detail that was sanded away with my earlier seam fixes, I had to think of ways to replace that detail. Most of it I was able to actually scribe back, and it looked "good enough". There were a couple of places I used thin, round sprue to try and replicate the missing raised details. I think I did a decent-enough job. I used Jammydog tape to start the masking on the vac windscreen and canopy, then filled the rest in with pieces of Tamiya tape. After each piece was masked I glued the windscreen on and dealt with what little seams there were. I was actually glad there were two vac canopies in the True Details container because I did botch the first one. Here's some advice. When dealing with vac canopies, be sure to cut and sand as much as you can before separating each piece (e.g. separating the windscreen from the canopy). Once that is accomplished then cut each piece separately and carefully sand after that. If you're not careful you can put "spider web stress lines" in the clear plastic from any flexing that happens to the part while sanding. Okay, everything was ready for painting. I had a bottle of Aeromaster (nee Polly Scale) Sea Blue in my paint collection which I used (and unfortunately between this and another project, it is now gone - unfortunate because the Aeromaster/Polly Scale paint is no more). I added Future directly to the paint for strength, and after the paint had dried, I still covered the model in Future.The Barracudals went on with no problems what so ever. In fact, they are some of the best decals I have used. (I failed to mention in my initial review of the decals that if you source national insignia, you can build all four aircraft from this decal sheet. The only decal you'll need to find elsewhere Barracuda provides are the interior decals, if you plan on building all four. Out of the "bag" you have enough decals to finish an F4U-1 "Birdcage" as well as an F4U-1D.)
After the decals were on and dried, I shot another coat of Future over them for strength and final blending. After that all dried (I usually give it two days) then I started on the oil wash then followed that up with a coat of Xtracrylix flat, followed by some pastel chalk weathering.Conclusion
See? You can finish a "shelf of doom" sitter. You just need to find the right motivation, in my case it was the release of a few, new aftermarket items. Granted, this isn't a contest winner, since I decided just to finish it as is (there are a few flaws I should have fixed, but it would still be sitting there). I don't think it came out too bad.
My thanks to Jammydog tape, Obscureco and Barracudacals for helping me finish a model that was old enough to vote!

