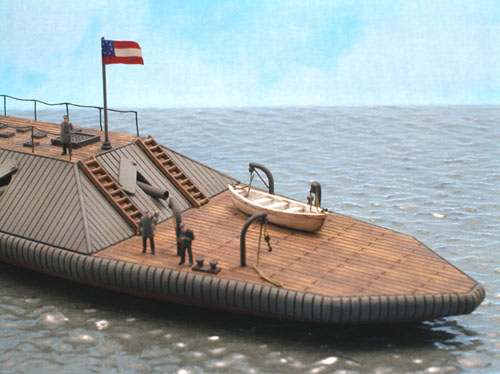
Verlinden Productions 1/200 C.S.S. Atlanta
By Eric Choy
Background
Converted from the blockade runner Fingal, the C.S.S. Atlanta was the fourth ironclad ram commissioned by the Confederate States Navy (CSN) during the American Civil War. Typical of the early war design, she was underpowered and slow to respond to helm. To make matter worse, it leaked constantly due to the lack of cladding on the underside hull.
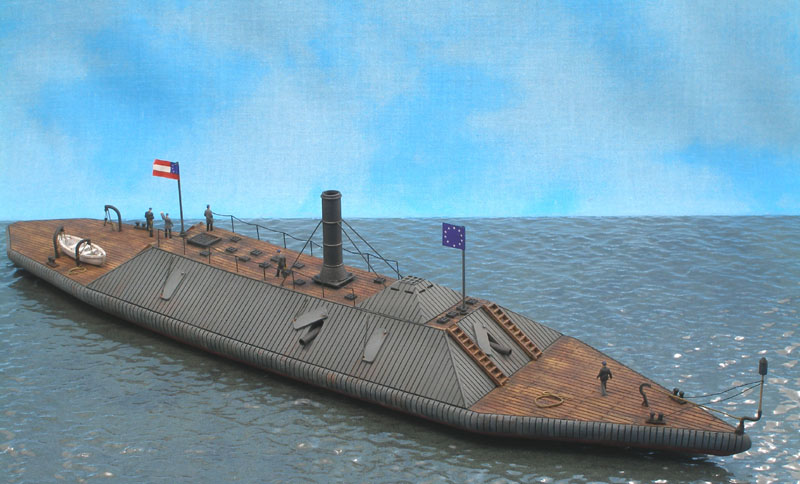 On June 17th, 1863, Atlanta engaged the Union Navy near Savannah in an attempt to break the North's naval blockade. She repeatedly ran aground in the inland waters of Wassaw Sound and took five direct hits from Union monitor USS Weehawken. With most of her crew injured and unable to maneuver, Atlanta surrendered within 20 minutes of the battle. After repairs were made in Philadelphia federal naval yard, she spent the rest of the war in the Union Navy as "U.S.S. Atlanta" running blockade and supporting General Ulysses Grant's advance towards Richmond, the capital of the Confederate States.
The Kit
 This 1/200 scale C.S.S. Atlanta kit is an all resin offering from Verlinden Productions. It was released in 2004, and I purchased mine at a local hobby shop. I recalled my annoyance when I discovered the kit did not come with any instruction. The owner, who was a ship modeler, gave me some pointers, including painting and detailing tips. But they were soon forgotten, and the kit sat in my to-do pile for a long time.
Then last year a fellow member in my IPMS club wrote an article on how he tackled his Italian howitzer. I thought I could try out his method of painting wooden surfaces with this kit as a test piece. So I asked him to give me a lesson, and the next thing I knew the deck came "alive" under his guidance. It was a shame not to finish the rest of the ship, so I suspended a few of my ongoing projects and went on to complete this model. As you can see, it turned out very satisfactorily indeed.
Construction
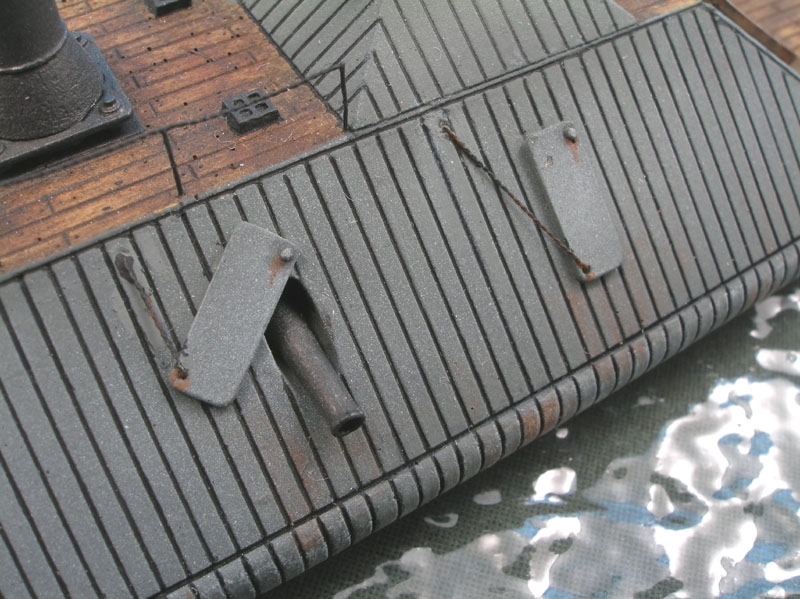
 This is a very simple kit with very few parts. The entire hull is one big chunk of resin with almost nothing to assemble. The only gluing I did before painting were the cannon doors, which I posed in both opened and closed positions. The cannons and the funnel were set aside for painting and weathering before being attached to the hull.
Painting
As I originally intended to use this kit as a practice piece, I went straight to painting the deck. This complicated the painting of the rest of the ship later on. As a result, I wasted a lot of masking tape protecting the nicely finished deck surface. I would not recommend anyone doing it the way I did. Instead, one should paint the low hull first, then the armored upper hull, and finally the deck.
The Hull
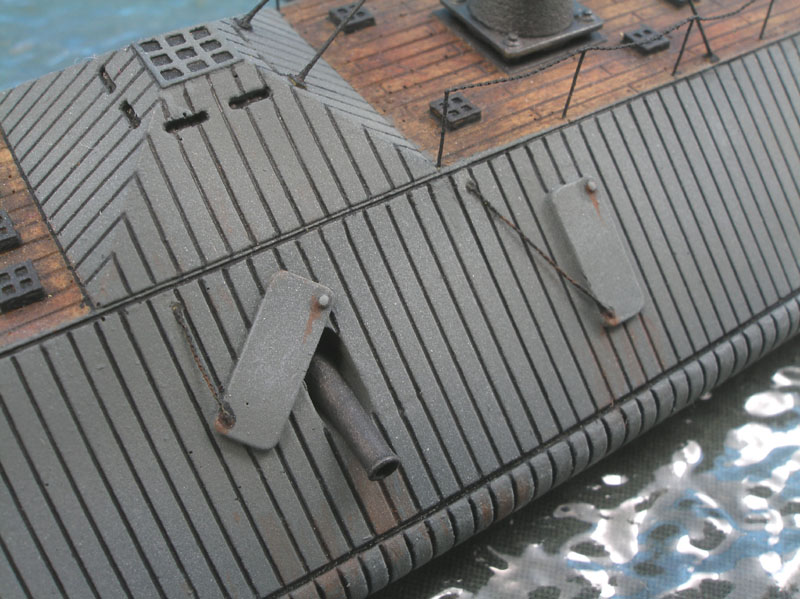 Seldom does one see any reference of the color of ironclads' lower hull, so I applied my artistic license freely here. I liked the rusty color on C.S.S. Albermarle on the cover of Angus Konstam's Confederate Ironclad 1861-65 (Osprey Publishing), so I painted mine Brick Red (Humbrol 70).
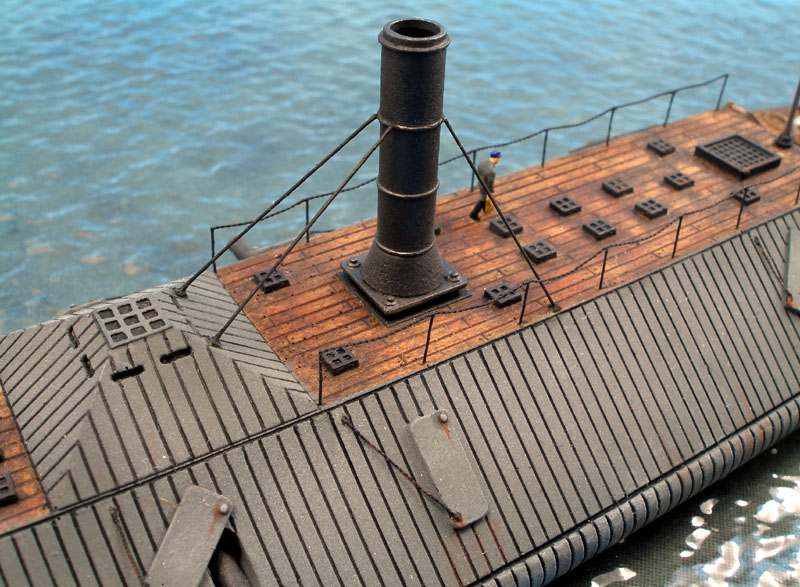
Testors Model Master European I Gray (1768) was the base color I chose for the upper hull. Then I added two parts flat white into eight parts base color for panel fading. Once dried, I used my trusty Rotring 0.18 rapidoliner for filling the recessed panel lines. To simulate rust, I mixed a Burnt Sienna wash and applied it randomly with a "grass comb" brush.
The Deck
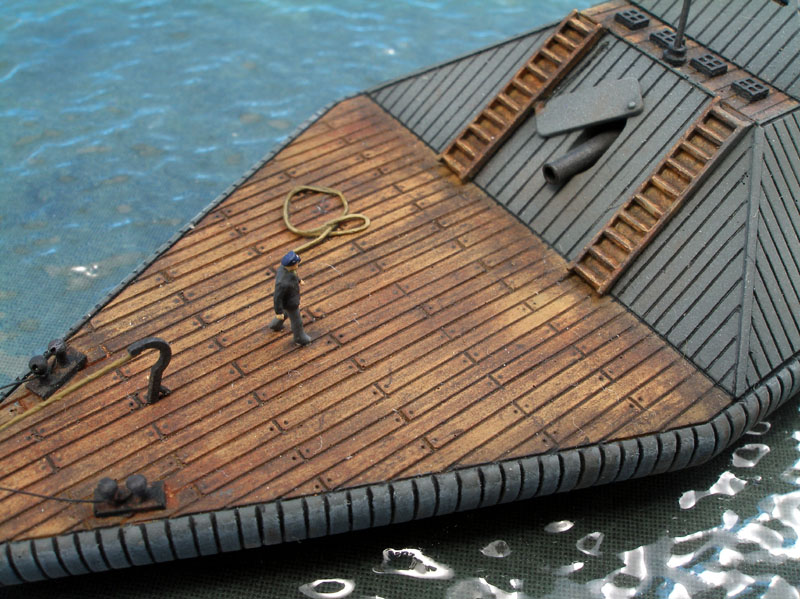 The first coat of paint applied was Testors Model Master Wood color (1735). After a day or two of drying, I drybrushed Testors Model Master Burnt Umber (2005) and Burnt Sienna (2007) at random spots to simulate tone variation. An hour later, a very thin coat of Indian ink diluted with denatured alcohol (semi-translucent consistency) was applied to create shadows in the wood. Don't worry if the deck gets too dark with the ink. We'll fix that in the next step.
Allowing the ink to dry for 10 to 15 minutes, I dipped a cotton swab in denatured alcohol and wiped along the wood grain to remove the excess ink. This blended all the colors together and also created highlights for the wood. Beware not to rub all the way down to the bare resin surface and always have fresh cotton swabs ready. You might need a lot of them.
When everything dried, I sprayed the entire deck with Testors "rattle can" dullcoat.
Cannons, Funnel, and Ventilation Grating
All these items were painted with Gunze Mr. Metal Dark Iron (214) and drybrushed with Mr. Metal Iron (212). These colors are great for painting any metallic objects, and it's unfortunate that they are not widely available here in the US.
Lifeboat and Davits
 The kit supplied two lifeboats, and I chose to install one of them on the deck. It was painted flat white with medium gray in the recessed areas. To add a bit of weathering, I applied a slight wash of MIG Filter Brown (P245) on it.
It took me a while to find the correct size davits for the lifeboat. Believe it or not, the ones in Hasegawa 1/450th IJN Akagi kit appear to be a perfect match. I made a RTV rubber mold and cast four resin copies. The hooks and pulleys were PE items from my spare parts box. The ropes were stretched sprues softened with Tamiya Extra Thin and attached with CA glue.
Extra Details
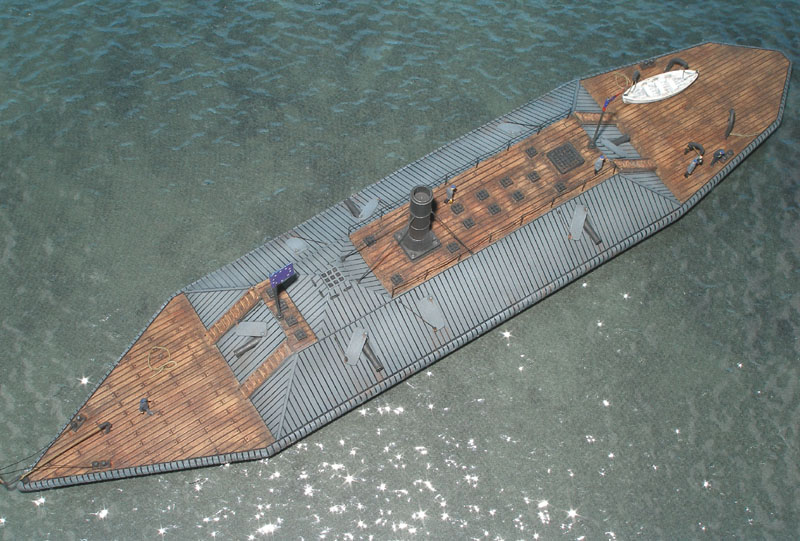 The one and only photograph of C.S.S. Atlanta in Konstam's book shows railings on both sides of the spar deck. So I cut two sections of Aber 1/200th ship chain railing (200-07) and trimmed off the bottom horizontal chains. I then drilled a line of holes with the smallest drill bit (80 gauge/0.014"), and the railings were super-glued in place with CA glue. The bottom chains trimmed from the railings were recycled for the cannon doors, and the guy-cables for the funnel were simple brass wires.
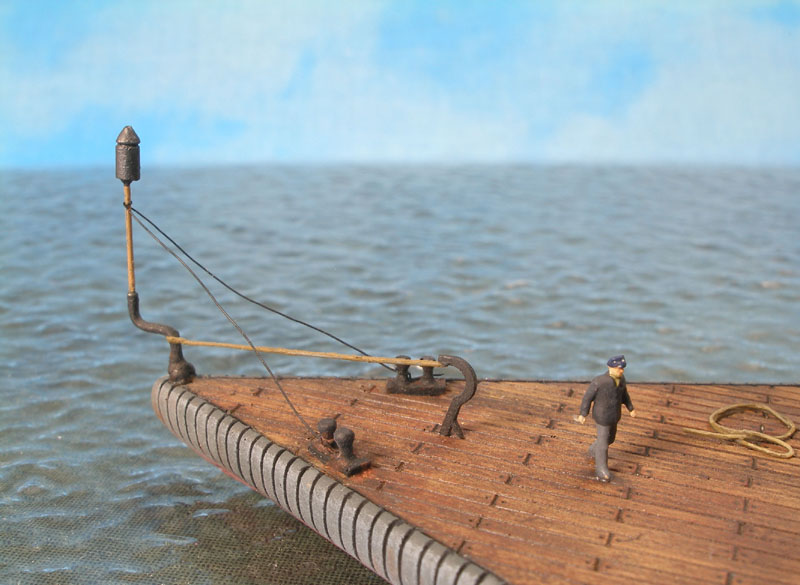
The kit supplied the warhead of the spar torpedo but not the spar. I scratchbuilt it by inserting a pin into a bended 10mm tubing. Using the color plates in Konstam's book as a guide, I also built the lowering mechanism with stretched sprue, brass wires, and a davit kitbashed from a Tamiya 1/700th Japanese destroyer.
After I glued everything in place, I painted all metallic items with the same Gunze Mr. Metal Dark Iron color I used earlier for the cannons and the funnel. The wooden section of the spar was painted Testors Model Master Wood color.
Flags
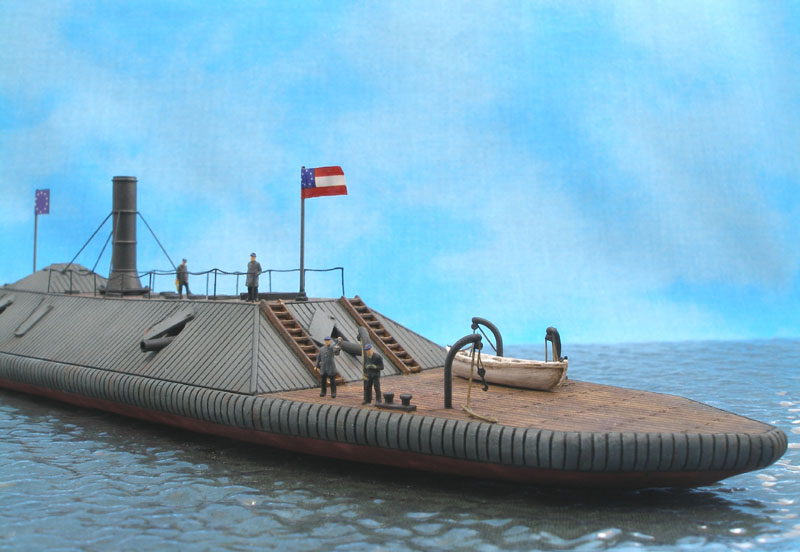 The kit flags are stickers, and they are a bit thick and out of scale. So I asked a friend to reduce and print them on decal paper for me. The Confederate "Stars and Bars" decal worked out fine, but the CSN "Jack" decal was too small to wrap around the pole. I ended up using the kit supplied "Navy Jack" sticker after all.
Figures
The figures are Preiser Z-Scale railroad workers. Although they are a bit underscale (1/220th), they come pre-painted, and the gray on their uniforms resembles the Confederate color.
Conclusion
Very seldom do I build a ship, but I really enjoy the challenge and the result. Without the help of my fellow modeler showing me how to paint a wooden surface, I doubt this kit would have ever left my to-do pile.
References
1. Angus Konstam, Confederate Ironclad 1861-65, New Vanguard #41, Osprey Publishing, 2001.
2. "CSS Atlanta" entry on Wikipedia.
