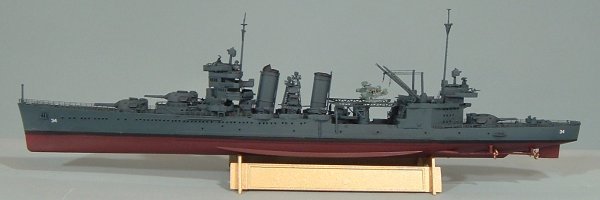
Trumpeter 1/700 USS Astoria
By Marc Flake
 The Trumpeter 1/700 USS Astoria is the closest I’ve come to building a perfectly engineered kit since I breezed through the 1/700 Seals Models IJN Mikasa. The fit of all the pieces were snug, most of the seams are hidden by natural features and the molding is practically flash-free.
 When I build a ship kit, I mostly follow the steps in the instructions, but setting major portions of the superstructure aside. Almost all the smaller parts, like the searchlights, ship’s boats and anti-aircraft armament are usually left on the sprue until after the painting step is finished.
For the Astoria
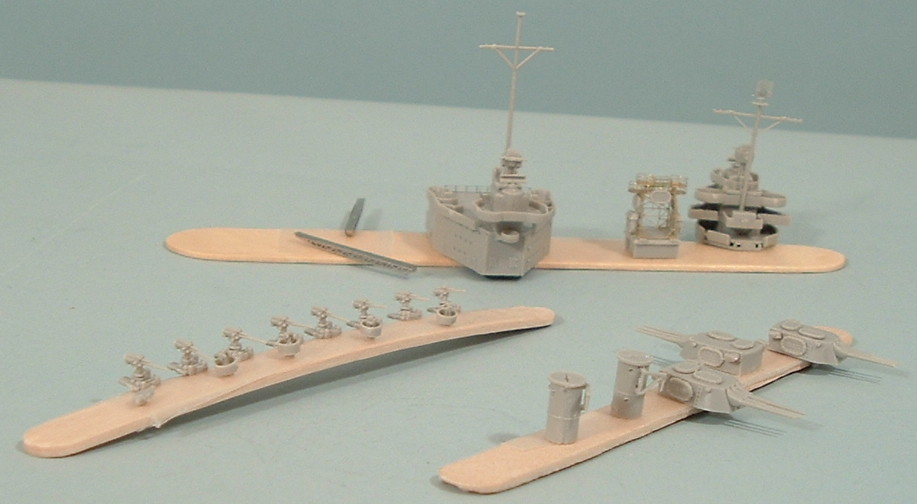 In my October “First Look” review, I noted that the flat front turrets should be used instead of following the kit instructions to use the turrets with the curved fronts. I have been unable to verify the research that led me to that conclusion. Everything I have found since then indicates that the curved front turrets called for in the kit instructions are appropriate for the
 Astoria
After assembling the turrets, I glued together the parts for the hanger and forward superstructure. The kit has the lattice searchlight tower cast in five pieces, which is cast rather thick and does not properly represent the airiness of the structure. Therefore, I used the Tom’s Modelworks USS New Orleans Class photoetched fret to replace the kit parts. The only kit parts I used were the deckhouse it sits on, two cabins on each side of the structure, the searchlights and life rafts.
 The catapult towers were assembled and required some gap-filling and sanding to hide the seams. I also installed the second deck to the fore deck, since I would be attaching PE that connected the two later on. The funnels were assembled and glued to the rear deck after the seam on the front of the rear funnel was sanded smooth.
All this took place over one weekend. Late Sunday night, the beautifully cast roundness of the lower hull kept attracting my eye. Although I usually only build waterline kits, I ended up the night by gluing the rudder, propeller shafts and propellers to the bottom hull – just to see what it looked like. It looked pretty good.
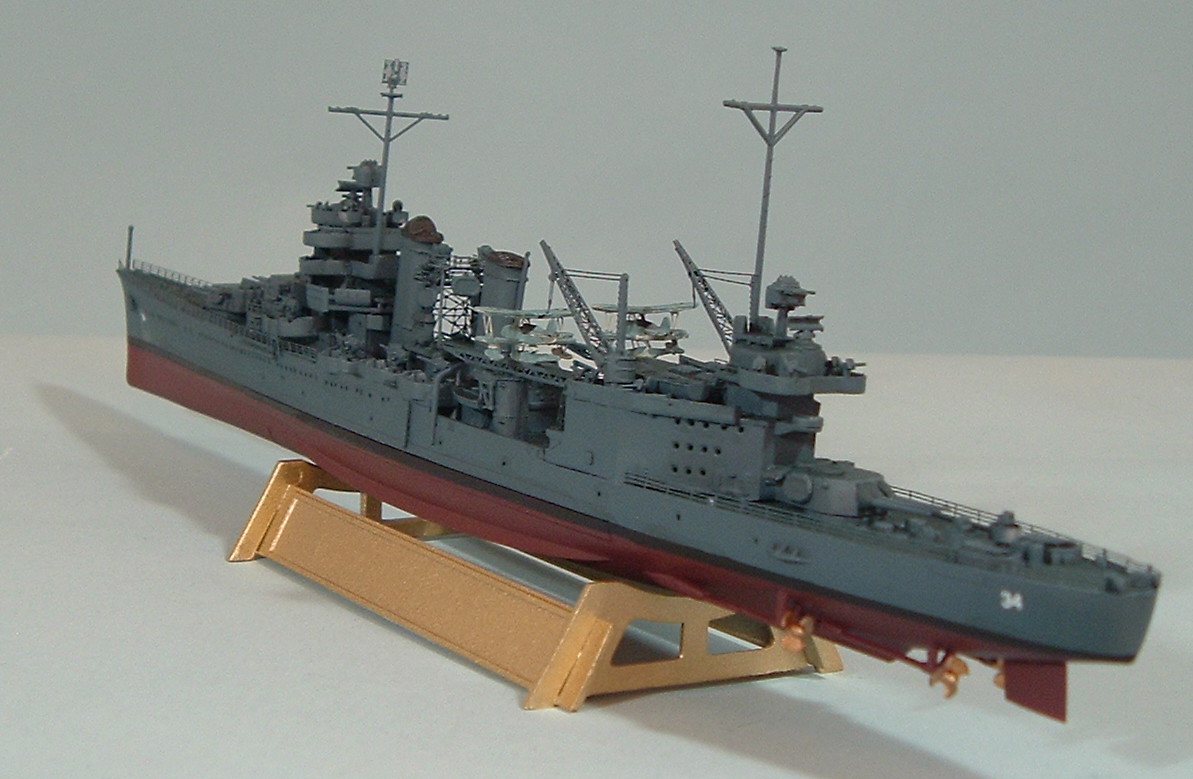 I spent the next weekend cutting, bending and gluing after market photoetched parts to dress up this already fine-looking model. Besides the Tom’s Modelworks fret I mentioned earlier, I also used a Gold Medal Models USN Cruiser/Destroyer set for the angled bow railings that closely follow the shear of the forecastle. The other rails and ladders came from Tom’s Modleworks brass sets. GMM also contributed the SC radar screen atop the foremast.
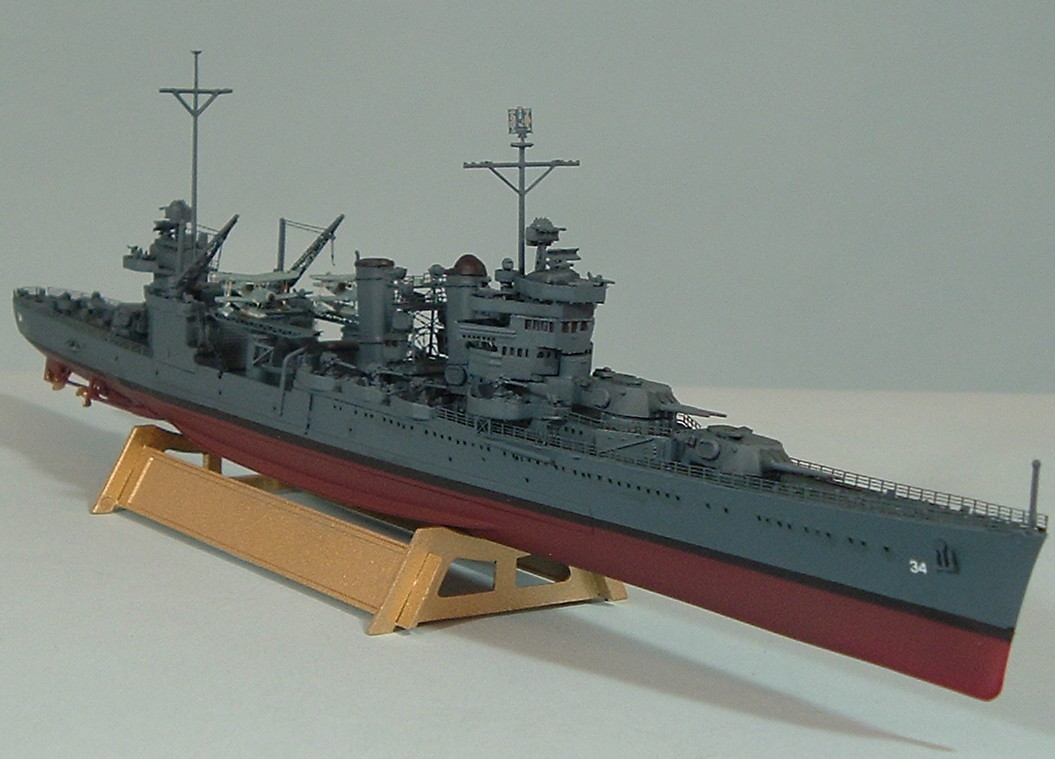 The
The New Orleans
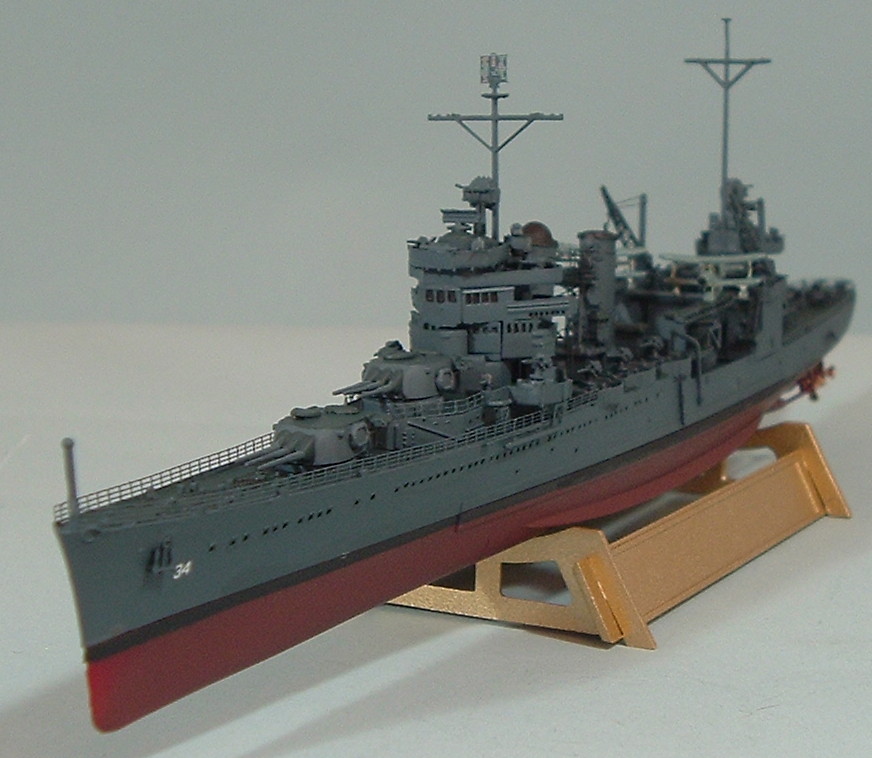
The third weekend was spent painting the MS 21 camouflage scheme. The sleek, rounded bottom hull once again attracted my attention, so I went ahead and gave it a coat of Tamiya Hull Red. The upper hull, superstructure, turrets, boats, boat cranes, anti-aircraft guns, searchlights and life rafts all got a couple of coats of PollyScale Navy Blue 5-N. I then brushed on PolyScale Weatherdeck Blue on the horizontal surfaces.
 I added some black accents on the funnel tops and blast bags, then applied 1/16” wide black decals on the bottom hull to replicate the boot topping. Decals were applied to the hull and the aircraft at this time, but I couldn’t use the national insignia on the wings since the ones provided in the kit were too large. I had some appropriately sized extras in my spares box and used them.
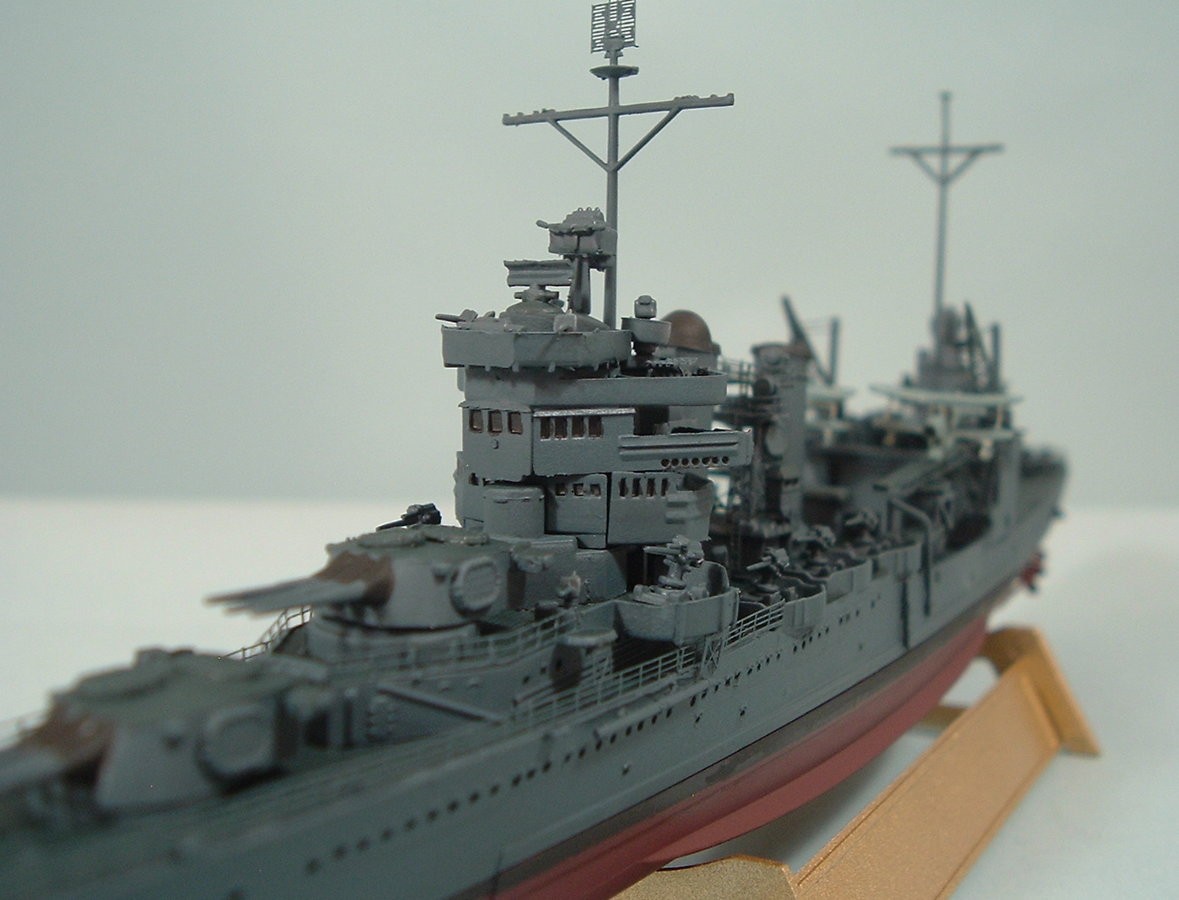 Once the paint was dry, all the subassemblies and small parts were attached to the upper hull and decks. After various touching up was done, I test fitted the upper hull to the bottom hull. The fit was almost perfect and it looked really great. I decided to tack the bottom hull on with a couple of dots of superglue for this article. Later, I will remove it for display with the rest of my waterline World War 2 USN collection. I finished up with a clear flat overcoat.
Conclusions
My build of the Trumpeter 1/700 USS Astoria was extraordinarily easy -- a very nice break from some of the more difficult kits I have been building over the past year. It took me less than a month to complete, working mostly on weekends. As I noted before, for me, it ranks right up there with the Seals Models Mikasa as one of the best engineered ship kits I’ve ever built. Trumpeter has set the bar high.
