Now THAT'S a Seawolf: Building Trumpeter's 1/144 SSN-21 Seawolf
By David Haas
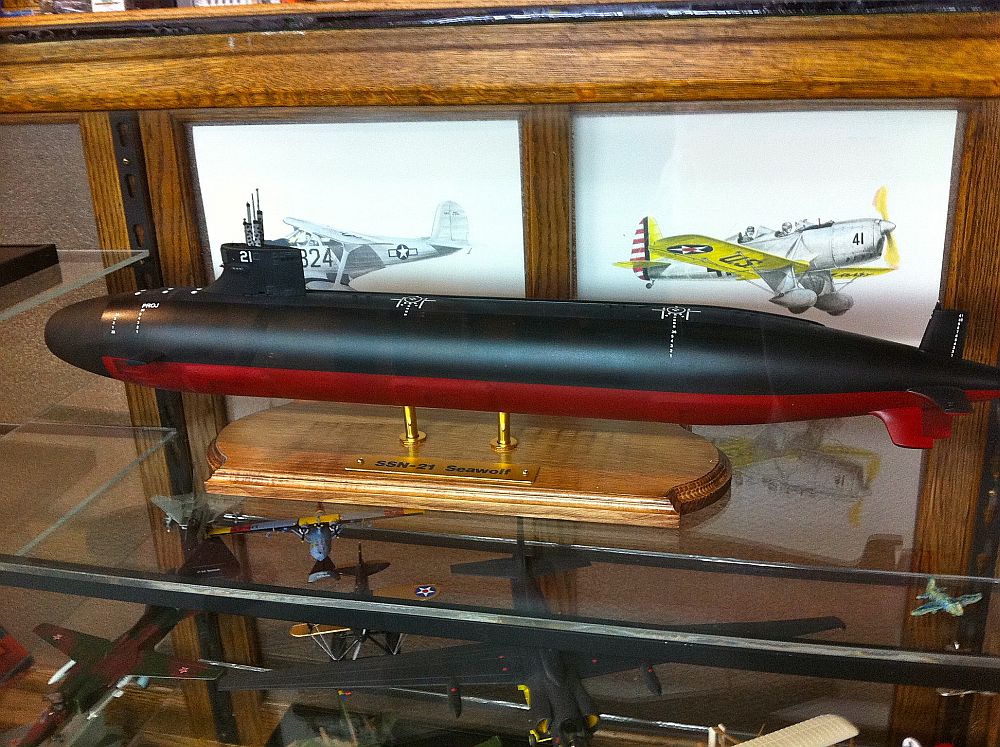
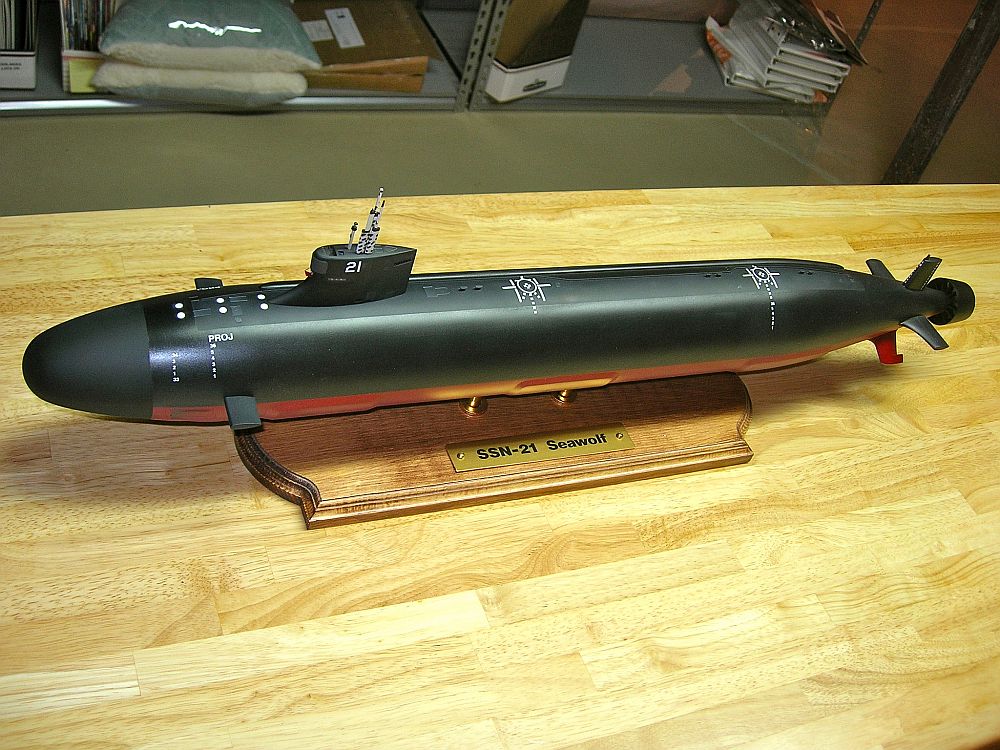
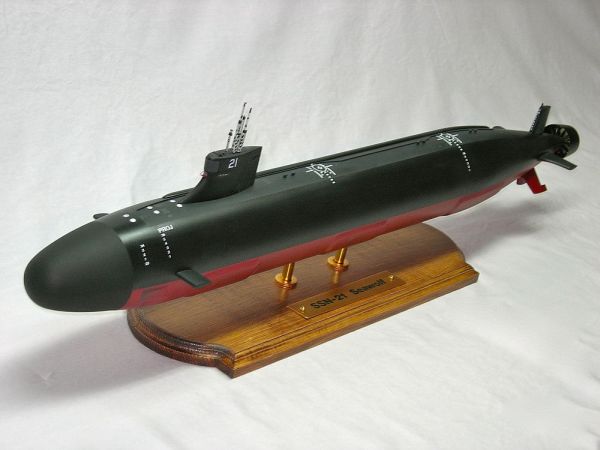
I thank my friend Jim Werth, of IPMS Lakes Region Scale Modelers (Crystal Lake, IL), for allowing me to share with the modeling world his masterful build of Trumpeter's 1/144 scale USS Seawolf (SSN-21). Believe it or not, this is the first submarine he has ever built. His enthusiastic research, superb craftsmanship, and meticulous documentation of the project are exemplary and inspiring. Jim adds a modest disclaimer that he does not vouch for the final model's accuracy, pointing out that it is really a "snapshot" of the Seawolf very early in her career. He was inspired and challenged by Steve Lau of Lincoln, NE, whose build of the same kit won gold in its category at the 2011 IPMS Nationals at Omaha-by-the-sea (and by my pestering him to improve this or that as he progressed). The results speak for themselves.
Construction
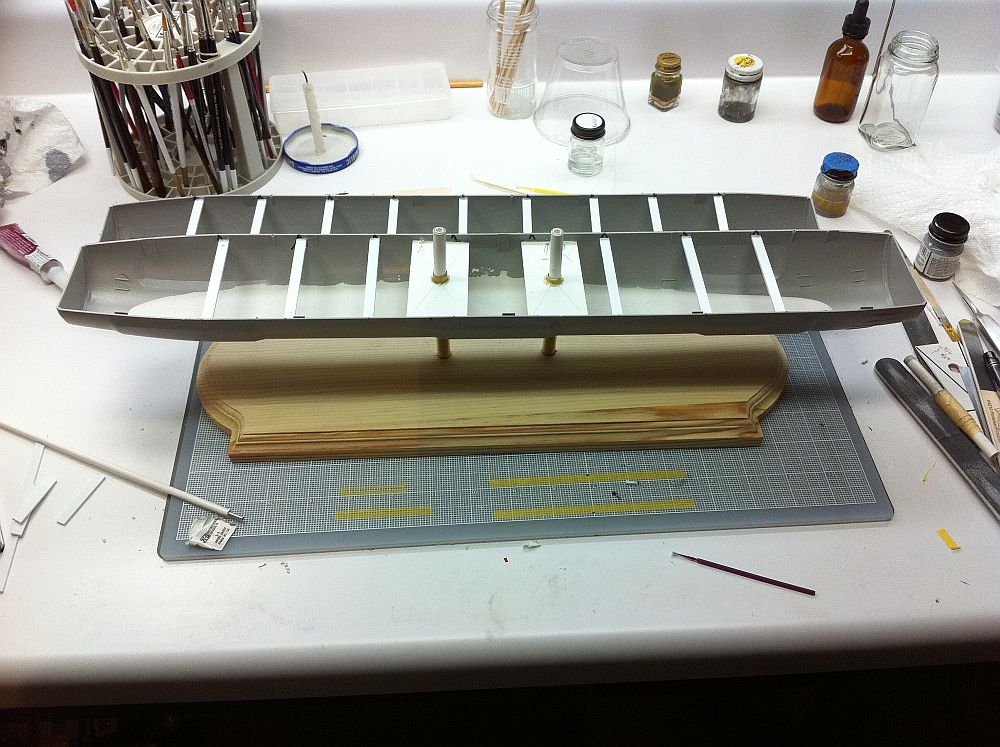
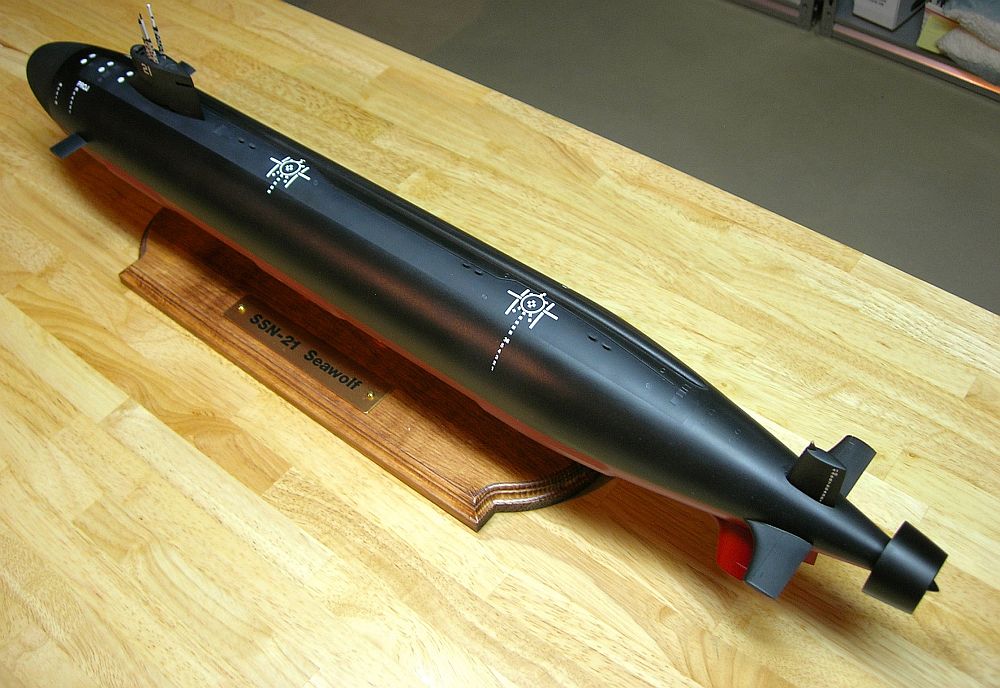
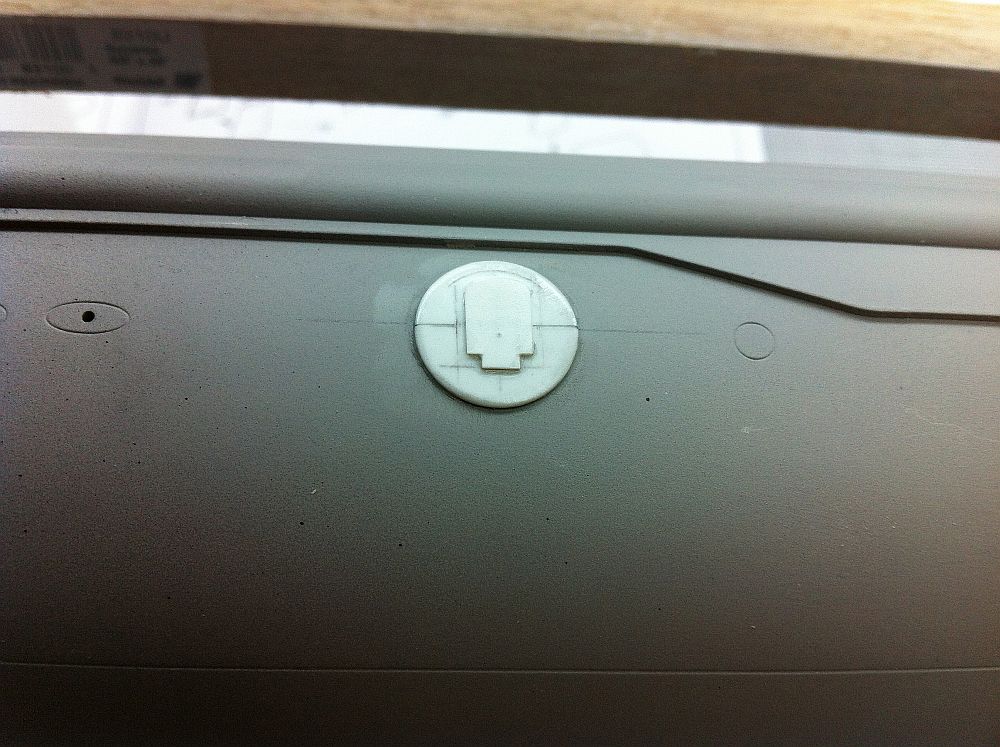
The build started (see photo) with the addition of interior bracing and plaster of paris ballast, then fabrication of mounting posts. The hull is split horizontally and the resulting long seam lacks reinforcements to provide the needed strength for gluing, sanding, etc. The added bracing remedied that problem very well. Some builders of the kit have noted that the the fins and stabilizers at the stern did not line up properly with the vertical and horizontal axes of the hull. Jim built an alignment jig, and found out to his relief that his kit did not have that particular problem, but builders need to be on the lookout for it. The real submarine has a prominent anchor light and housing atop the upper fin not provided by the kit, so a scratch-built unit was added in the correct position. The two prominent rescue hatches on the aft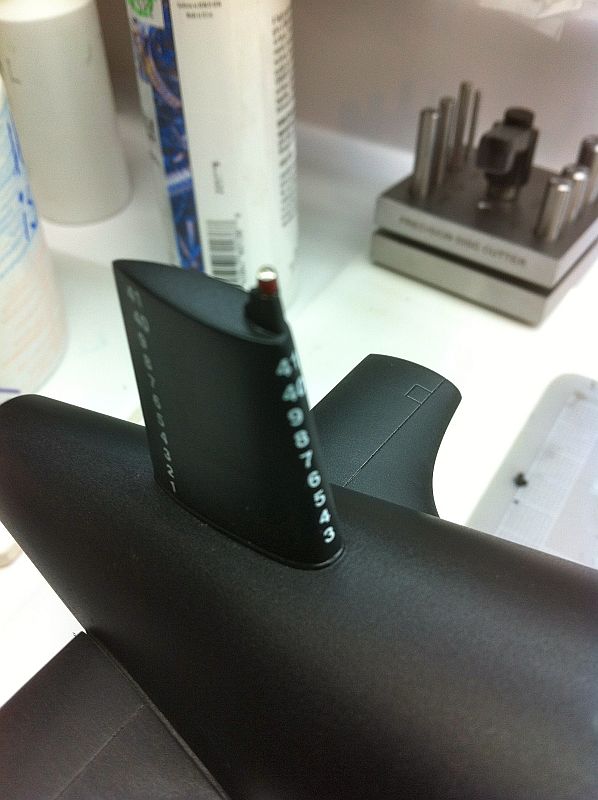 hull were engraved into the top surface of the hull, but the engravings were incorrectly oriented, and were not raised above the top line of the hull. Jim made two new ones, scribed to point in the right direction and standing slightly proud of the hull as on the full-scale Seawolf: more on them later.
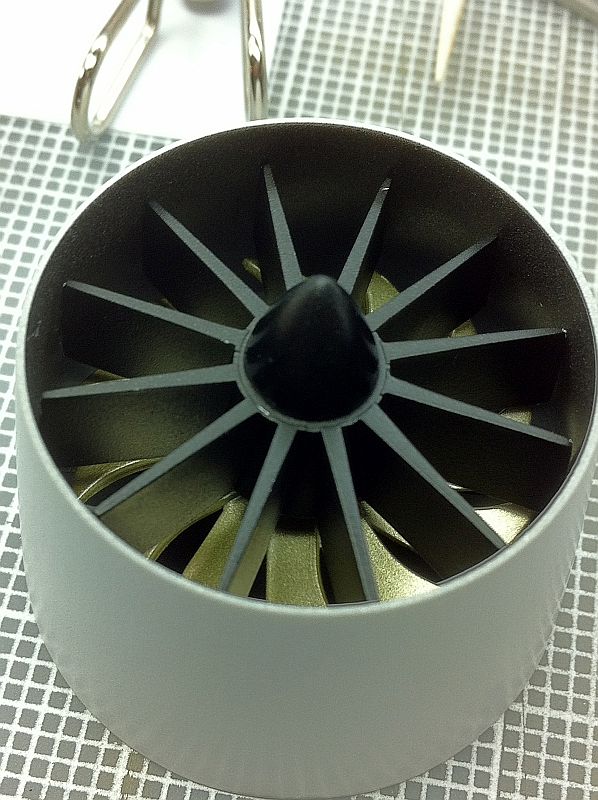
The next assembly to draw Jim's scrutiny was the sub's propulsor unit, the shrouded and stator-vaned propeller. The instructions direct the builder to place the two stator units adjacent to each other, with the propeller at the extreme stern, behind both stators. The photographic evidence (of which there isn't very much)
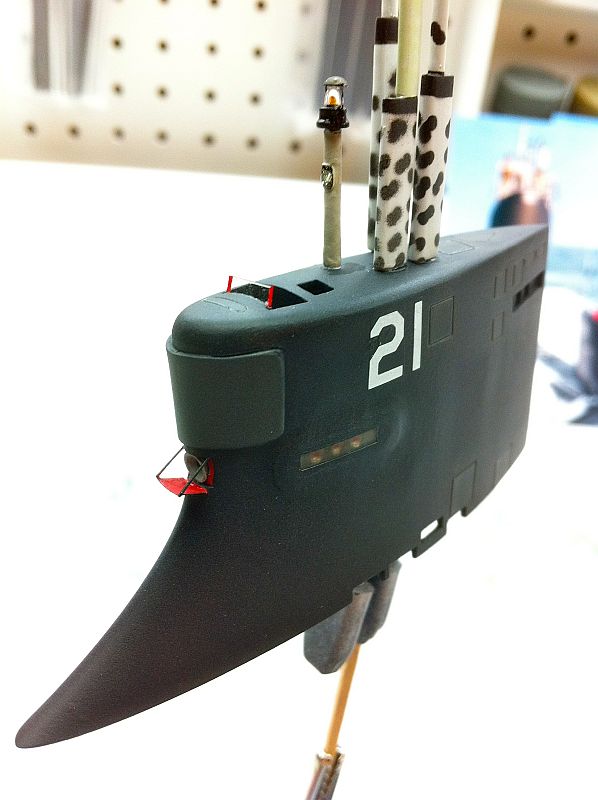
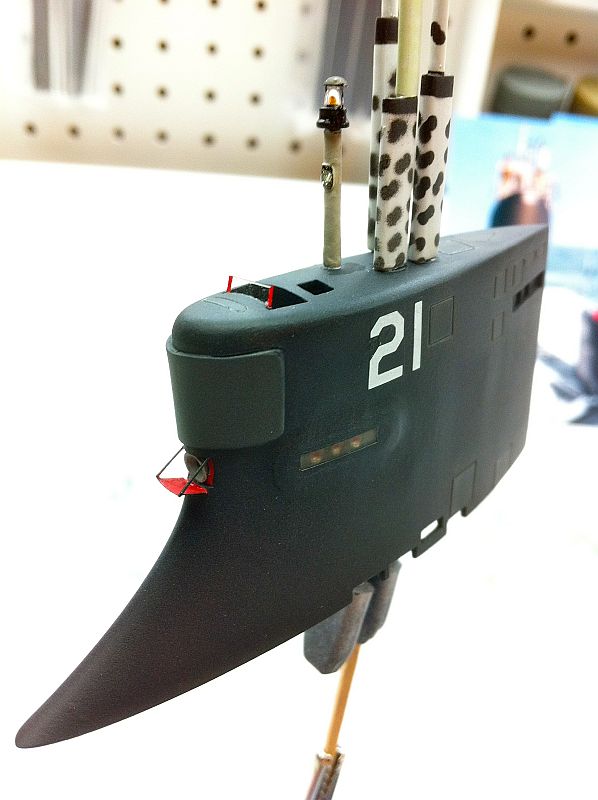 hatch forward of the bridge cockpit and opening up the lookout's cockpit just aft of it. The bridge received a scratch-built removable windshield and a mast which we decided is a removable navigation "lightpole." [It is my favorite of Jim's scratch-built doo-dads: just beautiful!] Jim also opened up the foghorn's hatch and scratch-built the very cute horn therein.
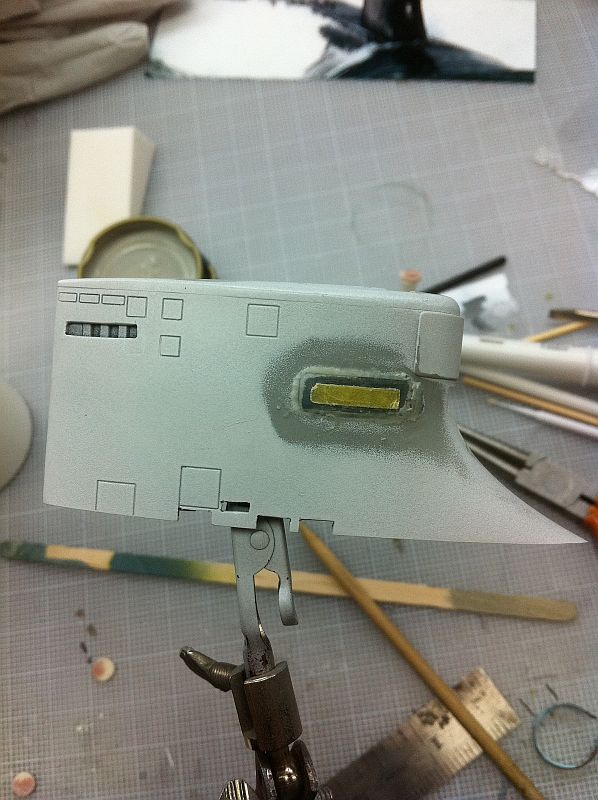
His next upgrade was a tough one: the port and starboard running lights on the sides of the sail. These were again represented in the kit by engraved markings; however, the lights are actually housed in slightly raised fairings, and each contains 3(!) lights behind a long clear window. Jim's scratch-built light assemblies faithfully replicate that fact, and I'm still amazed at his virtuosity on that one.
Paint and Decals
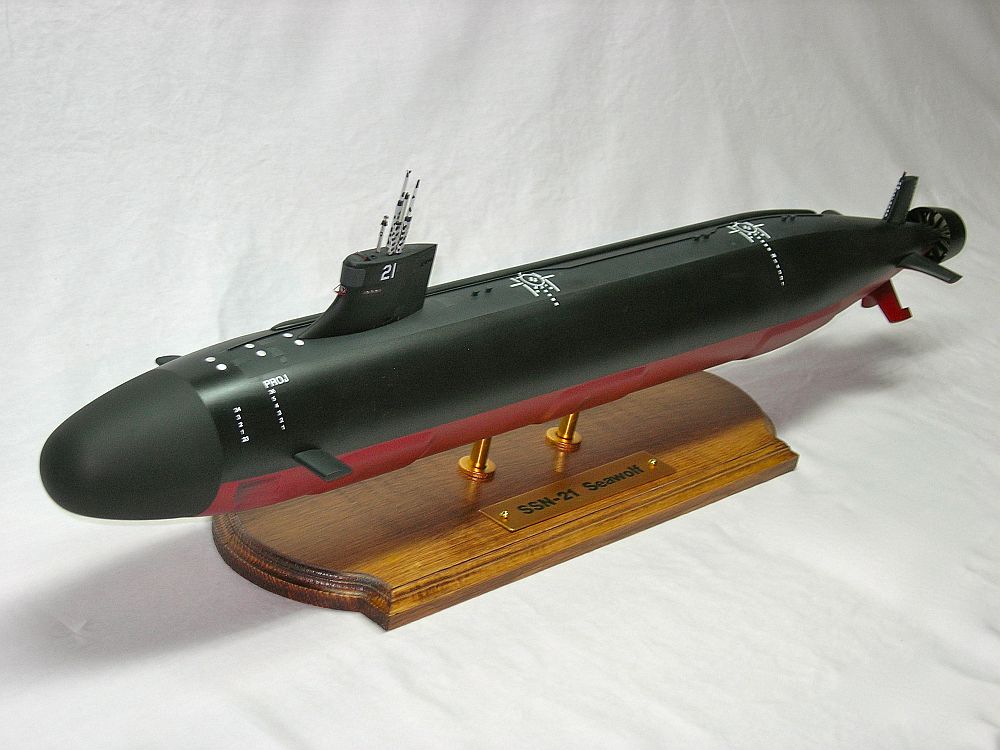
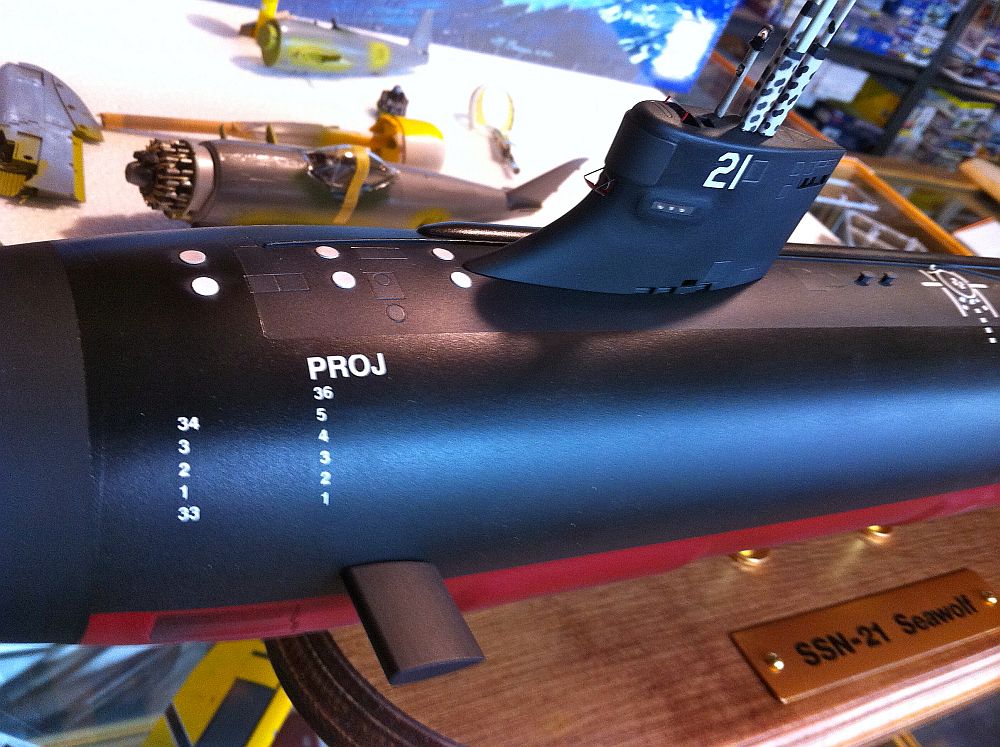
As the photographs show, Jim's paint job is a masterpiece of subtle textures and colors that capture the look of a new submarine with great clarity and restraint. Jim and I can find no evidence that modern American nukes have any grey paint on their hulls, so if you see instructions telling you to paint them grey, don't do it. Somebody somewhere fell for an optical illusion: they are all various textures and finishes of BLACK! The underside of the hull is painted with a mixture of 30 parts Tamiya X-7 red, 1 part X-18 semi-gloss black, 3 parts flat base and 30 parts thinner. Jim then masked and carefully sprayed the hull's ballast tank vent hatches with a "forced panel lines" technique that quietly tells the viewer, "pay attention, there is something you need to see!" That mix consists of 30 parts red, 3 parts semi-gloss black, 60 clear and 90 parts thinner. The lower hull was then topcoated with a mixture of 3/10 flat base and clear. The sonar dome up front is straight Tamiya XF-1 flat black with no top coat at all. The upper hull is painted with a mix of X-18 semi-gloss black and 10% XF-2 flat white, topcoated with Vallejo Air clear matte varnish. Again "forced panel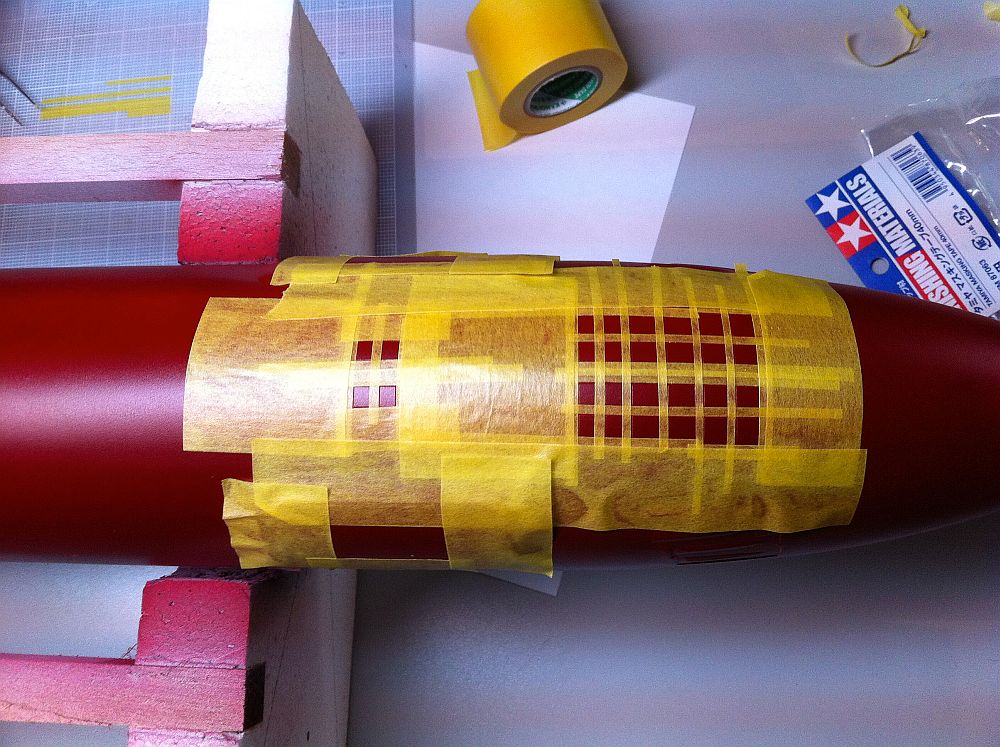 lines" were produced with a lighter, thinner mix of the main color, then covered with a 1/5 flat and clear mix. Unfortunately, the earlier 1/3 mix used on the red undersides produced a milky finish over the black topside--a true case of learning by trial and error. Be aware that the walkways on the upper surface of the real item's hull are coated with a very tough, rough-textured non-skid mix, so make sure that they have less sheen than the rest of the hull, as Jim did. The kit's decals were applied over Future before final topcoating, but Jim noticed that the "21" numbers for the sail were an incorrect font, so he replaced them with old Scale Master decals of the correct configuration--old Air Force markings(!) The escape hatch markings were a bit tougher: Jim sprayed the hatch areas white overall, then masked the circles and bars and overpainted with his black mix. The dashed lines are composed of white decal paper cut into
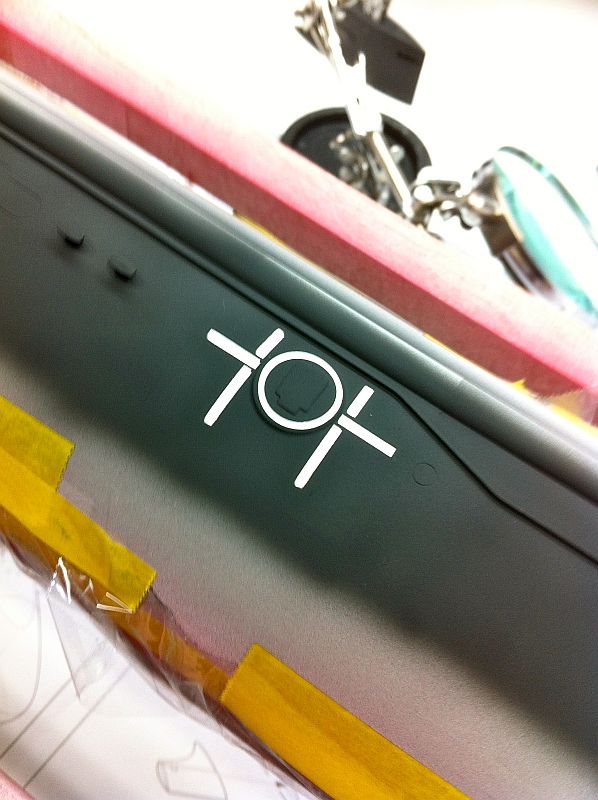 individual squares and applied with beautiful precision before final topcoating. I remain awe-struck... As the model represents a very new Seawolf, Jim declined to weather the model; and the final look is very much like a traditional shipyard presentation model, except that it is 1/144 rather than the 1/96 scale that shipbuilders usually employ.
That stand
The finished submarine is displayed on a handsome stand that Jim made from a pre-cut wooden plaque available from numerous hobby retailers. He finished and polished it, and mounted the "boat" on brass rods. As an aside, submariners traditionally call their immensely powerful and dangerous warships "boats," presumably because the first submarines were so small that they really were boats. The name-plate was made from a rectangular piece of sheet styrene, covered with gold Bare-Metal Foil. The name was then applied with Letraset dry-transfer letters. All in all, I think Jim's classic display completes a true masterpiece. The Tumpeter kit offers a useful starting point to make a good representation of the real thing, but it clearly needs the attentions of a dedicated modeler to bring it to life.

