Moebius Models 1/72 USS Skipjack
By Steve Gallacci
Overview
Way back when, as a very young child, I built the "box scale" Aurora kit of the USS Skipjack and even then though it was a bit simple and unsatisfyingly small. So, some forty-odd years later, I was thrilled to hear of a 1/72 scale kit by Moebius.
In the Box
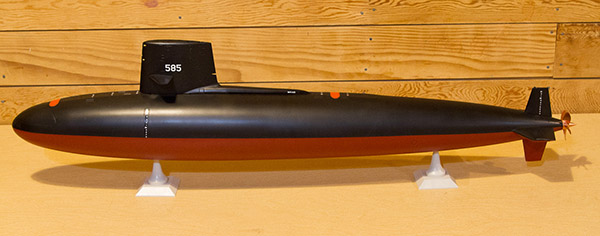
 It is a big kit, as would be the case for a 251.7 foot long vessel, making the kit just a fraction under 42 inches (111cm!) overall. But as with any modern sub with few external features, it is limited, parts-wise, with 47 pale gray, five clear and four photoetch brass parts. The detailing of the parts is a bit simple and, in the case of the various engraved panel lines, heavy handed, with toy like soft-edge trenches instead of crisp fine lines.
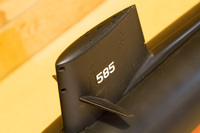
 The under hull gratings look much nicer, however. In such a large model, the lines don't distract as much as they might on a small aircraft or some such, but could be a bit of a problem if the model is used in a diorama with more petite items around it. The kit decals include the numbers and names for all six subs of the class, though the offered color scheme is only for the very basic black and red finish, and several of the boats had more busy grey and black patterns over their lifetimes.
The Build
The basic hull assembly, though large, is very simple and positive in fit, with the hull split four ways, and the top and bottom sub-assemblies clearly designed to fit together in a fashion to accommodate access to powered and remote control features for those who might want to go that way. Aftermarket hardware is available and mentioned in the instructions.
The midships joint of the hull was not hard to deal with, though I'd recommend using a long sanding block to smooth down the area around the joint in order to make sure there is no tell-tale discontinuity in the contours when done. Also, I'd recommend assembling the upper and lower halves as units rather than the instruction's version which would have you build them as fore and aft sections to ensure a more precise midline assembly.
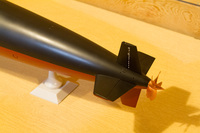
The rest of the build is very simple, as most of the elements are simple two-piece constructions with very positive if not a bit overdone alignments features. So much so that, in a couple of parts, the alignment guides needed to be trimmed away a bit to get the parts together. One particularly nice bit of engineering was the screw, which came in two parts and fit together very finely. Take note that the screw is the original five-blade configuration and not the later seven-blade form that the class used for most of their careers.
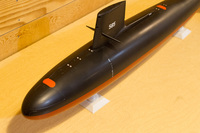
 Painting was, on the one hand, very simple, black on top and red underneath, but on a beast of this size, handling and application techniques can become an issue, especially for anyone who doesn't normally work with anything nearly this large. After a disastrous first attempt with rattle can spray paint of questionable quality, I used decanted Tamiya rattle can lacquers in my airbrush to better control the laying on of colors to much better effect. And unlike my last attempt at a large subject, I didn't smash anything off in the handling of the monster around the work area or in the house in general, all too easily done if you are not mindful of the size of the thing. Although, as I write this, I still haven't decided to finish the boat with the various periscopes, antennas, and snorkel in the raised or lower position, or simply keep them loose so I can remove them for safety's sake when it is being handled.
Overall, a lot of fun and a great big bang for your buck in plastic. My thanks to Moebius Models for the review sample.
