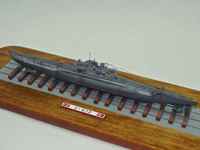
Mirage 1/400 U-673
By Bruce Simard
Going back a few years, I had reviewed several of the Mirage 1/400 scale U-Boats. These kits, with their associated photo etch sheets, I always felt are a tremendous buy. This series enables a modeler to complete quite a series of Submarines (Mostly German) at a great price. Plus for their size, they are extremely well detailed. This is part of the continuing saga of this series. Apparantly the sales were not good enough for Mirage to continue developement of more in this series. Today, Mirage is now in the process of switching to 1/350 scale. Several U-Boats have been released, but so far I have not seen the PE sheets to go with them as in the 1/400 series. I will say the 1/350 Flower Class Corvette series that has started shows tremendous promise - but that will be a story for another day.
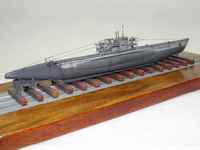 The subject of this article will be the Mirage kit #40412 - the U-673. This was a Type VIIC Turm II Boat that was modified into an experimental "Flak Boat" conversion. My research indicates the boat was commissioned in May of 1943, and actually accomplished 5 war patrols. The end for this boat came after an accidental collision with U-382 and sank off Norway, this was on October 24, 1944.
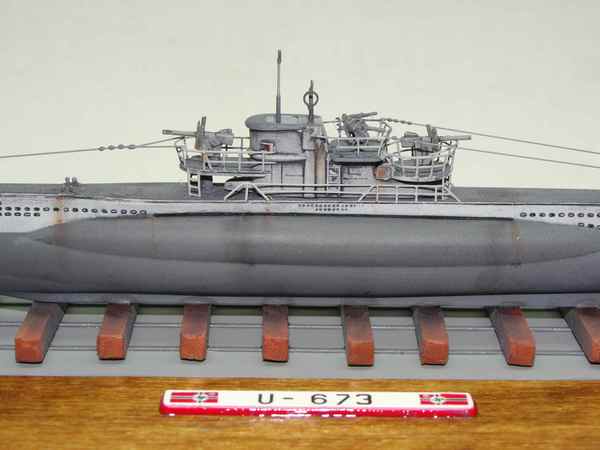
As you can see from the attached photos, part of the unique look of this boat was the forward gun platform. (Now, for a West Virginia Boy,a submarine with a front porch and a back porch was just too good to pass up! )
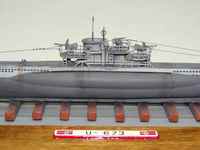 I have found these Mirage kits to be quite detailed, and obviously the PE detail sheets really enhance them. The basic construction goes quickly, and once the hull assembly is completed the fun starts. With all these boats, I next sanded down the molded detailing on the main deck. This is preparation for mounting the PE deck sheets. This normally consists of a fore and aft part which slide into each other for a decent fit at the control tower location. Patience here with fit and clean up will pay huge dividends later. Once this basic assembly is completed, the control tower is added and detailed. The forward gun platform was made from a plastic base with PE decking,and added details such as railings and access ladders. The forward gun mount assembly was put aside to be added after detailing the conning tower area itself.
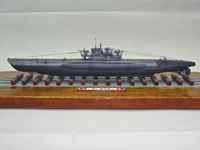 The conning tower is the extended "Wintergarden" type, which had two gun platforms built on. Between the guns and extra platform, one has to wonder just how noisey these boats were underwater. Plus the manuverability had to be degraded. But survivability was paramount at this time. The aft standoffs for the antifouling cables were added at this time, as well as the lower hull details. I used brass rod for the screw drive shafts and attached the PE screws themselves. The rudders and dive planes were thinned down by about half, and then attached. Next came the truely fun time of preparing for the paint.
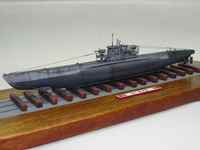 At this time, the U-Boat colors were not exactly exotic. It basically comes down to grey on grey. Which can actually be somewhat of an interesting challenge for any modeler. How can I make a grey on grey scheme "Pop" and come alive ? Whether or not I have or have not suceeded is strictly up to you. These boats really presented a well worn appearance after patrols. Plus the boats in the northern climes really took a pounding from ice, etc. Obviously the crews had a little more on their minds at the time than appearances.
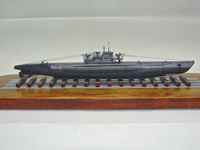 I used Model Master paints on this project. The lower hull was German Dark Grey. The hull upper deck, as well as the gun platform decks, plus the conning tower deck was painted Gunship grey. The upper side hull and conning tower sides were painted a dark ghost grey. Granted, once these colors are on, they seem a little stark. But that is all before the washes and weathering. These steps are the ones that really "blend" in the colors and bring the boat to life.
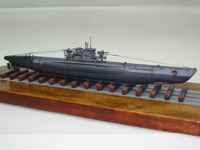 It is at this point I normally use a wash of black designer's gouache. I love to use these products due to the effects that can be obtained by playing with them. A moderate wash is applied and allowed to dry. After this, I use damp Q-tips to start the removal process. What I really love at this point is the fact any etched details, such as the decking vents, limber holes, etc., will pick up the black wash to really bring it out. Plus the dark wash can be varied to show build up of dirt and wash off areas. Next I use burnt sienna gouache to lightly simulate a runoff of rust. Granted the crews tried to keep these boats in the best condition possible. But after a 6 or 8 week patrol, then perhaps sitting in the daylight for a day or so, the rust streaks will start to show. I really recommend studying photos of the boats in the yards to see what I mean.
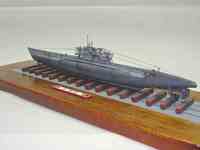 The anti-fouling cables were then attached, one fore and two aft. These were made with .005 stainless steel lines, and attached with Super glue. The guns were given an extremely light wash, but not too much. Obviously they were kept in the best condition possible.
At this point, I decided to display the model on my normal wood base. This is just a section of bass wood stained and varnished. The center section was painted to represent the bottom of the dry dock section with the keel blocks from balsa wood.
In summary, this was a fun little project. In my opinion, Mirage gave us a tremendous series at an extremely good price point. At its height, I think there were about 14-15 boats in the series. They went from the Type II, all the way up to the Type IX boats. If you're ever looking for something a little different, take a look at these models, most are still available if you dig around a little.In the meantime, it's time for me to return to that "Giant" scale of 1/144th! 'Till next time.

