The Glue Looper
By Matt Bittner
To be truthful, when I first heard of The Glue Looper, I was skeptical. I've been using a straight pin for years now, without any problems. So, I requested a set of Loopers to try it for myself.
 Well, my skepticism was lifted. I have used The Glue Looper on a number of models now, and am converted. I've used it on a 1/144 MiG-21 and a couple of 1/72 models. The Looper works best with thincement - don't expect to use it with fine control if you try the thicker CA. I've used "standard" CA and plastic liquid cement, all to great advantage.
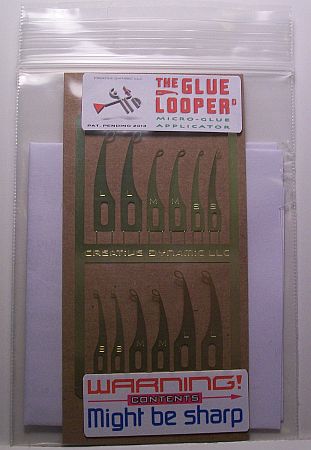
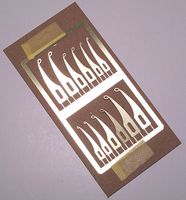
In the package you receive three sizes of Loopers: small, medium and large. In addition, you receive four of each size, so you won't run out of loopers for quite some time.
 The main tip (no pun intended) to using The Looper is once you have the tear-drop filled with your liquid cement, then just tap the end of The Looper to the seam - the cement will drain out of The Looper via capillary action. If you're careful with it, you'll be able to add CA without leaving any behind to sand.
There is one area, though, I still can't get The Looper to work, and that's adhering rigging to a 1/72 biplane. Even using the small Looper, I haven't figured out how to get just the small amount I need exactly in the place I need it. So, until I can figure it out, I'll still be using a straight pin.
 The Looper will be filled with dried cement, especially when you're using CA. The best solution for this is to burn the tip of The Looper, burning any dried cement away.
Huge, huge thanks to Creative Dynamic LLC for allowing me to try The Glue Looper. Pick one up, you won't be disappointed. Plus, if you have one and are looking for a tutorial, then take a look at the videos they've uploaded to their YouTube channel.
