
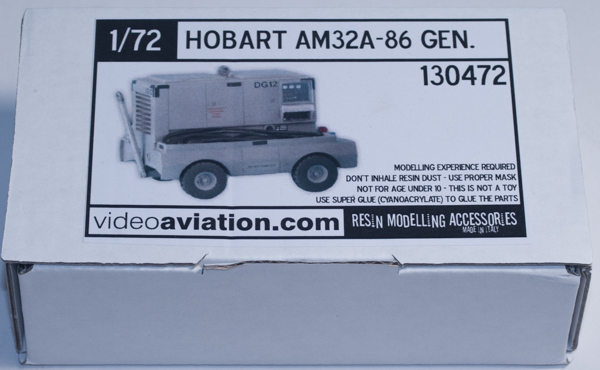
Videoaviation.com 1/72 Hobart AM32A-86 Aircraft Generator
By Matt Bittner
The kit is not difficult to assemble. Once the resin parts are removed from their pour blocks construction is simple. First the side "fenders" are added to the bottom of the main generator body, then the axles can be added to the underside. Next the wheels are glued on along with the tow bar and now the generator is ready for painting. You might want to leave the tires off until last so painting them will be easier, but assembly is simple and once painted, the most difficult part of the process continues by applying the decals. And there aren't many, with them thankfully being labeled in the instructions.
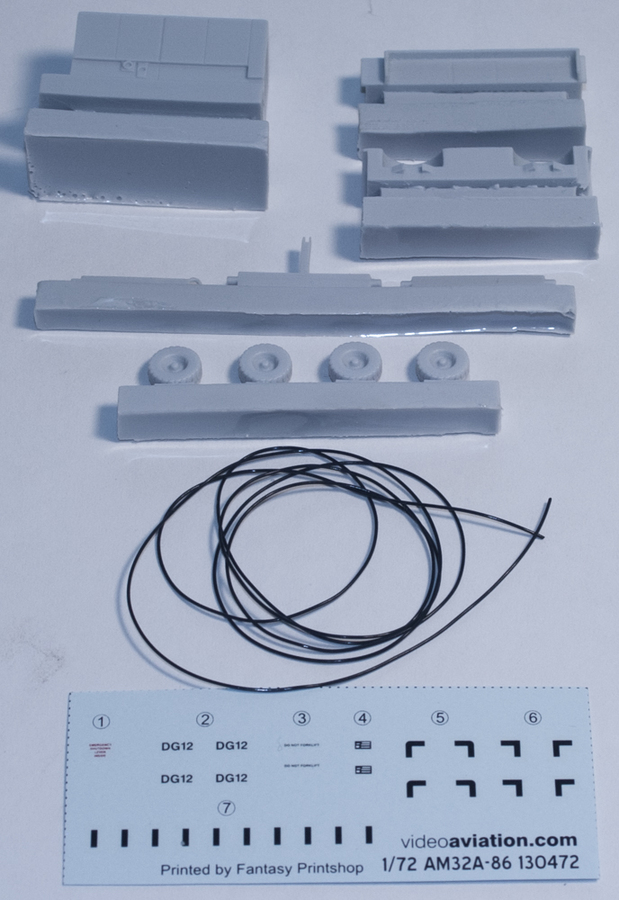
Inside the box is a roll of "cable" so you can "attach" the generator to your aircraft model. You'll need to find pictures for this, though, as the instructions don't mention where the cable goes on the generator, let alone the airplane you're modeling.
This is an excellent piece to be added to a diorama, or even made into a stand-alone model. Construction is simple and once completed will look great next to any model this is appropriate for.
A big "thank you" to videoaviation.com for the review generator.