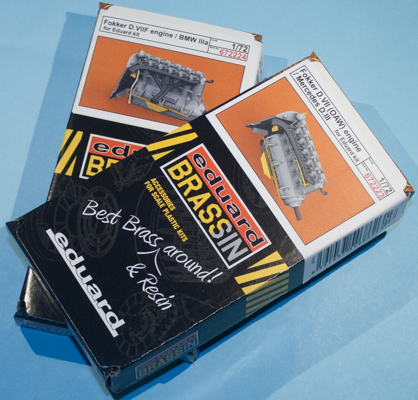
Eduard 1/72 Fokker D.VII Engines
By Matt Bittner
Overview
Taken from Wikipedia:
"The Mercedes D.III, or F1466 as it was known internally, was a six-cylinder, SOHC valvetrain liquid-cooled inline aircraft engine built by Daimler and used on a wide variety of German aircraft during World War I. The initial versions were introduced in 1914 at 160 hp, but a series of changes improved this to 170 hp in 1917, and 180 by mid-1918. These later models were used on almost all late-war German fighters, and its only real competition, the BMW III, was available only in very limited numbers. Compared to the Allied engines it faced, the D.III was generally outdated."
Also from Wikipedia:
"BMW IIIa was an inline six-cylinder SOHC valvetrain, water-cooled aircraft engine, the first-ever product from BMW GmbH. Its success laid the foundation for future BMW success. It is best known as the powerplant of the Fokker D.VIIF, which outperformed any allied aircraft."
The Engines
Eduard has produced two types of engiones for their 1/72 Fokker D.VII (and might be used in other manufacturer's kits as well): the Mercedes D.III and the BMW D.III.

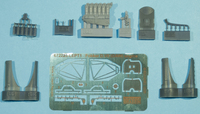
Fokker D.VII (OAW)/Mercedes D.III
|
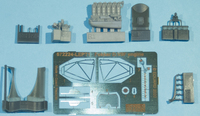
Each engine comes with the same basic components: a radiator, an engine, photoetch details, intake manifold, exhaust and replacement cowl(s). Naturally, since each engine is "different", you'll have different looking parts and different types of detail. But each comes with photoetch sides for the inside of the cowl; spark-plug "wiring"; radiator "grills"; etc.

Fokker D.VIIF/BWM IIIa
|
The construction steps are about the same as well. There are parts of the injected, plastic Fokker D.VII you need to remove before proceeding. Then you can start building up the engines. You could go two ways with these engines. Paint all parts before assembling anything, or add the resin parts to the engine and then paint (minus the exhaust, that's always best left until the end). But either way, you'll then need to add photoetch elements such as the spark-plug wiring. Add the main radiator part (after painting, of course) to the engine then the instructions have you add everything needed into the front of the kit's fuselage halves. Once that is all accomplished, then the engine is added into one fuselage half and the fuselage halves assembled (after everything else is also added to the fuselage, of course).
Conclusion
Once painted and "weathered" these engines will look great sticking out of the top of your 1/72 Fokker D.VII kit. If you don't want to use these in a kit, then I could also see them being used in a display next to the finished model. Either way these engines will look great when finished.
I definitely thank Eduard for sending these to review.
