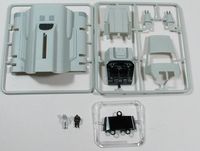
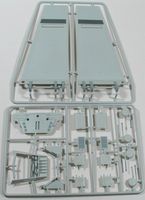
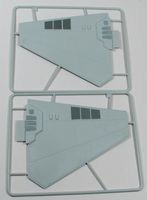
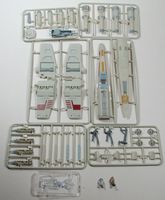
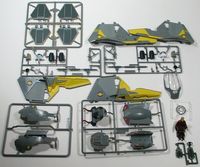
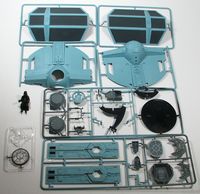
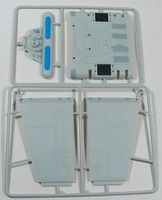
 There is one option, of having the landing gear either up or down. The kit is designed to have moveable wings, so once you make that decision with the landing gear, positioning the wings will be easy. The figures aren't made from the same injected plastic as the rest of the kit, instead they feel a little more "rubbery". The detail on the figures is nicely done, and the paint job on them and the shuttle isn't too bad.
The next kit is the X-Wing. Construction will be simple with this one. Assemble the wings together, put the engines together then add them to the wings, and finished with adding the ion cannons to the wing tips. Next build the cockpit into the upper fuselage half – including Luke – then put the fuselage together, trapping the wings and the rear bulkhead. After putting in the R2 unit, the last step is first deciding if you want landing gear up or down, then adding that option. And now you have a finished X-Wing.
To continue with the "good guys", I turn my attention to Anakin's Jedi Starfighter. This is also a simple build. First up is to assemble the wings, then adding the "winglets" to each. This is followed by building up the cockpit, and of the four kits supplied, this one has the most detail. It includes a two-piece seat, seat side-supports, control "sticks" and a rear bulkhead. Add this assembly to the bottom of the fuslage along with another part to the rear, then the rest of the cockpit is built up of two upper sides and the clear canopy and clear nose piece. In addition you'll also need to add the figure of Anakin Skywalker. Once the cockpit is finished then the two wing assembly pieces are added to it, followed by the engines. You now have a finished Anakin's Jedi Starfighter.
I'll end this article with the last of the Empire's machines, this time it's Darth Vader's TIE Fighter. The assembly of this one starts like most aircraft kits to, by putting the cockpit together. First you put Darth Vader in his chair and add the sides. After putting the front of the cockpit together, then you put Vader's chair on the floor, followed by two sides, the rear, and then the front piece. Now you have Darth Vader's cockpit. After you add parts to the upper and lower fuselage halves, and after putting in the cockpit, clear nose piece and "intakes", you can assemble the fuselage together. Once each two-piece wing is put together, then those are added to the fuselage, and you have a completed Darth Vader's TIE Fighter. The last step is mounting it to the included stand.
Conclusion
If you're looking to build Star Wars kits quickly, or looking for something your children can build, then the Revell Star Wars kits are the ones you want. You'll have assembled models in no time, and even the "youngest" builders will start zooming them around the house, making "laser" noises and vanguishing the evil doers.
Our thanks to Revell for supplying the kits to review.
