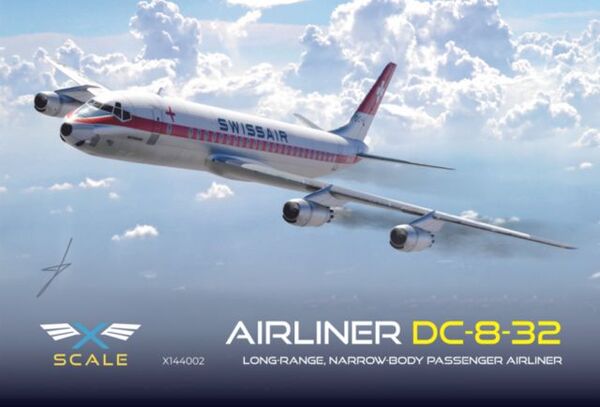
X-Scale 1/144 DC-8-32 SwissAir
By Matt Bittner
Overview
New manufacturer X-Scale has released their first injected, plastic kit, this DC-8-32 in SwissAir markings. Since this initial release, X-Scale has also released this with Delta decals. If this first release is any indiciation, X-Scale is one to watch in the future.
The Kit
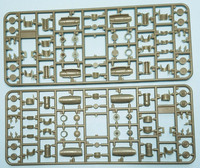
The X-Scale 1/144 DC-8-32 consists of 179 pieces of green-colored injected plastic, a clear, plastic injected sprue with the cockpit canopy and two landing lights, and four pieces of resin for the exhaust of each nacelle. Also included is a set of masks for the clear canopy. Decals are only for one DC-8, HB-IDA of SwissAir. Decals appear to be in register and include the fuselage side windows, which are not in injected plastic. Unfortunately there's a printing error with the decal instructions as some of the explanatory text resides behind one of the side color profiles.

|
X-Scale includes a complete cockpit, minus the control yokes and seat belts. It's very comprehensive and while no decals exist for the instrument panel, the instrument panel does have raised detail so you can paint and dry brush it to look good. Not much will be seen through the canopy but it's there in all its glory. Once the cockpit is assembled, then the pieces are added to the fuselage halves to fit it in place, and the cockpit placed on those. The instructions include color call-outs for all cockpit pieces. After you glue the cockpit to one fuselage half, and after gluing the nose landing gear well to the same half, then the fuselage halves can be glued together. Note that there is nothing in the instructions about nose weight, so add it accordingly.
|
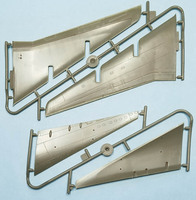
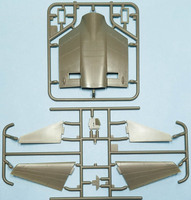
Now you glue the nose cheeks to the fuselage along with the wing, underside center section, but after you glue in other parts to the center section. The next step has you add parts to the upper wing halves prior to glueing the main wing halves together. Also glue the stabilizer halves together, along with the rudder halves.
|
The next steps have you glue the engines together. For the SwissAir version, you'll use the resin exhaust pieces. Glue the pylon halves together and move to gluing the wheel halves together.
|
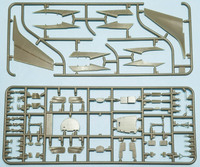
Each main landing gear leg consists of five pieces each. The instructions have you glue the wheels to the gear but I would wait until after painting. The two injected, clear lenses go on the nose gear but definitely wait until after painting.
|
Once all these subassemblies are together, then it's time to "build an airplane". Glue thw wings and tail pieces to the fuselage, followed by the canopy part. Thankfully X-Scale provides that part not just as a canopy, but also includes part of the fuselage along with it. A much better way to attach the canopy. Turn the model over and attach the engine pylons and engines, followed by the landing gear (again, all best left off until after painting). Now you have a finished 1/144 DC-8.
Conclusion
This is a well designed model of the DC-8-30 series. Panel lines are decent, it comes with a complete cockpit and everything appears top notch. Definitely looking forward to working on this model.
Huge thanks to X-Scale for the review kit.
