Introduction
The first of the "accurate" 1/72 F-22s, the Revell kit actually "started the ball rolling". When initially released a few years ago, it was lauded in most of the modeler's circles and everyone wanted to build one. Now that both Academy and Fujimi have F-22s out as well, it's still considered a "go-to" kit, especially in terms of cost comparison. The Revell kit is by far the most economical of the kits in 1/72.
The Kit
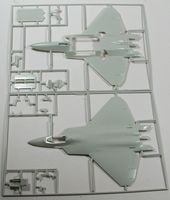
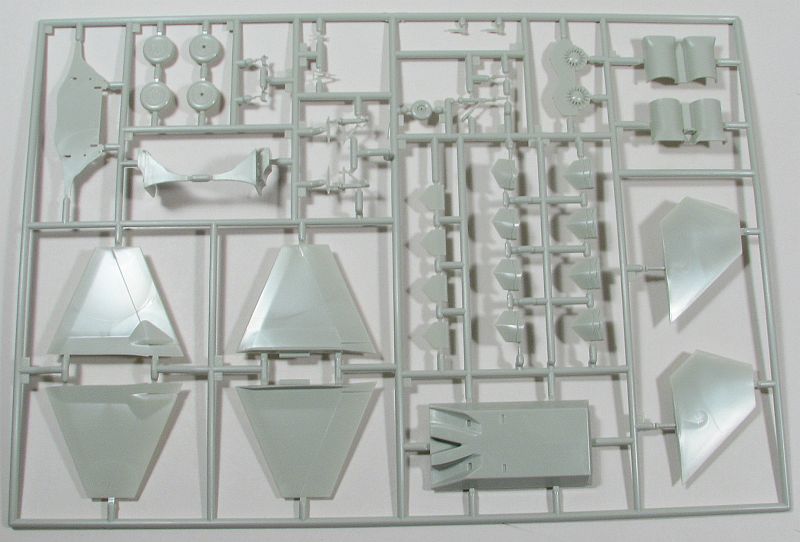
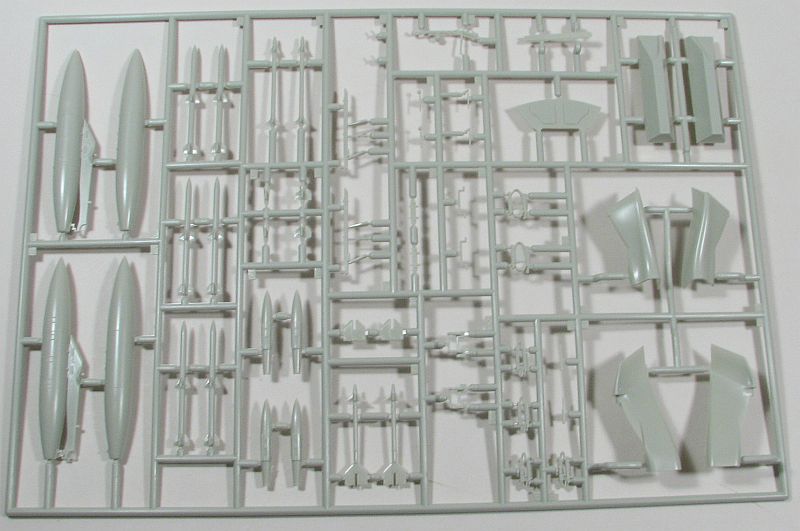
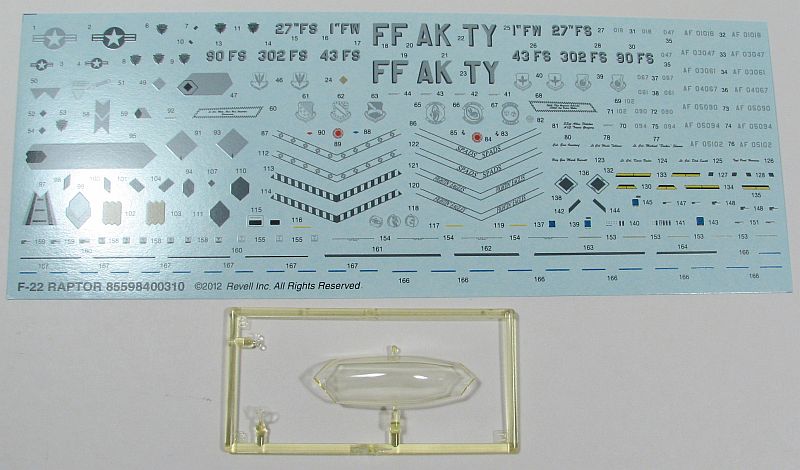
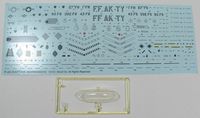
The Revell 1/72 F-22 Raptor consists of 81 pieces of gray, injected plastic, and 3 pieces of clear, injected plastic. Decals for 6 schemes are provided:
- F-22A-20, 04067, Lt. Col. Dirk Smith, Commander, 1st Fighter Wing, Langely AFB, Virginia, 24th Sq., 2006
- F-22A-30, 05094, Lt. Col. Kevin Festler, Commander 94th Sq., Langley AFB, Virginia, 2007
- F-22A-20, 03047, Lt. Col. Wade Tolliver, Commander 1st FW, Langley AFB, Virginia, 27th Sq., 2006
- F-22A-30, 05090, Lt. Col. Michael "Docker" Shower, Sq. Commander, 90th FS, Elmendorf AFB, Alaska, 2007
- F-22A-30, 03061, Brig. General Mark Barrett, Commander, 1st Fighter Wing, Langley AFB, Virginia, Summer 2007
- F-22A-30, 05102, Col. Eric Overturf, 302nd FS, Sq. Commander, 90th FS, Elmendorf AFB, Alaska, 2007
Decals appear in register and nicely printed.
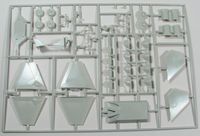
Construction starts with the cockpit, naturally. Assemble the three-part seat, put the decals on an already (hopefully) painted instrument panel, then glue it, the seat, a control column and throttle quadrant to the cockpit tub. Next step is to glue the faux-fan blades to the two-part exhaust area, and then you can glue the cockpit to the upper fuselage half. From there you assemble the main weapon's bay followed by the landing gear into the landing gear well. Now that all three of those pieces are finished, glue the exhaust, main weapon's bay and landing gear well into the lower fuselage half. Before gluing the fuselage halves together, the next instruction step is painting the fuselage-side weapon bays before gluing them to the lower fuselage half. In addition, you'll glue the intake halves together, glue those to the lower fuselage coupled with the separate piece that stops a see-through effect into the fuselage.
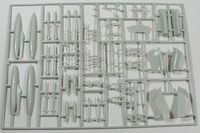
Now that all of that is finished, it's time to glue the fuselage halves together being sure to trap the horizontal tail pieces, if you want them moveable. If not, snip off the part of the post that will keep the tail surfaces in the fuselage, and then glue them on after painting. You'll also glue the vertical tail surfaces on as well, and I'm unsure if these can be added after painting, or if the gaps are too great and need to be filled. Once that is figured out and accomplished, then painting can commence prior to finishing up the model.
There are a number of options with the Revell 1/72 F-22. Wheels up or down; all three weapon bays open or not; exhausts "opened" or "closed"; which weapons to use if opening the weapon bays (Sidewinders, AMRAAMs, drop tanks, etc.); canopy open or closed; and finally, you can display the tail hook either extended or not. All in all a pretty decent set of options.
Conclusion
While this was the first "accurate" F-22 in 1/72, it still is a most viable option, especially considering the price-point. I have seen examples of it built up, and it looks great and definitely looks like a Raptor.
My thanks to Revell for sending this review sample.