

Revell 1/48 F-18C Hornet
By Matt Bittner
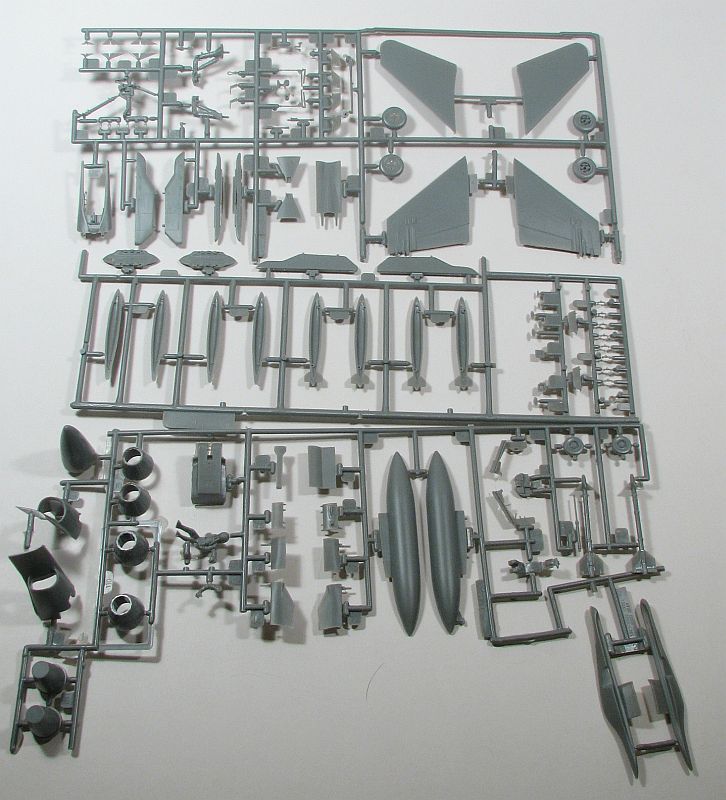
The Kit
Construction naturally starts with the cockpit, and it's a very nice cockpit out-of-the-box. The only thing truly needed are seat belts, and one option is to use the paper template on the instruction sheet to make at least the shoulder harness. The cockpit consists of a tub, seat (made up of four separate parts), instrument panel (with raised detail), control column and throttle. If you close the canopy you'll truly need nothing else but seat belts. Nothing at all, if you decide to add the pilot. Even with displaying the model with the canopy open it still is a great cockpit and will look excellent with the right about of dry-brushing and washes.
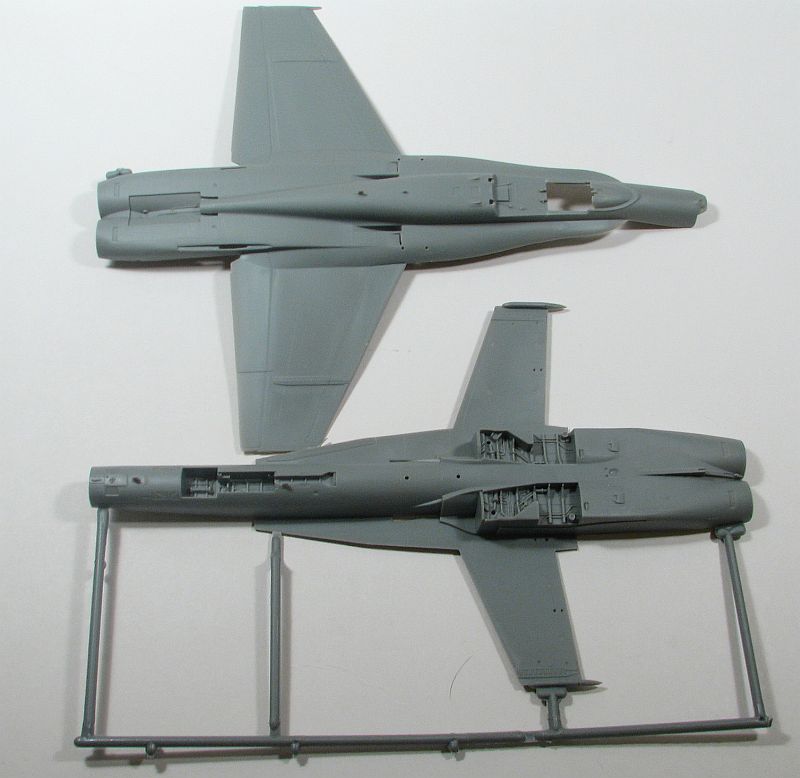
After adding the nose cone and side blisters to the sides of the nose, then you start assembling the rest of the airframe. That includes a two-part intake on both sides along with a piece that replicates the side of the fuselage that includes the outside main landing gear door.
Conclusion
If you're looking for a relatively quick build of an F/A-18C and not put off by raised panel lines (plus want to save a little in the wallet) then you'll want to try your hand at the Revell F-18C. While it is an older mold - and aside from the panel lines - it still really holds up well to today's more "modern" kits.
(We published a full build on this kit quite a few years ago.)
My thanks to Revell for supplying the review Hornet.