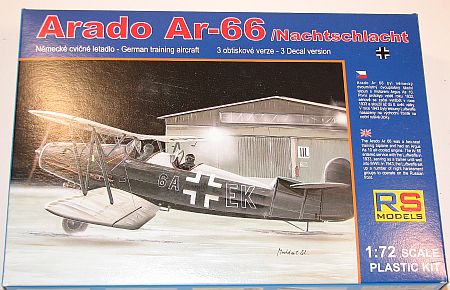
RS Models 1/72 Arado Ar 66
By Matt Bittner
Introduction
Unfortunately, like most German 'tweeners (between-the-war aircraft) there is little documentation on the Arado 66 (Ar 66). There are some sites that have information, and the following comes from Wikipedia (https://en.wikipedia.org/wiki/Arado_Ar_66):
"The Ar 66 entered service with the Luftwaffe in 1933, serving as a trainer until well into World War II[1]. In 1943, the Luftwaffe set up a number of night harassment groups to operate on the Russian front. The Ar 66, along with the Gotha Go 145, formed the main equipment of these groups."
And that's it. No numbers on how many built; no numbers on how many single-seat versus double-seat. It's a shame German 'tweeners aren't given the amount of documentation as other aircraft.
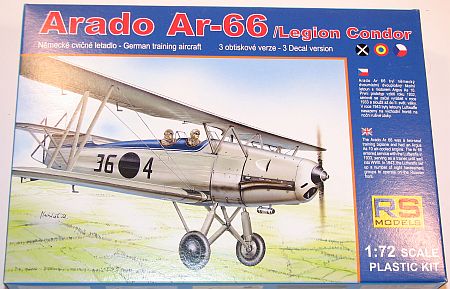
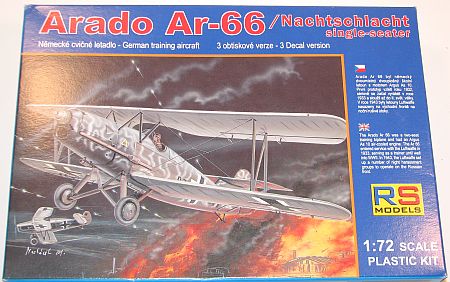
The Kits
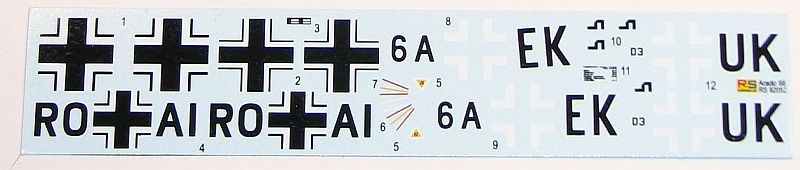
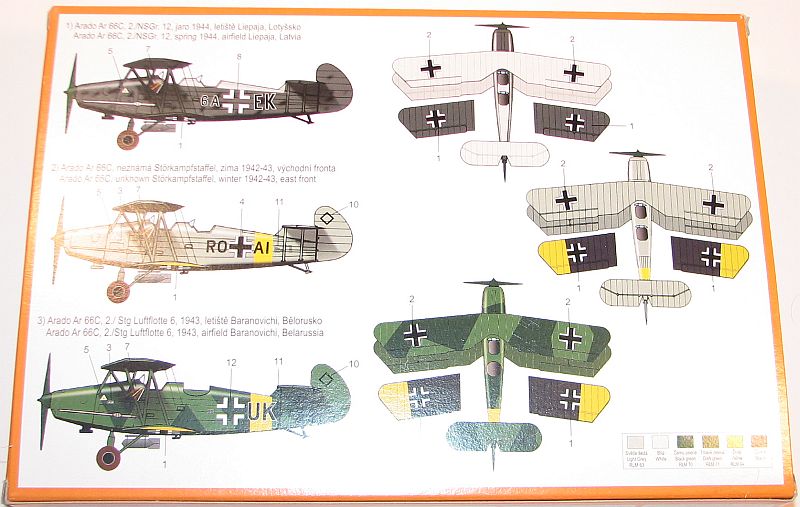
Ar-66C Two-seater:
- 2./NSGr. 12, Spring 1944, Liepaja airfield, Latvia
- Unknown Störkampfstaffel, Winter 1942-43, Eastern front
- 2./Stg Luftflotte 6, 1943, Baranovichi airfield, Belarussia
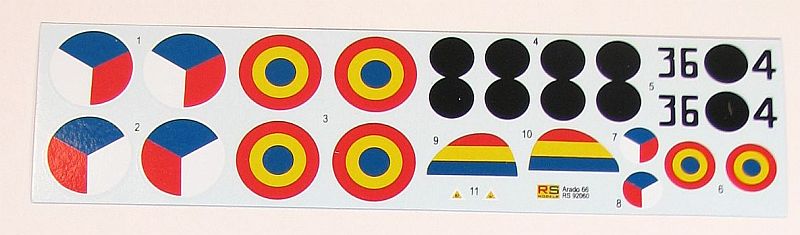
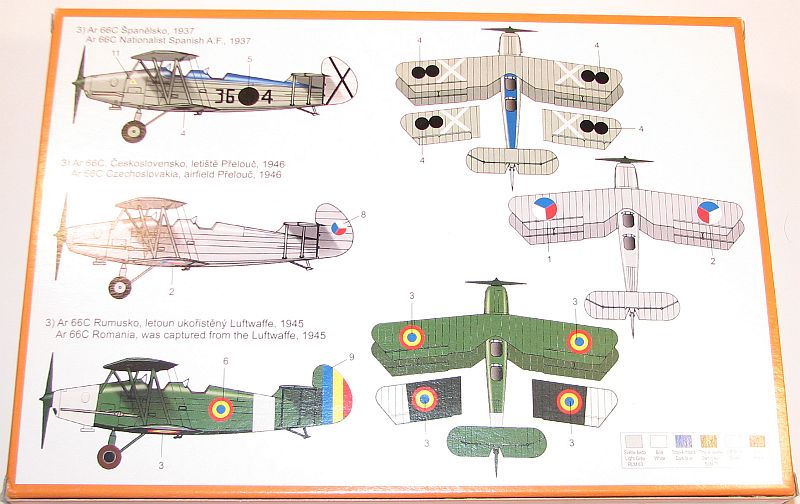
Ar-66 Legion Condor:
- Nationalist Spanish A.F, 1937
- Czechoslovakia, airfiled Prelouc, 1946
- Romania, was captured from the Luftwaffe, 1945
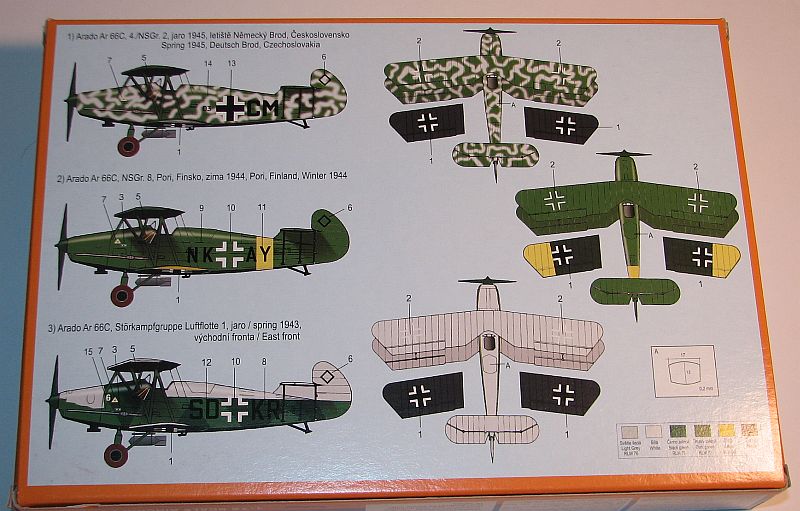
Ar-66 Single-seater:
- 4./NSGr. 2, Spring 1945, Deutsch Brod, Czechoslovakia
- NSGr. 8, Pori, Finland, Winter 1944
- Störkampfgruppe Luftflotte 1, Spring 1943, Eastern front
You'll need to decide up-front, if building a two-seater, which one you'll build. A "standard" one, or one with the "gunner stand". If you're building a "standard" two-seater than you'll glue all pieces of the cockpit together. If you're building the "gunner stand", then you'll need to perform some surgery and that surgery should be accomplished with the fuselage halves glued, or taped, together. There is a different fuselage top you'll need to glue on after you make the necessary cuts to the fuselage shown on the instructions. The difference in the cockpit assembly is leaving off the rear seat and control column, and not adding the back instrument panel.
You might also want to leave off the rear cockpit pieces if building the single-seater and keep those parts for the spares box.
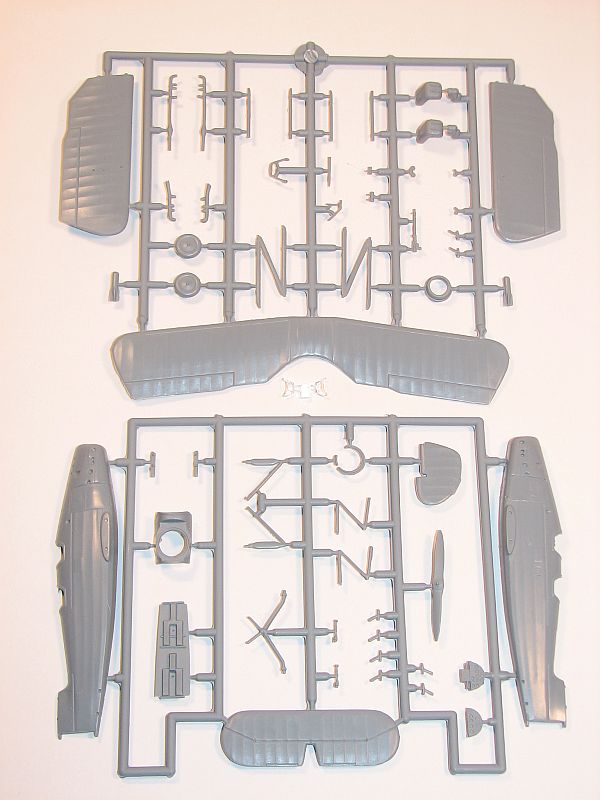
Unfortunately there is no rigging diagram with any of the releases. You'll need to track down some photos of the Ar 66 to help you rig.
Conclusion
These are very nice kits and will build into excellent examples of the Arado Ar 66. Everything is top-notch and they should be relatively easy builds.
My thanks to RS Models for these kits to review.