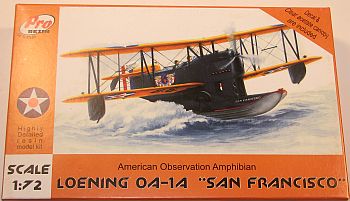
Pro Resin 1/72 Loening OA-1A FL
By Matt Bittner
Introduction
Not much is written on the Loening OA-1A aircraft itself. Wikipedia has that 15 were built, but I saw another reference where closer to 300 were built. Tough to say just how many.
However, there is plenty written on the famous flights taken by five OA-1As during their Pan-American Flight. All five were named after major cities in the United States - New York, San Antonio, San Francisco, Detroit and St. Louis. These flights started 21 December 1926 and ended 2 May 1927. It was a monumental task, not without its risks. Luckily there was only one accident during the flight, but it still was a serious crash. Both The Detroit and The New York collided in mid-air, killing both pilots in The Detroit and destroying both aircraft. Thankfully the aircrew of The New York were able to parachute safely. If you are interested in reading further about the Pan-American Flight, you can read the "shorter" version (and click on Long Description), or, if you have more time on your hands you can read the complete "after action" book written on the flight, scanned into a 506 page PDF file. (Warning - the download is over 207 mb large so could take awhile if on a slower connection). This larger download is also a great source of photos during the historic flight, so personally I think it worthwhile to download to see not only what the aircraft looked like, but also the conditions they flew into, the people they met and anything else that happened during the "goodwill tour".
The Kit
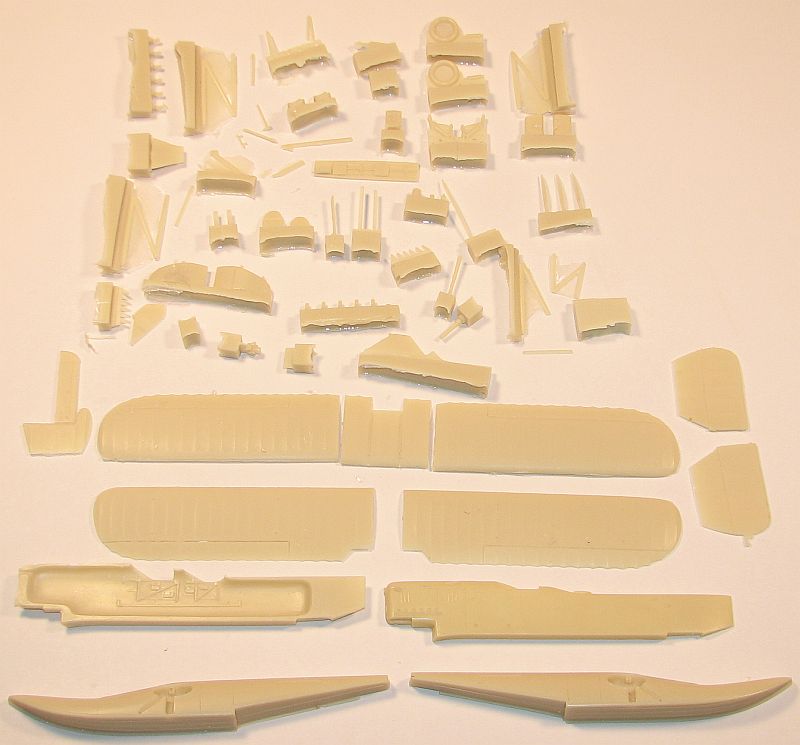
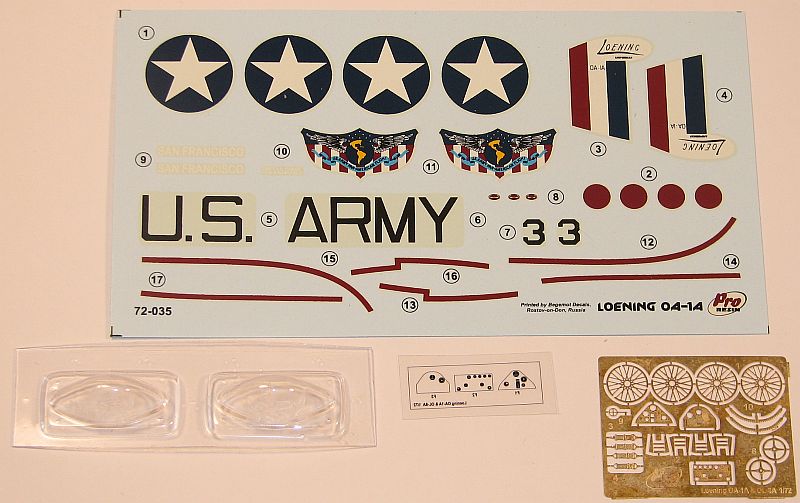
The Pro Resin 1/72 Loening OA-1A consists of 80 pieces of tan-colored resin, a photoetch fret with 20 pieces on it, a clear film for the instrument panels, and finally, two sets of vacuformed windscreens (an extra set "just in case"). The resin is up to Pro Resin's high standard of quality, although I must admit, I finally found a number of pinholes in a Pro Resin piece. The good news is, though, these pinholes are on top of the float halves, which means they truly don't matter since the fuselage sits on top of the main float. I just wanted to bring this up to point out the high level of quality you get with a Pro Resin kit.The set of decals is for one aircraft only, The San Francisco. This isn't surprising because the only Loening OA-1A still in existence - residing at the Smithsonian's Udvar-Hazy Center (and used to reside at The National Museum of the USAF) - is The San Francisco. In fact, you can see an excellent walk around of that aircraft at the Silicon Valley Scale Modeler's site. The decals are printed well, but I'm a little concerned. There is yellowing already underneath the large "U.S." and "ARMY" decals. I'm hoping it's just excess glue and will wash off when removing the decal from the backing-sheet.
As with most aircraft models, construction starts with the cockpit. The OA-1A's cockpit consists of mainly resin, with photoetch details (such as seatbelts, rudder pedals, etc.) and clear film instrument dials.adhered behind the resin instrument panels. With the right painting and weathering the cockpit will look excellent. Out of the box it's awesome - if you wanted to provide more detail you could, but you would be hard pressed to find references for the cockpit (unless you know of someone at NASM that could take photos for you...).
The next step has you create the landing gear, both the gear itself (three pieces) and also gluing the photoetch spokes into the wheels. If you do assemble these now, I would definitely wait until the very end to attach them to the model. Or, if you plan on showing the model with the gear "up", don't put the wheels onto the landing gear and again adhere everything at the end.
Now the "big part" of assembly. On the instructions is one large assembly step, showing everything else that goes into and onto the model. Definitely leave off the smaller parts until the end, along with the upper wing and struts. However, you'll want to build the upper wing (as it's in three pieces) prior to painting. You may also want to use epoxy when gluing the fuselage to the float. This way you'll have some extra time to be sure it all lines up properly. The mating surface is vast and level, but an extra level of certainty is always good.Pro Resin does provide the three-view for painting and markings placing, and in addition they also provide a rigging diagram. Excellent.
Conclusion
Just to understand how much went into the kit, I quote an insert inside the instructions:
"Dear Friends!
"While developing a master model of this kit we found that the drawings by Willis L. Nye are not correct in many respects and do not reflect detailing of the real plane of that period of time. We had to use large number of black and white photos as well as technical documentation of the real prototype in order to achieve closest accuracy of this kit.
"We do not recommend to use mentioned above drawings while building our (and yours! :) ) Loening kit.
"Sincerely yours,
"Olimp Models
"PROResin Team"
With devotion like that you can be certain this is an outstanding model, to which I agree. Sure, "the proof is in the pudding", especially in terms of construction, but you can be sure you're starting out with an excellent model of the Loening OA-1A in 1/72.
Many, many thanks to Pro Resin for the review kit.


