Platz 1/72 F-15J
By Matt Bittner
Introduction
There is a lot of information elsewhere on the McDonnell Douglas (now Boeing) F-15 series of aircraft so I suggest performing a search on-line to find your favorite sources.
I do need to apologize to Platz for taking so long to write this review. Time and memory just got away from me.
The Kit
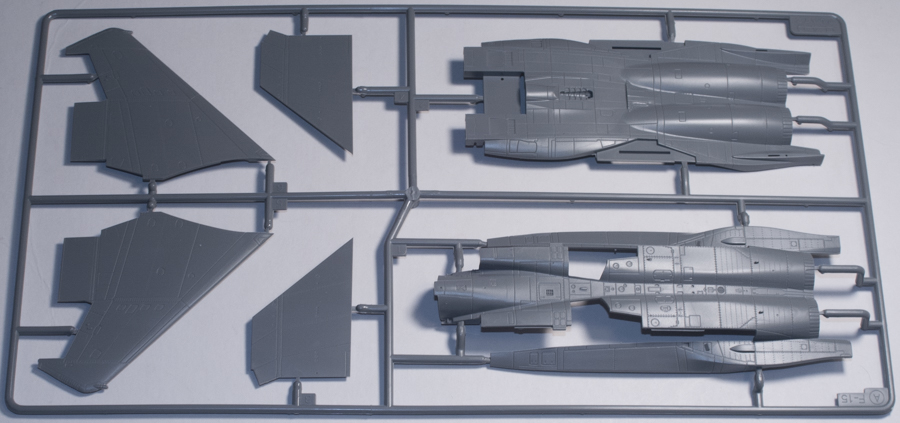
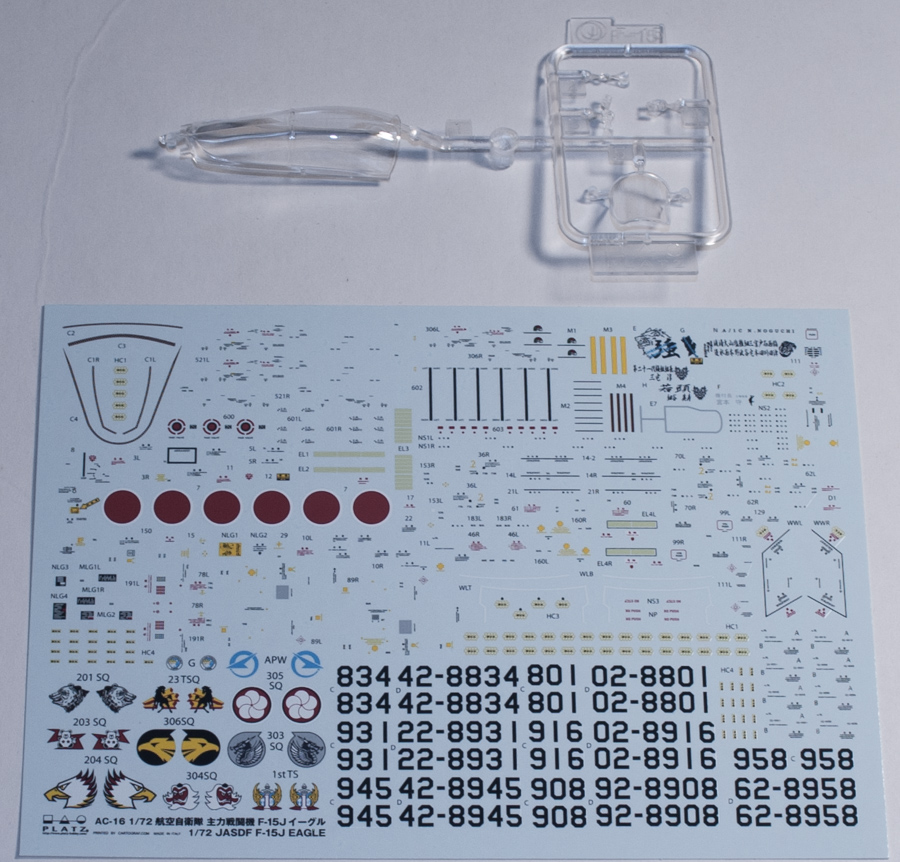
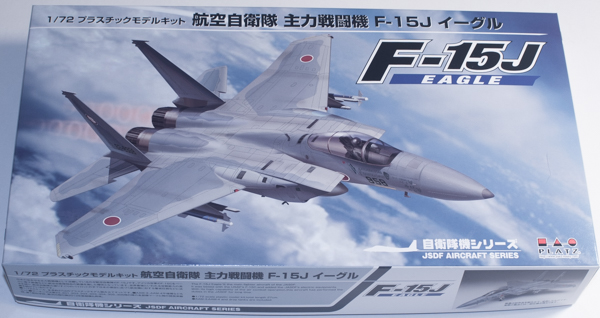
The Platz 1/72 F-15J consists of a lot of parts. I kept losing count as I was counting them on the sprue, but as an example the exhausts consists of 21 pieces of plastic apiece! Yes, a lot of parts. Everything is molded top-notch although there are sink marks on some of the interior cockpit surfaces that need to be dealt with (and a friend suggested using punched out pieces of paper – brilliant!). There are markings for six different squadrons with plenty of tail codes:

- 42-8834 201 Sqn.
- 42-8945 304 Sqn.
- 22-8931 203 Sqn.
- 22-8931 306 Sqn.
- 42-8945 204 Sqn.
- 42-8834 23 T Sqn.
Decals are by Cartograf so you can be assured of their high quality. In addition the decals come with complete stenciling so the decal stage will take up plenty of time.
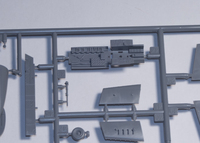
Like most other aircraft models, the instructions start with the assembling of the cockpit. And what a cockpit! Out of the box it's superb with the only things missing are seat belts (which can be sourced from Platz' own photoetch set). The cockpit, both the pilot's area and section behind the cockpit, is very detailed and with proper washes and dry brushing will look superb. Once the cockpit is finished the forward fuselage halves can be assembled and other parts added to it. Once all of that is finished the construction moves to the rear fuselage area.
Unfortunately there are a few sink marks in the cockpit, mainly the area behind the seat. A friend suggested using a paper punch with paper and gluing them in with white glue. Hopefully I can find a size that will match.
There is a pretty comprehensive intake and exhaust "trunking" but since it's split latterly I worry about the seams showing. Until I can actually assemble the kit I won't know if this is an actual issue. However, once it's all painted and glued together then the main fuselage pieces can be put together and the rest of the aircraft assembled.
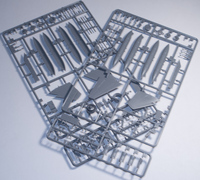
The kit provides a few choices: you can display the speed brake either deployed or not; plus the intakes can be shown either in the "down" or "up" position. You'll need to make the decision on which you want before you continue with this part of the instructions, though. You'll also need to pay close attention to what holes you need to open up for the stuff hanging externally. Also pay close attention to if you hang the AAM-4s from the bottom of the fuselage. If you do decide you want to have the missiles in place then you'll need to leave off the "hangers"; however, if you don't want to add this missiles then you'll need to glue on the separate "hanger" pieces.
External stores contained in the kit not only consist of the AAM-4s but also AAM-3s and fuel tanks.

Conclusion
Like I mentioned above, this is now the definitive 1/72 F-15. You'll need to track down changes from the F-15C to the F-15J if you want to build a 'C', but I believe the major change was in the nose. Again, best to look at references if you decide to go the 'C' route. This will build into a stunning F-15 out of the box, or you can also track down Platz' own photoetch set to add a little bit of refinement.
Huge thanks to Platz for sending the kit to review.

