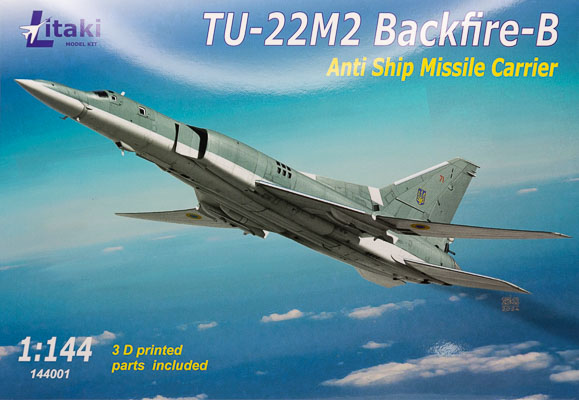
Litaki 1/144 Tu-22M2 Backfire-B (51-58 Series)
By Chris Banyai-Riepl
Overview
The Tupolev Tu-22 was the Soviet Union’s first supersonic bomber aircraft, entering service in the 1960s as a traditional bomber as well as a cruise missile carrier. Its unique design featuring its two jet engines at the base of the vertical fin gave it a distinct appearance, but its performance and handling were a major disappointment. Range and speed both failed to meet expectations, and flying the Tu-22 was challenging, with landing particularly dangerous due to its high landing speed.
Shortly after entering service, Tupolev already planned on an upgrade to the Tu-22 with essentially a clean-sheet design that featured variable sweep wings and traditional engine placement inside the fuselage that also included improved and uprated engines. Politics and budgets entered the picture, though, and instead of giving this aircraft a new designation, Tupolev pitched it as an upgrade to the Tu-22 and called it the Tu-22M. This was successful and the type entered service in the early 1970s. The first main production variant was the Tu-22M2, with 211 produced between 1974 and 1984.
The Kit
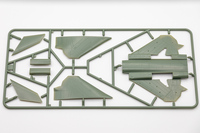
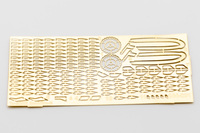
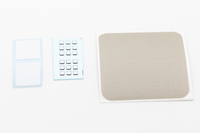
Litaki’s second subject in their lineup changes scales to 1/144 for their rendition of the Tu-22M2. This is not the first time this subject has been kitted in this scale, as Minicraft released a kit of the Tu-22M2 back in 1985, with one of its highlights being “over 65 parts.” Litaki’s kit has over double that part count in just the photoetch alone, so that should give an indication of just how much more advanced a kit this is in comparison (not to mention far more accurate, as the Minicraft kit was simplistic at best). In addition to the photoetch, the kit comes with 242 plastic parts featuring recessed panel lines throughout, a decal sheet with three options, and vinyl masks for the canopy and wheels.
|
|
|
|
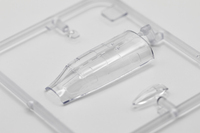
Jumping into what you get in the kit, the cockpit has more detail than I anticipated, with thirteen parts and two decals. No photoetch seatbelts, but in this scale those would be overkill and honestly, it’s unlikely much of any of this detail will be visible through the small cockpit windows anyway. Other bits going into the forward fuselage includes the nose wheel well and a couple of inserts for the lower nose and upper cabin area. The instructions also indicate that you will need weight, but do not give any idea as to how much. I plan on taping as much as possible together and figuring that out before gluing things together, just to make sure it won’t be a tailsitter.
|
|
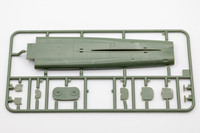
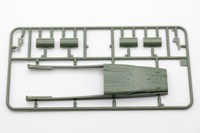
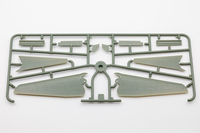
Speaking of taping things together, the basic construction of this kit is not a simple one. The fuselage is made up of right and left forward halves, while the rear is separated into upper and lower halves, with the lower wing center section as a fifth separate part. While this might have been done in fewer parts, this method likely has resulted in better surface detail overall. Just be ready to engage in a lot of test fitting before doing any final gluing to make sure everything is lined up properly and to minimize the need for filler.
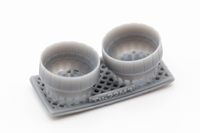
Keeping in the complex build side of things, the intakes are beautifully detailed, but this detail comes from a multi-part assembly, heavy on the multi part. Each intake splitter side has five pieces, with the inner trunking being made up from more additional parts. This is complex to assemble, but the positive is that painting up the intake interior will be much simpler and will end up looking amazing. On the opposite end of the intakes, the exhausts are built up from a bulkhead, a couple of exhaust tubes, and a pair of 3D printed burner cans.
|
|
|
|
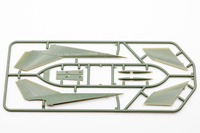
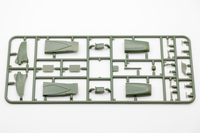
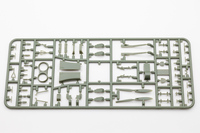
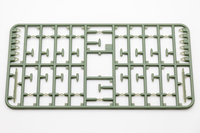
The flying surfaces are simpler, with all of them split in halves. The swing wings have full upper halves with inserts for the lower halves, while the stabilizers are evenly split top and bottom. The vertical fin has its tip separate and the gun section separate. The gun turret has its guns separate, along with some other antenna details. This kit has quite a few extra details in the form of scoops, strakes, and photoetch antennas. The strakes on the wings are also photoetch as well.
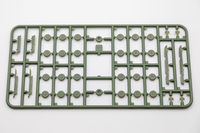
The landing gear takes us back to complex, with the nose landing gear having two main strut pieces, a separate retraction strut, and a separate cylinder piece. With the two nose wheels, this six-piece assembly is the simple one for the landing gear. The main gear is made up from ten pieces per side, not counting the wheels or door. While the nose gear wheels are single pieces, the main gear wheels are split into halves, adding another six pieces to each main gear assembly.
|
|
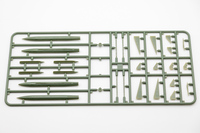
With everything together, it’s time to decide what you want to hang underneath your Tu-22M2. This kit provides several options that cover the gamut of loadouts found on typical Tu-22M2s. Starting with the largest, there are two Kh-22 (AS-4) Kitchen cruise missiles. These are split into upper and lower halves with a separate exhaust section and have separate fins all around. The pylons are single pieces with separate sway braces. Next up is the two Kh-15 (AS-16) Kickback missiles. These are molded as a one-piece body with photoetch fins, while the pylon is two parts.
Finally, there’s the classic iron bomb loadout with OFAB-250/270 bombs. There are eighteen bombs in total, filling out two nine-bomb pylons. Each bomb is molded as a single body with a separate ring. Connecting the two are four photoetch fins, with four additional photoetch mini-fins fitting in between the other fins. Yes, that’s right, for one bomb there are two plastic parts and eight photoetch parts, and there are eighteen bombs to assemble. Most of the photoetch in the kit goes into these bombs, but the sight of this plane loaded up with all eighteen will definitely be impressive, especially with the individual bomb racks having six separate sway braces.
|
|
|
|
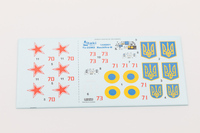
The decals provide two Ukrainian options and one Soviet option. All are finished in the same color scheme of white and gray, with small red numbers on the vertical fin. The national insignia for all three are in the same place (in fact, the Ukrainian insignia was painted over the Soviet ones when they took over those aircraft). The decals are nicely printed with good color density and excellent registry.
Conclusion
While a complex kit, this is a very welcome one, as it is leaps and bounds better than the ancient Minicraft kit. The detail throughout is impressive, and while the assembly will be a challenge, it will be worth it in the end. This is one I’m definitely looking forward to building. My thanks to Litaki for the review sample.
