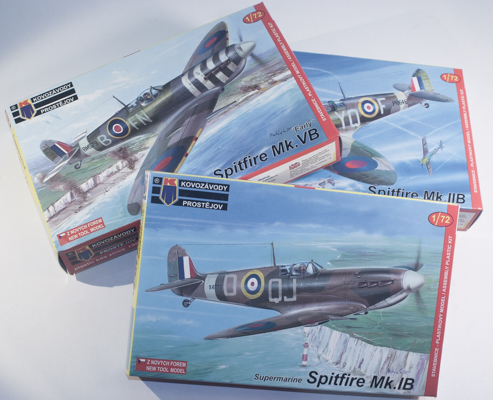
Kovozávody Prostějov 1/72 Spitfire Mk.Ib/IIb/Vb
By Matt Bittner
Introduction
The Spitfire truly doesn't need an introduction. If you're unsure of the type there are so many references out there that all you need to do is a search in your favorite search engine (for example, Google).
Quite some time ago AZ Model (the owners of which are also the owners of Kovozávody Prostějov) released new-tool early Spitfires. While "okay" kits they weren't without their faults and weren't very easy to assemble. Sometime ago – a little later than AZ's releases – Airfix started their new-tool releases and one of the first was a Spitfire Mk.Ia (and then eventually a Mk.I and a Mk.II). It was a better kit than AZ's releases and although not without its faults too – mainly too-wide panel lines – it is a fun and easy build, and a good basis for other early Spitfires.

Skip ahead to 2016. Kovozávody Prostějov (KP) (again, as I mentioned, owned by the same people that head-up AZ Model) has recently released even newer-tooled, early Spitfires and looking in the box and comparison with the Airfix kit, this is now the "kit-of-choice" for early-mark Spitfires. Granted, the "proof is in the pudding" and will only truly be considered the best once built, but from what I've read on-line it shouldn't be as difficult as AZ's first new-tool kits.
There is one area one must be aware of, though. Since the kits are all based on the Mk.V molds with additions to "back date" (for lack of a better term) the ailerons are metal and not fabric-covered.
The Kit
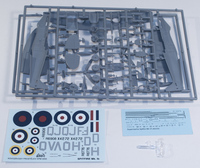
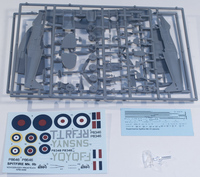
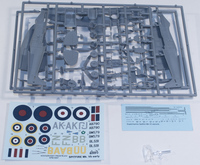
Since the plastic is the same in all three kits I'll just lump them into one article. You create the I/II/V based on the parts provided in the kit, and the kit does include everything needed. Multiple propellers, stabs, lumps-and-bumps for the wings, etc. In fact, here is a detailed list of the options provided for in the kit (with thanks to Mark Davies):
- Three types of propellers and three spinner styles; metal blade de Havilland and Rotol, plus wooden blade Rotol
- Coffman starter bulge
- Two styles of antenna poles' mast
- Two styles of voltage regulator that mount behind the pilot's head armor
- Square and round rear-view mirrors
- Five-spoke or solid disc main wheels
- Two types of oil cooler (Mk.I/II & V)
- Choice of teardrop or kidney shaped of underwing cannon drum blisters
- Choice of triple-ejector exhausts with nozzle or fish-tail outlets
- Normal carb-air intake, plus tropical Vokes and Aboukir filters
- Wingtip fairing for clipped wings
- 90 Gallon ventral overload tank
So as you can see, everything is needed to make either a Mk.Ib, Mk.IIb or Mk.Vb, with plenty of parts left over for the spares bin.
Naturally construction starts with the cockpit and out-of-the-box it's the best Spitfire cockpit in 1/72. Everything is represented and the detail is top-notch. The instrument panel has raised detail and KP provides a decal for the instruments that with the right amount of setting solution should settle into the instrument panel. Decals are also provided for the seat belts; possibly something to be replaced using other items but you could always cut the seat belts from the paper leaving the paper intact, giving them a more "3D-like" appearance.

I'm beginning to like the idea of finishing the smaller parts first, before major assembly, that way they're waiting for you when you have the rest of the airframe finished. That's the way the new KP instructions are; once finishing the cockpit you then build up the prop and spinner (remember there are three types you can build with this kit so follow the instructions – including the errata – as well as follow photos of the aircraft you're building). After the prop you build the oil cooler and landing gear but once those are finished and the cockpit is assembled, painted and weathered then the cockpit added to one fuselage half and construction continues.
The instructions show that you need to create your own blanking plates for the exhausts so you can mount them after final construction. Why KP didn't include these parts themselves I have no idea, but at least they give you the proper dimensions so you can create them out of sheet plastic yourself.
Now that the fuselage is together construction continues with the wing. Before you glue the wing-halves together pay close attention to the instructions as they show you which holes to open for the Spitfire version you're building. Plus there are landing-gear-well pieces to add as well and once those are in and the holes drilled open then you can glue the wing halves together. Once together you add the radiator and oil cooler, plus the specific gun blisters needed.
Construction continues prior to painting by adding the wing to the fuselage, along with the horizontal tail surfaces (pay close attention to the instructions) along with the separate rudder and while the instructions show adding the canopy (one-piece, unfortunately), antenna, exhausts and tail wheel I would leave all these off (except for the canopy) until after painting and decaling.

Conclusion
With the excellent level of detail and the extremely well done surface detail I consider these Kovozávody Prostějov early Spitfires the "go-to" models for these specific versions. If they build up as well as they look then these will definitely surpass all others, and you won't have to worry about "over emphasized" panel lines. Just keep in mind the metal - and not fabric - ailerons. I am really looking forward to building these.
Huge, huge thanks to Kovozávody Prostějov for sending the kits to review.
