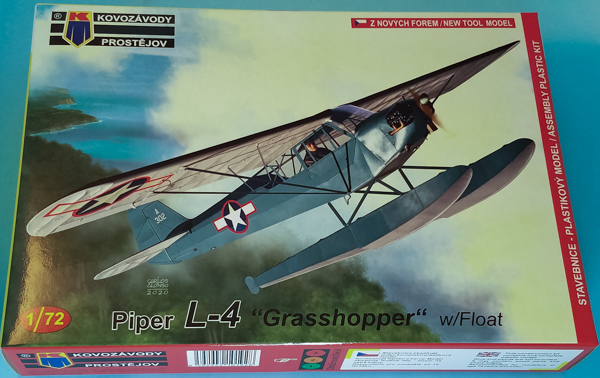
Kovozávody Prostějov 1/72 Piper L-4 "Grasshopper" w/Float
By Matt Bittner
Introduction
Taken from Wikipedia:
"The Piper J-3 Cub is an American light aircraft that was built between 1938 and 1947 by Piper Aircraft. The aircraft has a simple, lightweight design which gives it good low-speed handling properties and short-field performance. The Cub is Piper Aircraft's most-produced model, with nearly 20,000 built in the United States. Its simplicity, affordability and popularity invokes comparisons to the Ford Model T automobile.
"The aircraft is a high-wing, strut-braced monoplane with a large-area rectangular wing. It is most often powered by an air-cooled, flat-4 piston engine driving a fixed-pitch propeller. Its fuselage is a welded steel frame covered in fabric, seating two people in tandem.
"The Cub was designed as a trainer. It had great popularity in this role and as a general aviation aircraft. Due to its performance, it was well suited for a variety of military uses such as reconnaissance, liaison and ground control. It was produced in large numbers during World War II as the L-4 Grasshopper. Many Cubs are still flying today. Cubs are highly prized as bush aircraft."
The Kit
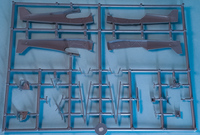
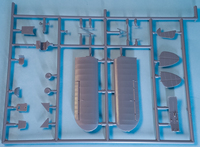
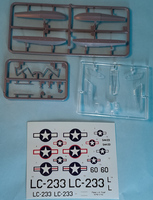
The Kovozávody Prostějov (KP) 1/72 Piper L-4 "Grasshopper" w/Float comes with four sprue of gray, injected plastic consisting of 55 pieces, some not used for this version. In addition, there is a clear, injected sprue with eight pieces again, some not used for this version. Decals are for three Grasshoppers:
- Piper L-4, A302, US Navy, 1943 (finished in two-tone blue with white undersides)
- Piper L-4, LC-233, Civil Air Patrol, USA, 1949 (finished overall in yellow/orange)
- Piper L-4, 60L, Civil Air Patrol, USA, 1945 (finished overall in aluminum)
Decals appear to be in register.

|
Construction starts with assembling the instrument panel. First paint the plastic part black, then add the instrument panel decal. Next, you assemble the multi-piece engine - after painting each piece, of course - and then you add the engine to a section of firewall. Now attention turns towards the cockpit. It consists of a floor, two seats and two control sticks. Once that's together then you add it and other interior pieces to one fuselage-half. From there you glue the fuselage halves together.
Now it's time to add the clear pieces to the assembled fuselage along with the engine and half of the nose surrounding it. Then you add the other nose-half, wings and tail pieces. Be aware of how the dihedral is supposed to be with the wing. It's slight, and not at 0 degrees.

|
From there you add the engine exhausts and prop, items best left off until the end. So the next step before painting would be to add the wing struts, since those are usually the color of the aircraft.
The last steps in this particular release is to glue the floats together (each float consists of a top and bottom part) and then add the struts to the floats. However, I would do that step only as I'm lining up the floats to the fuselage. Unfortunately KP does not have any indicators molded into the bottom of the fuselage to show where the float struts are to be attached. Looks like we're on our own to figure that out. Something you'll need to research and have plenty of patience to get lined up.

|
Conclusion
Out of the box this looks like a very nice kit. With no indicators of where the float-struts are to go onto the fuselage, you'll need to perform research and have plenty of patience to figure this area out. Aside from that, this could be a straight-forward build.
I defintely thank Kovozávody Prostějov for the Grasshopper to review.
