Hasegawa 1/72 F-16A ADF Fighting Falcon
By Matt Bittner
Introduction
Taken from the instruction sheet:
"The F-16A PLUS Fighting Falcon is a tactical fighter developed as a result of the Multi-Stage Improvement Plan (MSIP) carried out on the F-16A design. These improvements are scheduled to be carried out in three phases (Phase I – III). The F-16A PLUS is the aircraft resulting from the Phase I upgrades, and features improved ground attack capabilities. The most visible change resulting from this upgrade was the 30% increase in surface area of the aircraft's horizontal stabilizer, which was a modification added to improve stability during bombing runs. Structural and avionics modifications on the new airframe have been included to make the aircraft capable of supporting the LANTIRN system for low altitude navigation as infrared targeting during night combat, as well as outfitting with the new AIM-120 (AMRAAM) air-to-air missile for engagement of aerial targets beyond visual range.
"As a member of the NATO alliance, Italy participated with European allies Britain, Spain, and German in the development of the new Eurofighter Typhoon design. But this project was not complete in time for the retirement of the venerable F-140S from service, so the Royal Air Force (UK) leased its Tornado F.2 until mid-2003. From July 2003 to November 2004, the Italian Air Force adopted the F-16, receiving a total of 20 A and B types. Most aircraft are of the ADF type, but there are some Block 5/10 aircraft as well."
The Kit
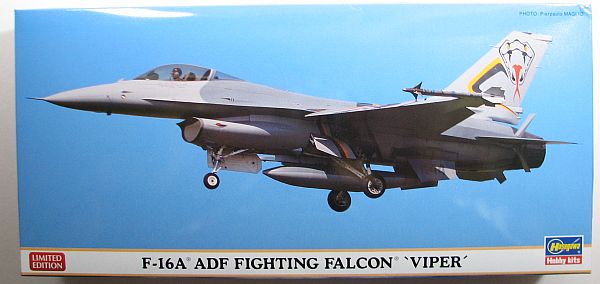
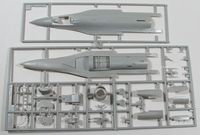
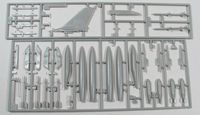
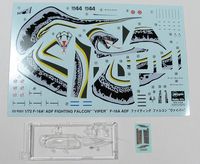
Hasegawa's 1/72 F-16A is an older kit, but still decent all 'round. This release turns it into an Italian ADF by including a sheet of photoetch for four new strengthening plates applied to the fuselage. The kit has 93 gray, injected plastic pieces, and three injected clear pieces. Decals are for one scheme, and one scheme only, the "viper" marked aircraft of 5th Stormo, 23rd Gruppo, #MM7244 April 2010. The decals are very nicely printed and appear in register. The snake makes for a very striking (no pun intended) decal. As with most aircraft models, construction starts with the cockpit. Assemble the one-piece seat to the one-piece tub, and after painting apply the decals for the side consoles and instrument panel, and you have a completed cockpit. The kit comes with an optional pilot, so put that in as well, if you want. Before you glue the parts into the lower fuselage half – and the halves together – you'll need to open up holes on the upper fuselage half for the "bird cutters", a small piece that is eventually glued on in front of the windscreen. In addition, while Hasegawa doesn't mention anything about nose weights, you'll probably want to add some anyway so your model isn't a tail sitter. Once that is all accomplished, glue the cockpit to the lower fuselage half – along with the front and rear bulkheads for the main landing gear well – and then glue the fuselage halves together.The next instruction step has you glue the five-piece intake together. This could be a tricky assembly to minimize gaps. So, take your time, dry fit quite a bit, and hopefully you'll have an intake with little-to-no seams to worry about. In step four you glue the two-piece exhaust together and glue it to the fuselage, although I would see if I could glue that in at the end, to minimize the amount of masking while painting. You also glue on the underside strakes at this time.
Now you complete the airframe. Remove the molded-on wing-tip missile rails, because the Italian ADF used different ones, and glue on the correct ones. Glue the wings and horizontal stabilizers to the fuselage and now you have what looks more like a Viper. Glue the lower part of the fin/rudder to the main part, and glue it to the fuselage as well. After you add the photoetch plates to the fuselage, you're now ready for painting.Once painting is accomplished, then glue the landing gear on along with the final clear pieces, outer weapon pylons and external fuel tank, and you have a completed Hasegawa 1/72 F-16.
Conclusion
While an older kit, and not with the finesse as the newer kits – like Revell – the Hasegawa F-16 is still a viable 1/72 Viper, especially when building the earlier versions. The Italian scheme supplied with the kit is very striking, and while I usually don't use kit-supplied decals, I just might have to in this instance. It will look great when finished.Many thanks to Hasegawa USA for supplying the review kit.


