
Freedom Model Kits 1/48 F-20A Tigershark
By Jacob Russell
The Plane
Northrop Aircraft developed the F-20A Tigershark, a so-called "light fighter", as a private venture. It was a further development of Northrop's F-5E Tiger II. The F-20A featured a more advanced avionics suite with enhanced radar and a new engine which greatly improved performance. It outperformed its predecessor, it was capable of firing most contemporary US weaponry and it boasted beyond-visual-range air-to-air capability. It was competitive with other modern aircraft such as the General Dynamics F-16 Fighting Falcon but it was much cheaper to operate.
Northrop carried out F-20 development under the auspices of a US Department of Defense project named "FX". The FX project was the brainchild of the Carter administration. It was part of an export policy that sought to provide its allies with advanced aircraft capable of meeting Soviet aircraft on equal terms, without the risk of sensitive hardware falling into enemy hands. Northrop had high hopes for success on the export fighter market, but these ambitions were thwarted by the policies of the Reagan administration. The F-20 now had to contend with the F-16 for sales. Northrop abandoned the development program in 1986 after building three prototypes and starting construction of a fourth.
The Kit
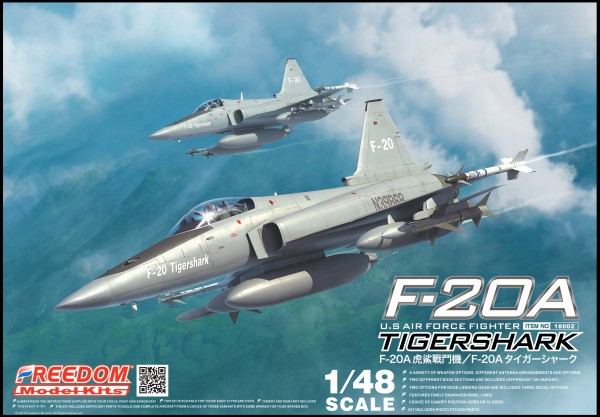
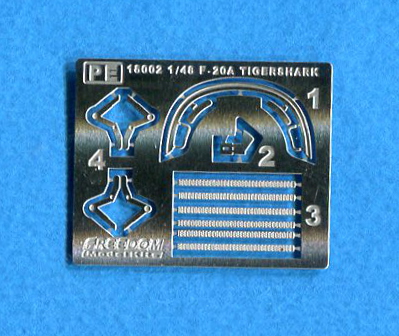
The F-20A is the second aircraft kit from newcomer Freedom Model Kits. My overall impression of this kit is positive, starting with cool box top artwork depicting a pair of F-20s in flight. The kit consists of 240 parts. 200 of these are molded in grey plastic, 8 are clear, 20 are black, and 12 are photo-etched. The fuselage is a multi-piece assembly, split behind the cockpit. The forward fuselage is divided into halves as is customary with most aircraft kits.
The cockpit is enclosed into the forward fuselage. The cockpit is nicely detailed. The sidewall detail is somewhat sparse but so was the real thing, especially in comparison with the F-16. The decal sheet has decals for the instrument panel and the sidewall consoles. It's up to the builder to decide which will be more effective, using the decals or going the oil wash and drybrush route, or a combination of both techniques. The canopy can be posed open or closed. I would opt for the former option. Although the plane looks more sleek with a closed canopy, the hinge mechanism parts are some of the only kit parts with visible sink marks. You will lose a fair amount of raised detail if you fill them.
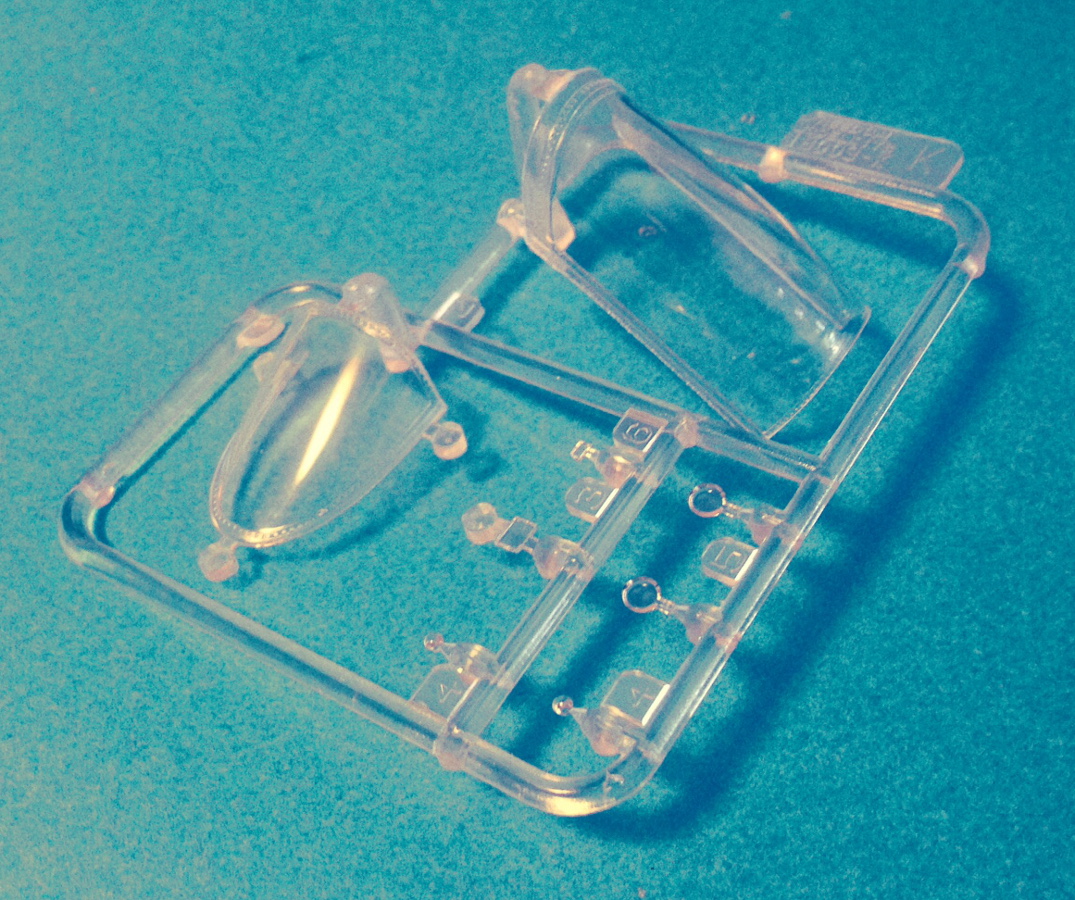
The clear parts are very well done with minimal distortion on the windscreen and canopy. The clear sprue also includes navigation and landing lights. The latter parts can be depicted raised or lowered, and that is a nice touch.
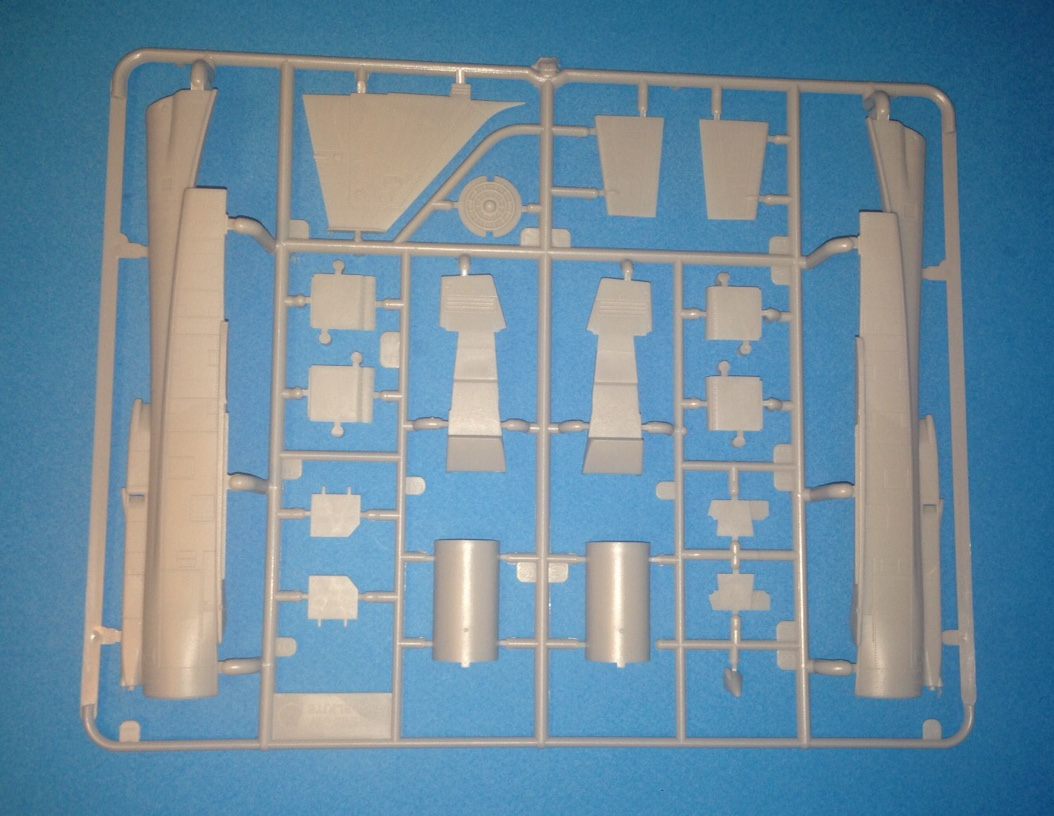
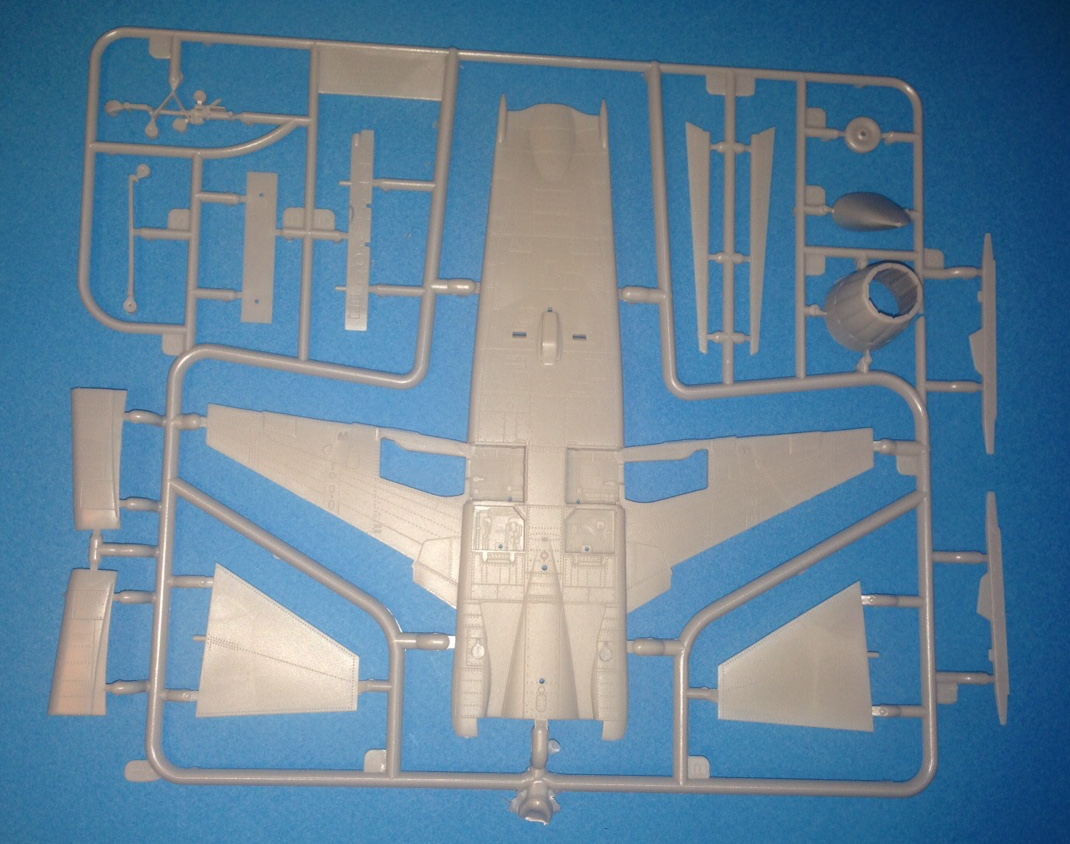
There are 2 noses, long and short. The instructions don't specify which nose to use, but a photograph in the instructions implies that the shorter nose is for the first development prototype. It attaches to the forward fuselage. The gun cowl fits between the nose and the forward fuselage. The rear fuselage is divided into upper and lower halves; the lower fuselage incorporates the lower wing. The upper fuselage is divided in halves like the cockpit area. The air intakes and upper wings attach to the lower wing before adding the upper fuselage.
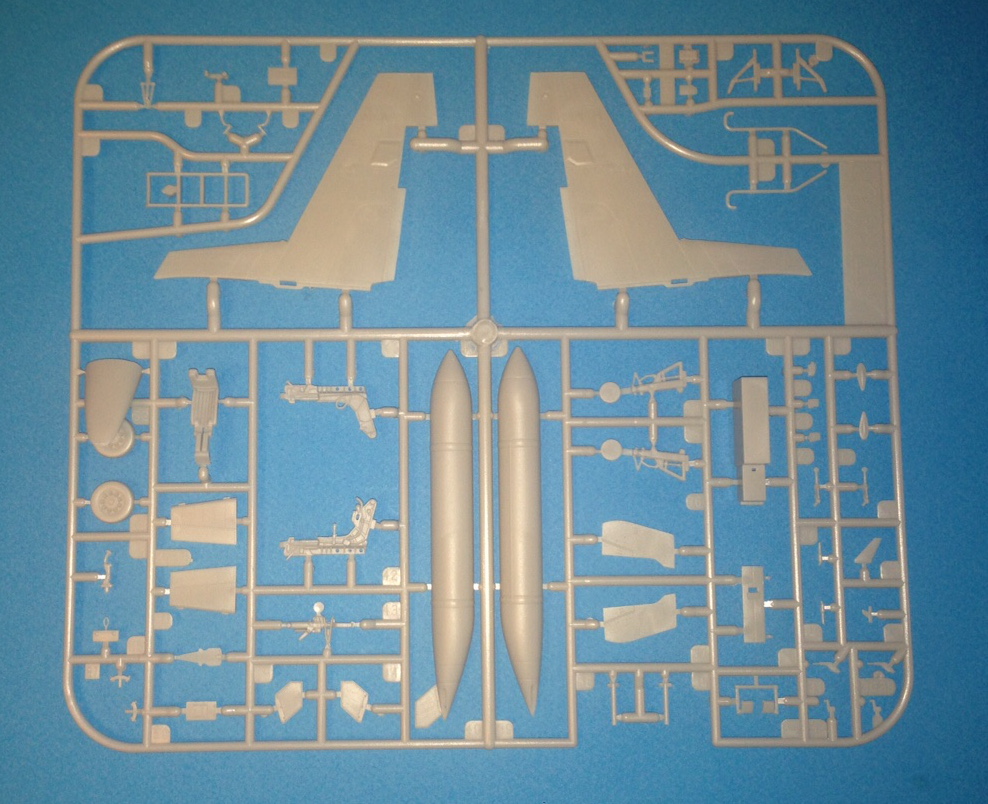
The surface detail on the wings and fuselage is well depicted with very delicate panel lines. There are very few ejector pin marks in visible areas, and the parts are virtually flash free. There are also some very fine raised bolts around the rear fuselage between the fuselage and tail cone. The lower fuselage and wheel wells are similarly well detailed, with both raised bolts and brake lines, etc. I think that the wheel wells will look quite good with dry brushing and an oil wash. The armament load is comprehensive. You have your choice of LAU-115C/A and LAU-127 single-rocket launchers (for the AIM-7 and AIM-9/120 rockets respectively) or LAU-115B/A and LAU-127 dual launchers. You naturally get a full complement of rockets for those rails: 2 each of the AIM-7, -9L, -9M and -120 rockets. Their detail is quite good, but the fins are slightly over scale, which is perhaps to be expected with injected molded plastic.
There are also 2 different drop tanks to choose from, a single 275 gallon tank or a pair of 150 gallon tanks. The 275 gallon tank mounts on the centerline M1-6 pylon. The smaller tank can also be mounted on the center pylon or the pair can attach to the lower wing M1-6 pylons. These tanks are well detailed with raised seams and recessed panel lines. I recommend that you use a good pair of sprue cutters while removing these parts from the sprues, and go easy on the cement! The photo-etch sprue includes canopy mirrors, replacement oleo scissors for the main landing gear, and a set of very fine shutters for each fuselage intake.
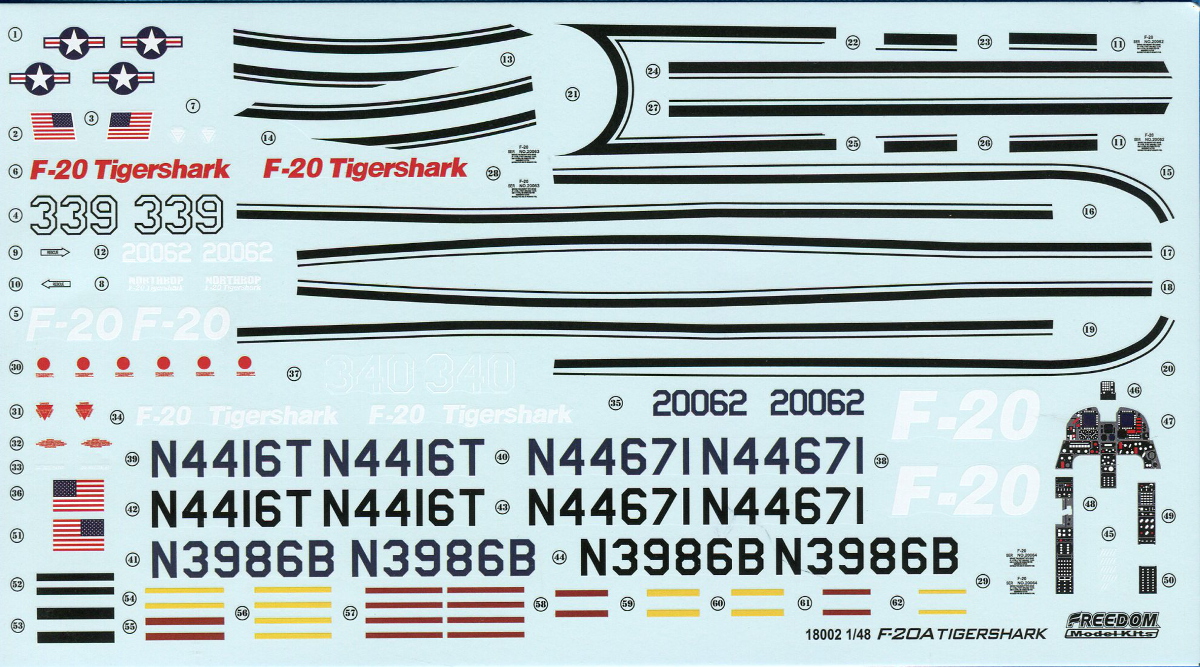
The instructions are well done. They are well illustrated and easy to follow. The build is broken into 16 logical steps. The instructions include a parts map and color callouts for GSI Creos (Gunze) Mr. Color paints. There are 3 decal options. One is flashy and two are utilitarian by comparison:
1) First prototype, 200162, Paris Airshow, 1983. This plane is gloss white and red with black-edged white stripes.
2) First & Second prototypes, N3986B & N4416T, 1983-1985. Both are FS36375 Gray over FS36495 Light Gray.
3) First, Second & Third prototypes, 1984-1986. All three are FS36076 Navy Gray #2 overall.
Conclusion
This is an impressive kit. It's a very good rendition of a plane that, ti could be argued, lost out to the F-16 due to circumstances beyond Northrop's control. It is well detailed and a good value. The only thing you really need to add is a photo-etch seat harness. I like this kit, and I recommend it. I would like to thank Freedom Model Kits for the review sample.