
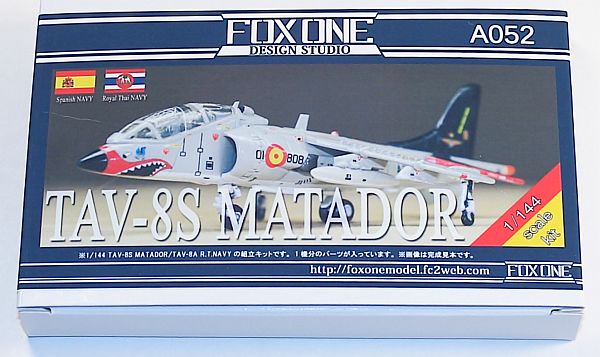
FOX ONE 1/144 TAV-8S Matador/TAV-8A (Thai)
By Matt Bittner
Introduction
Most people in the world know about the Hawker Harrier, and how it was one of the first successful Vertical/Short Take Off and Landing (V/STOL) to fly. While it was developed in the United Kingdom there were plenty of other countries that not only flew it under their own markings, but also one that built it under contract, that being McDonnell Douglas as the AV-8 series. The two-seat TAV-8 series was developed originally for the United States Marine Corp, but other countries ended up showing interest, namely the Spanish Navy and the Royal Thai Navy.
The Kit
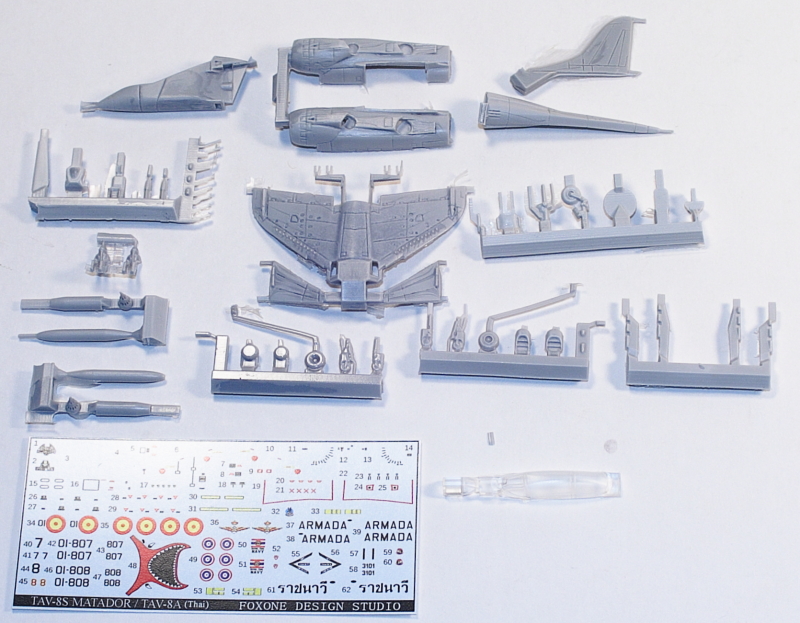
The FOX ONE 1/144 TAV-8A/TAV-8S consists of 56 pieces of grey resin and a single clear-resin canopy. There are decals for three aircraft:
- TAV-8S Matador, Spanish Navy, 01-808 (with a black tail and nose, and a shark mouth on the nose)
- TAV-8S Matador, Spanish Navy, 01-807
- TAV-8A Royal Thai Navy
I think all three aircraft are painted in a two-tone grey on top with white undersurfaces. I type "I think" because it's difficult to tell if there are two greys on the color profiles since they appear close to each other in tone. The decals are ALPS printed so care must be taken but even so look nicely printed.
|
Since the fuselage is separated in pieces – which facilitates being able to mold different Harriers – the first construction step is to assemble the forward nose-piece by adding ejection seats, instrument panels and – if using – the supplied pilots. The instructions also have you add the canopy at this point and if you're finishing your model with the canopy closed (you'll have to perform surgery to display it open) I would also mask and add that as well.
Step 2 has you add the turbine blades to one side of the middle, then assemble the middle section halves together. Once that is accomplished and dried then glue that assembly to the rear part of the fuselage. The tail pieces are also added at this point along with the rotating side-exhausts (which provide the vertical thrust). While the instructions show you gluing those parts with the exhausts facing the rear, I bet you could position those in any other configuration.
Now the nose is glued to the other fuselage assembly and the wing is added. The next step has you add antennas to the top of the fuselage and if you free-hand the camouflage you could probably get away with it. Just be careful you don't knock them off during painting and final assembly.
The last two instruction steps have you add all pieces to the underside. Some of them I would leave off until it's completely finished – like the landing gear, etc. – but some would best be added prior to painting.
It appears the kit comes with only rocket pods and external fuel tanks as stores.
Conclusion
This is an excellent model of a two-seat Harrier. The detail is top-notch and this should not be a difficult build. If I had to complain my only complaint would be the intake bleed-in doors along the perimeter of the intakes are molded closed – normally these are open while on the ground. Nothing work with a Dremel won't take care of but it would have been nice to have it molded that way.
My thanks to FOX ONE for supplying the review two-seat Harrier.