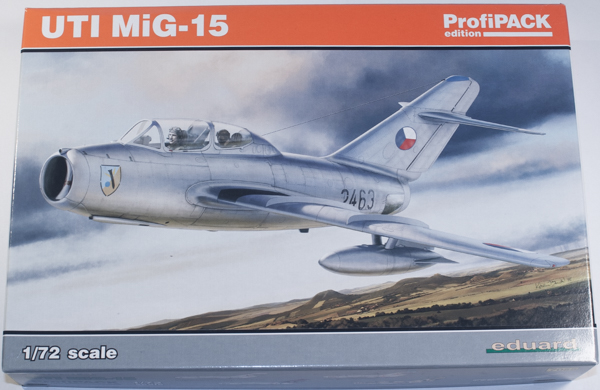
Eduard 1/72 UTI MiG-15 ProfiPACK
By Matt Bittner
Eduard's first release of their 1/72 UTI MiG-15 was in their Royal Class boxing so it's a welcome relief to have it released on its own. For the first release Eduard has put their UTI MiG-15 in a ProfiPACK box (#7055) with masks and photoetch.
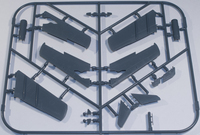
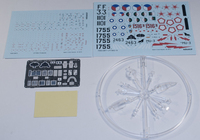
The kit comes with 84 pieces of gray, injected plastic (some parts not used with this kit), a clear sprue with 10 parts and a photoetch fret with 59 pieces. There is also a set of masks for the canopy and other clear pieces. Decals are for five UTI MiG-15s:
- 6th Fighter-Bomber Air Regiment, Prerov Air Base, Czechoslovakia, Summer, 1974
- Indonesian Air Force, Jakarta-Kemajoran Air Base, 1960s
- "Red 1516", Soviet Union, 1960s through the 1970s
- "Black 1755", Algerian Air Force, 1960s through the 1980s
- "Black 3", c/n 922226, Havittajalentolaivue 31, Rissala Air Base, Finland, Late 1960s
All but the Algerian aircraft are "silver" overall while the Algerian has Khaki and Tan uppers with a Light Blue underside. Decals are really nicely done and look excellent.
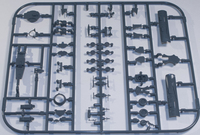
As with most aircraft models' instructions, construction starts with the cockpit, and you'll be spending plenty of time here. Two-piece ejection seats with photoetch belts; instrument panels that can be finished either with decals or photoetch pieces; the cockpit floor is assembled with the ejection seats, control sticks, instrument panels, photoetch rudder pedal straps and rear bulkhead; photoetch items added to the cockpit sidewalls; the nose gear well assembled; and all of it glued to the cockpit floor. Next up is assembling the exhaust pipe and I'm hoping there isn't a seam because it would be difficult to remove it, as the exhaust pipe consists of two pieces. Once that is glued together then everything can be added to one fuselage half, including the separate rudder and the fuselage halves glued together. Be aware before you do, though, you WILL need to add weight to the nose so it's not a tail sitter. While Eduard doesn't specify how much is actually needed it does point out two places where the weight should be added.
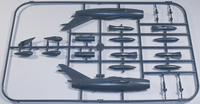
Now that the fuselage halves are assembled it's time to glue the wing halves together (opening up any ordnance holes before hand – Eduard shows which holes to open for the external fuel tanks) and then adding them, the stabilizers and rear cockpit piece that sits under the canopy, to the fuselage. While the next steps show adding the nose gear to the gear well I would leave that off until the end, but it is here where you also glue the intake splitter and nose ring to the fuselage, along with the underside nose clear pieces and nose gun fairings. It is here that you'll want to start painting.
Thankfully Eduard supplies the wheels as separate from the tires and that's mainly because there are two distinct sets of wheels. This means you can paint the wheels off the tires then glue them together at a later time. Once past the painting and decaling stages then you can add the landing gear, gear doors and external fuel tanks (two types provided) prior to finishing the kit. You'll need to decide on if you're closing the canopy or keeping it open then finish this area as well.
Conclusion
Eduard's 1/72 MiG-15s – including the UTI MiG-15 – are now the superlative and "go-to" kit of this important Cold War fighter. With the introduction of the UTI Eduard has rounded out their MiG-15 offerings leaving nothing to be desired.
My thanks to Eduard for supplying the kit to review.
