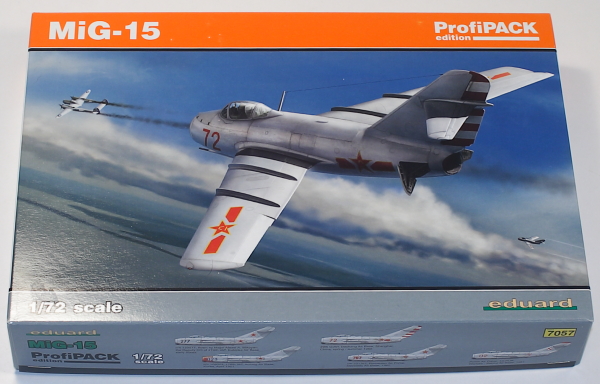
Eduard 1/72 MiG-15 ProfiPACK
By Matt Bittner
Introduction
The Mikoyan Gurevich MiG-15 was an iconic fighter for its time. It went to war not long after World War 2, facing the F-86 Sabre over Korean skies. It was flown by many countries for quite a long time and you'll find plenty of references for whatever you need.
The Kit
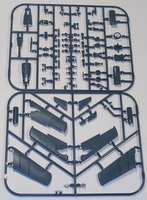
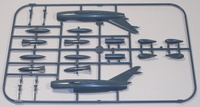
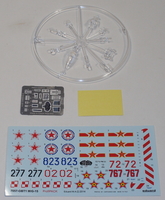
 The Eduard 1/72 MiG-15 ProfiPACK release consists of 85 pieces of tan, injected plastic; 6 pieces of clear injected plastic; and a photoetch fret with 30 pieces on it. This release also comes with a set of masks for the clear pieces and the wheels. There are five aircraft catered for on the decal sheet:
- 29th GIAP, Dachang Air Base, Shanghai, China, spring - summer 1950
- 108023, 176th IAP, Antung Air Base, Korea, April 1951
- 120077, flown by Major Alexei A. Mikoyan, the Deputy CO of 274th IAP, Kubinka Air Base, early 50s
- Polish Air Force, 1st PLM, Warsaw - Babice Air Base, 1951
- 231767, Romanian Air Force, Deveselu Air Base, 1962
Construction starts naturally with the cockpit and with the amount of photoetch you add to the plastic pieces results in a most complete and detailed cockpit. In fact, when adding the photoetch to the kit's seat results in something that is pretty close as detailed as Eduard's resin seat. Once you have all the pieces added and all the cockpit pieces assembled then construction moves to the tail pipe. It's a shame this is separated into top and bottom halves because if there's any amount of seam it will be difficult to alleviate. This is especially true in the exhaust right at the end. I saw an on-line build where the builder removed the end-most piece and replaced it with a piece of tube. In fact he was able to chamfer the edge of the pipe enough so he could add the tube after final assembly, something I will definitely try. That way you don't have to worry about the seam in the tail pipe, masking the exhaust and worrying about a seam on the fuselage under the tail. A definitely plus. (Maybe we'll see an aftermarket tail pipe by the time I start the build.)
 Now that the cockpit and tail pipe are assembled the instrument panel is brought together, followed by the fuselage halves trapping the rudder. After that the wing-halves are assembled, opening the holes for the external stores if so desired. After those sub-assemblies are finished they are now brought together along with the horizontal tail surfaces.
Attention is now turned toward the nose. The first part added to the nose is the underside – this is a separate piece because this is one area of difference between the MiG-15 and MiG-15bis. The intake splitter is actually a clear piece because the landing light is in the nose. Take care with this when you glue it into the nose piece. Once those two are assembled then you add the nose piece to the fuselage followed by the cannons.
 The next stage in the instructions are geared toward – wait for it – the landing gear. While the pieces are all assembled and the instructions have you add them at this point I would definitely wait until after painting and decaling. The next stage is adding the clear windscreen and canopy and again, if you're opening the canopy you might want to wait to add this until the end. Remember this release comes with masks so you have them for all of the clear pieces, along with masks for the wheels.
It would appear that earlier MiG-15s did not have the clear-circular cover on the rear, lower fuselage, this appearing on later MiG-15s. Be sure to check your references, but if you plan on building an early MiG-15 you'll need to glue the clear piece on then remove all traces of panel lines surrounding that area and paint over the clear piece.
Conclusion
The Eduard 1/72 MiG-15 is the go-to kit for this subject in this scale. It's an excellent kit that will lend itself to multiple builds, especially as more decal sets are released for it.
I definitely thank Eduard for sending this to review.
