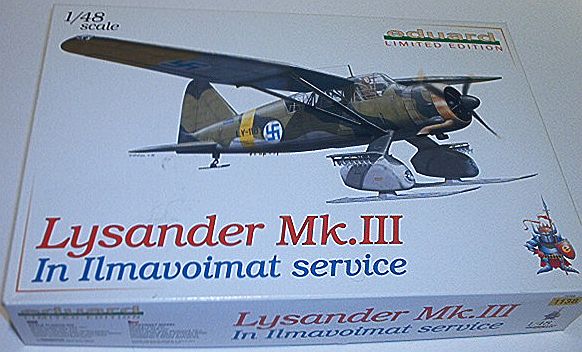
Eduard 1/48 Lysander Mk.III In Ilmavoimat Service
By Steve Ringlein
History of the Lysander Mk.III
During the 1930s the British Air Ministry looked to Westland to create an aircraft with STOL (Short Takeoff and Landing) capabilities and low speed handling. The aircraft they received was the internally designated P.8, a high wing design with leading edge slats, slotted flaps and adjustable tail plane for low-speed pitch and trim. Power came from an air-cooled 800 horsepower engine that could climb at over 1400 feet per minute and could carry 1800 pounds for over 600 miles.The Kit
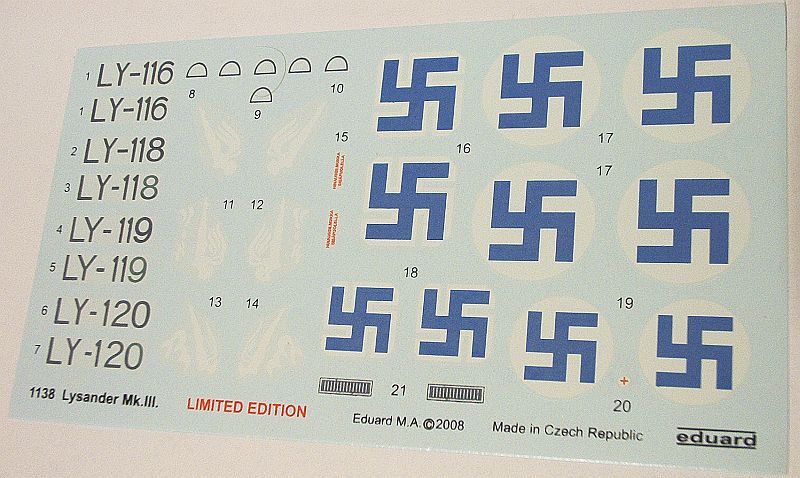
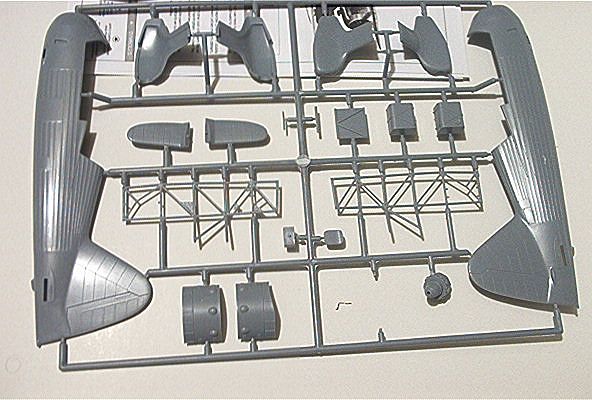
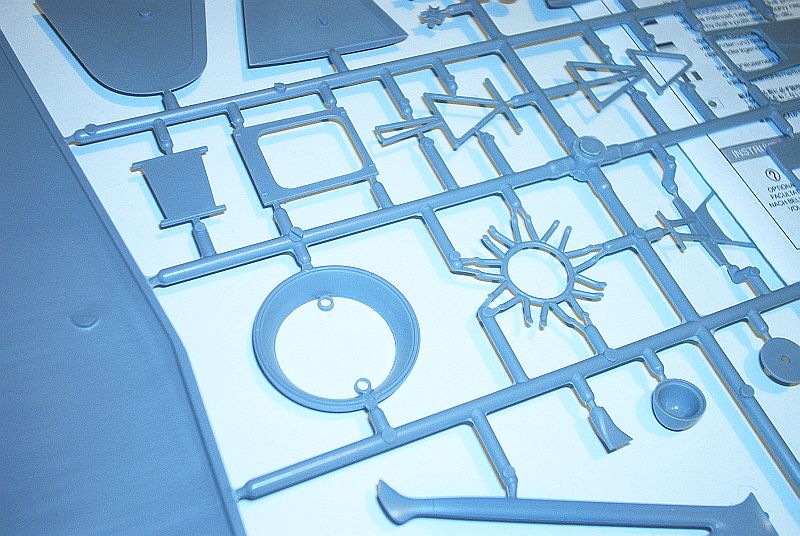
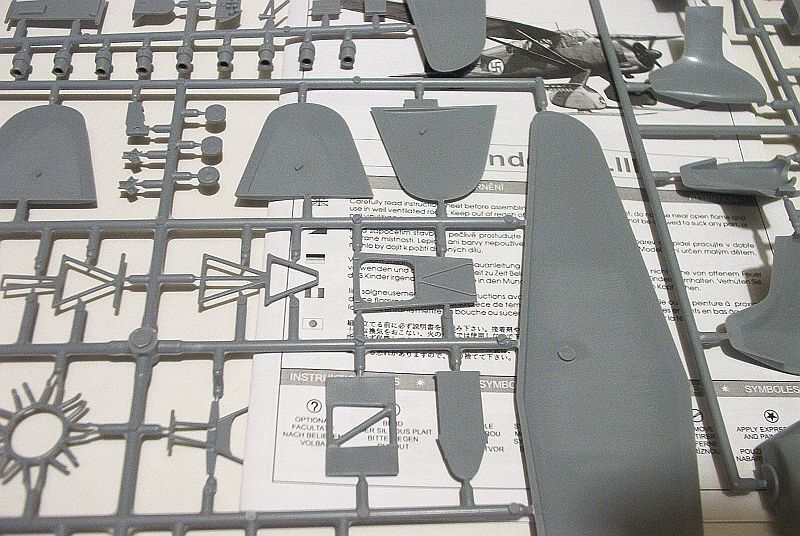
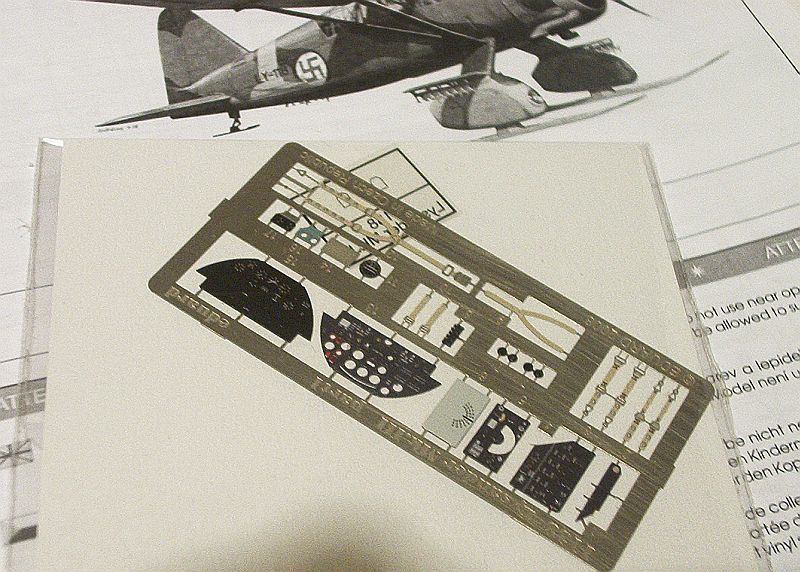
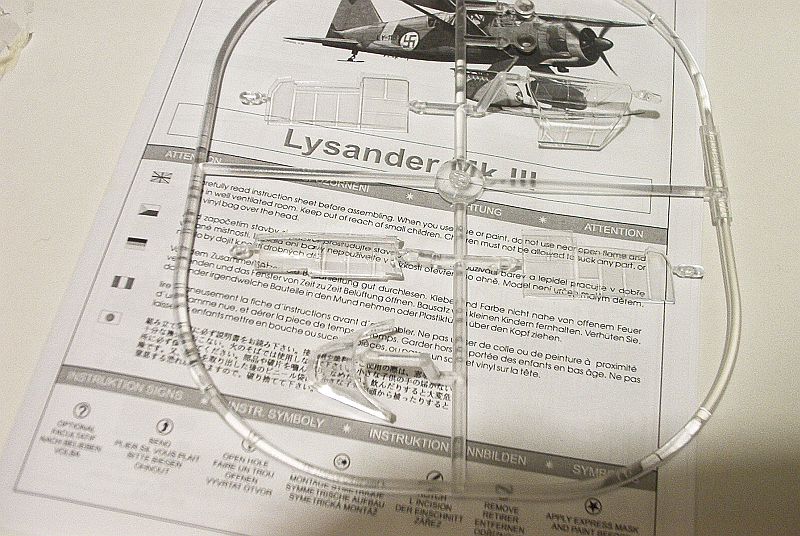
The Eduard kit breaks down to a simple model. This kit started out life from another company called Gavia, but with Eduard's model you get a nice resin engine and photoetch which is a nice touch.As usual with most aircraft this kit starts out with the cockpit. The kit parts are not too bad but with the PE set that comes with the kit this will really make your model stand out. The one thing I really do like is that seat is photo etch with perforated holes, I can only imagine that this was not the most comfortable for the pilot. Along with the rest of the cockpit you get the internal structure for the aircraft. To finish out the cockpit the radio gear and instrument panel is finished in color PE.
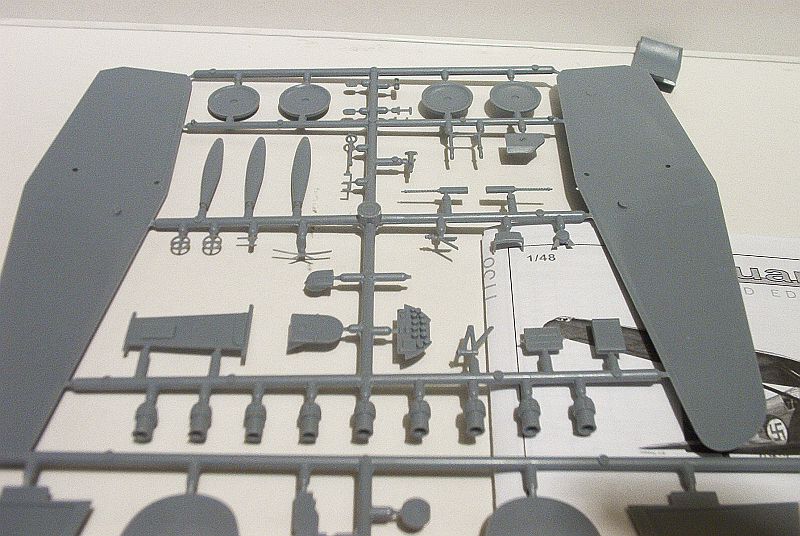
If you're following the instructions they call on building the Engine. In the model the engine is laid out in about 13 parts. They break down with the crankcase and nine cylinders, with the ignition and exhaust stack. The cowling looks really nice which is in 4 pieces. Eduard also provides photoetch for the cowling, what I believe to be for the intake.After the engine you will start on building the airframe. In the model the main pieces for the plane are molded to represent fabric. There is the ribbing to represent this but there is no engraving for the fabric but in this
Thank you to Eduard for providing this review kit.
