Introduction
The Airco DH.2 was the second design by de Havilland for Airco that was also a pusher design. Since the British didn't have a working interrupter gear for a forward-firing machine gun, the next best thing was to put the engine behind the pilot, allowing him to have the gun along his line-of-sight.
It was a good design while it lasted, giving the Fokker aircraft a good run, but by the time the Albatros was introduced, the DH.2 was outmoded and already considered obsolete.
The Kit
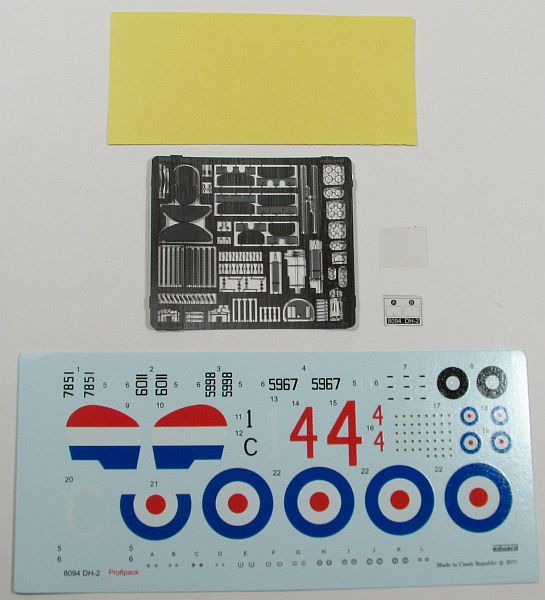
- Arthur Gerald Knight's DH.2 from 22 June 1916, marked as "6011" with the typical PC10 upper surfaces and Clear Doped Linen (CDL) undersides
- William G.S. Curphey's DH.2 that he flew in 1916, marked as "7851" with PC10/CDL, the diffrence being the CDL was also applied to the fabric areas of the fuselage
- Capt. John O. Andrew's DH.2 which he flew in 1916, marked as "5998" finished in the usual PC10/CDL, but this time the entire fuselage was painted PC10 including the metal areas
- Robert Henry Magnus Spencer Saundby's DH.2, flown in July 1916, finished overall mainly in CDL with a PC10 fin and red wheel covers
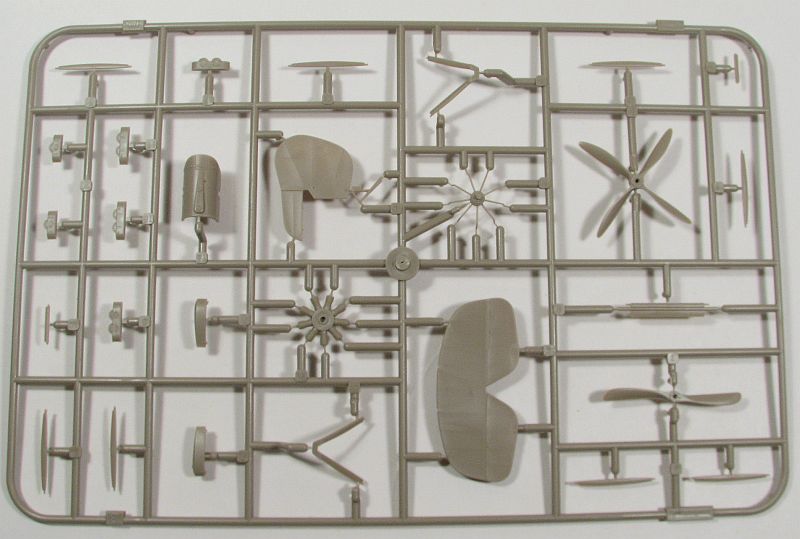
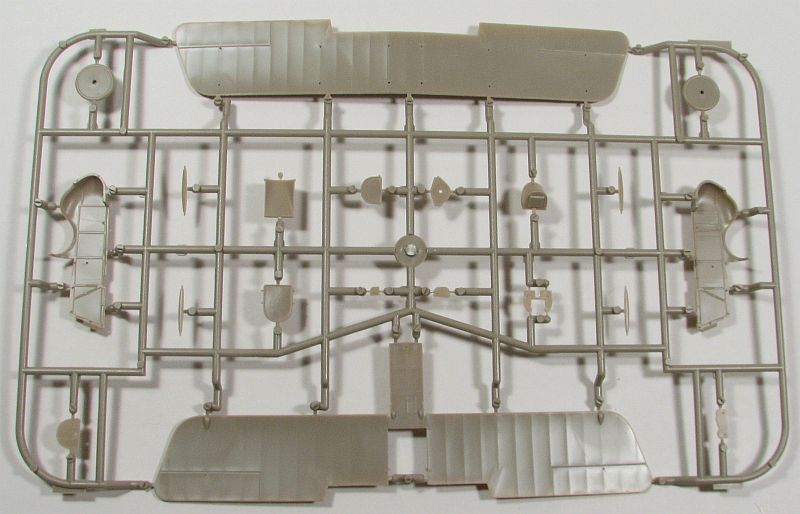
Once the main fuselage pieces are glued together than the upper rear is added, and construction continues. Next up is the engine which also has a lot of photoetch to add. Which is a good thing because the entire engine is out for the world to see. With the detail Eduard provides it will look stunning.
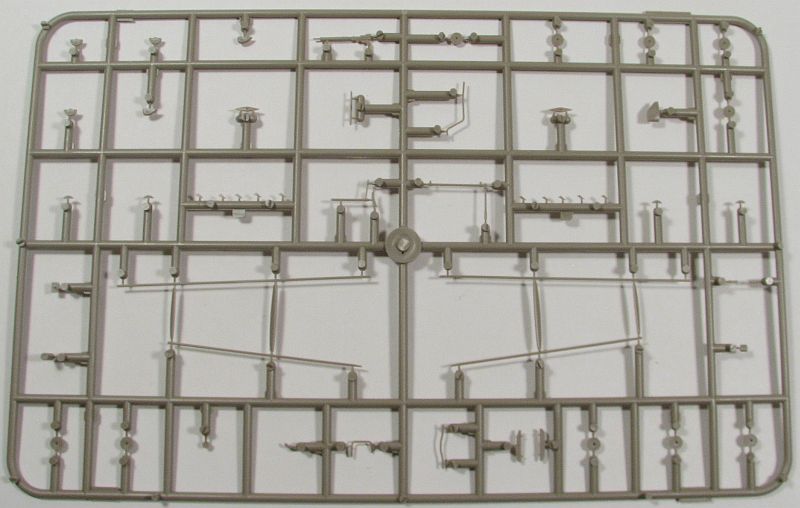
Where the patience will pay off is in the rigging. Since this is a "boomed" aircraft, you'll have all the "usual" rigging, plus what is needed between and amongst the booms. Quite the feet and it will probably take you a few modeling sessions to complete the rigging. Just be glad Eduard provides ample and complete rigging diagrams.
Conclusion
My thanks to Eduard for the review kit.