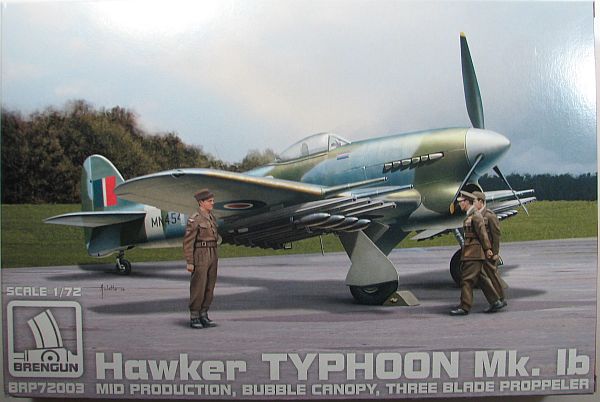
Brengun 1/72 Typhoon Mk.Ib Mid Production
By Matt Bittner
Introduction
With the recent release of the Valiant book, we now have an excellent source for building Hawker Typhoons. Although Czechmaster Resin has released their own line of Hawker Typhoons in 1/72, some modelers don't like to build resin kits and they are quite a bit expensive. Other than those, the most accurate plastic injected kit was the Academy kit, and that was not without its flaws.
Thankfully Brengun has recently released a set of new, plastic injected Hawker Typhoons in 1/72. Not only this Mid Production kit, that primarily used the three-blade prop, but also a later production kit that not only used a four-blade prop, but also had a different "rear end". Some may question the way Brengun has addressed the different tails, in terms of separate tail parts that need to be added after cutting off the earlier tail. Even so, however, it's still a positive step in the right direction.
In addition, Brengun has announced a couple of "car door" Typhoons to be released in the future.
The Kit
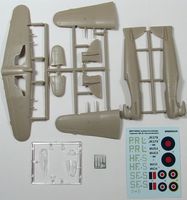
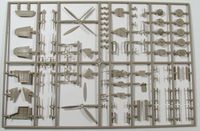
 Thankfully, this Mid Production kit does not use the later tail, so you will not have to produce the necessary surgery. Both releases of the Brengun 1/72 Hawker Typhoon consists of 92 pieces of tan injected plastic, and a sprue of clear with seven pieces. There is also a small photoetch fret, consisting of seat belts and the pilot's step. There are decals for 3 aircraft:
- SF-S of No.137 Sqn. RAF Manston, June, 1944
- PR-L, 609 Sqn. RAF, Summer, 1944
- HF-S, 183 Sqn. RAF, May, 1944
The first two steps of construction consists of adding the belts to the pilot's seat and building up the instrument panel. Next you build the chin intake, which consists of four pieces.
You'll probably want to hold off on the next step until after you've painted the landing gear and gear doors, since you build them up in this step.
Finally we're at cockpit construction. The cockpit consists of a "floor", sidewall structure, a rear bulkhead, the already built-up seat, the control stick, rudder pedals, and a front bulkhead. After building the landing gear wells up – which consists of six pieces per side – then the cockpit assembly is glued into one fuselage half, along with the built-up instrument panel, tail wheel, built-up chin intake and tail wheel. In addition, once the fuselage halves are together, then the separate rudder is attached.
 Attention now is placed toward the wings. The first step here is to glue the landing gear wells into the top wing half, skip the next three steps of the instructions (which is to glue the pitot tube on followed by the landing gear and rockets – all best left until after painting), then glue the lower wing pieces to the single top wing half. This page in the instructions also have you assemble the prop – prop blades onto the rear part of the spinner, and the spinner pieces then brought together (again, best done after painting the parts separately).
Now is the time to create a full airframe. First glue the horizontal stabilizers to the fuselage, followed by the wing. You'll glue on the windscreen, mask it, then if you close the canopy you'll want to mask and glue that on now as well.
Conclusion
An excellent addition to the world of 1/72 models, the Brengun Hawker Typhoon will be an excellent addition to your model collection. Comparing it with the Valiant book, this looks to be an accurate Typhoon and will truly look the part. If you want to super detail it, then by all means pick up their separate photoetch set. But even without it, the Brengun Typhoon will look excellent.
Many, many thanks to Brengun for allowing us to review this kit.
