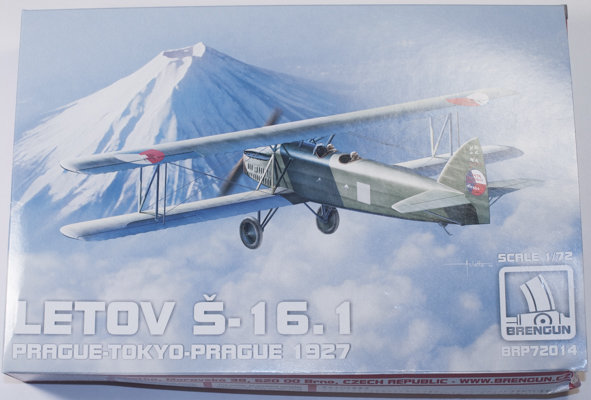
Brengun 1/72 Letov Š-16.1
By Matt Bittner
Introduction
Unfortunately I don't have much, but the Letov Š-16 was developed in the 1920s in Czechoslovakia and there were over 100 built. Examples were exported to Latvia, Turkey and Yugoslavia. Before it went into production the prototype was flown from Prague to Tokyo and almost back again in what was a first for Czech fliers.
The Š-16 was first kitted by KP quite a while ago and while it still is decent kit, the molds are old enough the detail has become soft. Thankfully Brengun has decided to create new molds and it is definitely a better release.
The Kit
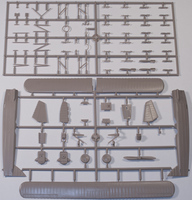
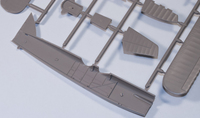
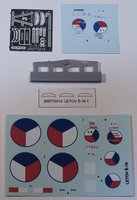
 The Brengun 1/72 Š-16.1 consists of 83 pieces of tan, injected plastic (some parts not used for this version), a photoetch fret with 18 pieces, a resin propeller for the record-setting aircraft and a piece of clear film for the windscreens. Decals are for two aircraft, the famous Š-16.1 that was flown from Prague to Tokyo, and the first production Š-16.1 that was used as a promotional aircraft and used the rudder from the Prague-to-Tokyo aircraft. The decals appear to be in register and are nicely printed. Both machines are finished in overall green on the upper surfaces with aluminum on the undersides.
Of course construction starts with the cockpit, adding the photoetch belts to the seat. Once painted the seats are then added to their structure as well as adding the control stick and rudder pedals to its section of flooring. One thing to pay attention to when it comes to the instructions. The step where you add the instrument panels and front bulkhead to a fuselage half is a little unclear. It has arrows pointing to the "general" location where these go. What you want to do is look at the next step in the instructions because that step shows you the correct placement for those items.
 You'll also note the front of the lower fuselage is a different part with this release so you'll need to perform some kit surgery. It isn't much but it is something you'll want to do before you add the cockpit pieces and definitely before gluing the fuselage halves together. However, you'll want to tape the fuselage halves together as you work to get this part lined up without a lot of seam work. Since this separate part has louvers on it – along with the surrounding area on the fuselage halves – definitely take your time to get the fit right so you don't ruin the louvered areas.
Now that the fuselage halves are together construction will go fast. I would leave off the windscreen and pilot steps until last, but there is another part that will need your attention. It appears the prototype incorporated a different type of step for both the pilot and the observer than usual. Instead of a "kick-in" plate it appears the prototype had actual "steps" mounted into panels. The kit has you cut out the usual "kick-in" plates but I wouldn't. Instead I would sand that detail away and then add the photoetch panels but wait until the very end to actually add the photoetch steps. That way you're not knocking them off as you finish the model.
 From here on out you'll need to decide which version of the kit you're building: the actual aircraft that flew from Prague to Tokyo, or the second-built aircraft that was then flown on a public relations tour that used the original rudder from the record-setting aircraft (since the original was lost in a crash on the way back to Prague). This is because there are different instruction steps, and items to add, depending on the type. For example the second aircraft was flown with a gun ring for the rear observer and the propeller was different between the two, etc.
Since this is a biplane you'll want to leave the upper wing off until the final steps. In addition there are aileron balances that need to be added at the end as well. One nice thing about the instructions is a full rigging diagram.
Conclusion
This is an excellent rendition of the Letov Š-16.1 and shouldn't take long to finish. Of course being a biplane it will take longer than a monoplane naturally, but as a biplane there isn't much to it and you'll have it finished in no time.
Huge thanks to Brengun for supplying the kit to review.
