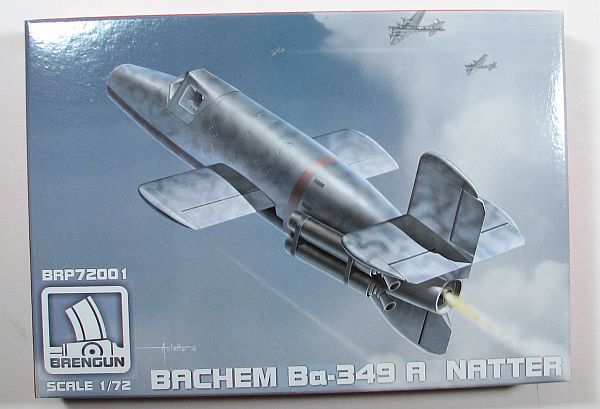
Brengun 1/72 Bachem Ba 349a Natter
By Matt Bittner
Introduction
The Bachem Ba 349 "Natter" was a system that was meant to take out Allied bombers. The purpose of the design was to streak upwards to the bombers - using its rocket propulsion - and as it approached a bomber, jettison its nose cone. Once jettisoned then the pilot was to launch all the rockets in the nose, taking out one bomber. Then, when the rocket propulsion quit and the Natter was on its way down, then the pilot was to strike the tail of another bomber, taking it out too. Right before ramming the bomber the pilot was to jettison the canopy and jump out, using a parachute to fall to safety.
Unfortunately the only manned flight, on 1 March 1945 ended with the pilot being killed. No other Natter flights occurred and, coupled with the end of the war looming, the project was never used again.
The Kit
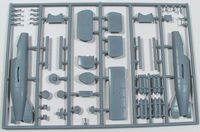
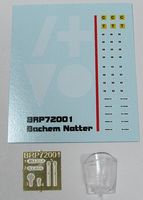
Brengun's first foray into injected plastic models is an excellent one. Their 1/72 Ba 349a Natter consists of 41 pieces of injected gray plastic, one injected clear canopy, and a photoetch fret with seat belts and nose gun sights. Most of the decals are stencils, and the box bottom shows four different Natters:- Mustermaschine (Sample Machine) M52 (overall RLM 02 with white tail, red nose and white markings on the wings, supplied as decals)
- Mustermaschine M58 (RLM01 overall with a white tail and red nose)
- April 1945 (RLM 76 overall with RLM 02 squiggles on the upper surfaces)
- April 1945 (RLM 76 on top and rear-most undersides, with black forward undersurfaces and RLM 02 squiggles on top)
Decals are nicely printed and appear to be in register. There is one option with the kit, Mustermaschine M52 had a larger horizontal stabilizer and that is provided. Otherwise everything else is the same between the four aircraft.
Construction naturally starts with the cockpit. Out of the box it's pretty complete - especially with the photoetch seat belts - and since the canopy can only be positioned closed without major work, the interior detail is more than adequate. The cockpit is built up of ten separate parts and it all should go together quickly. Once all that is built and in the starboard fuselage half, then you'll need to also add the nose-rocket-pieces - both internal and external - and after building up the exhaust from three separate parts, then that too is added to the starboard half. (However, when I build this one, I will replace the exhaust "tube" with a brass substitute because the "tube" is made up of two pieces, and trying to remove the seam on the inside - if it exists - could be problematic.)
Now that everything is in the starboard fuselage half, then both fuselage halves can be glued together. From there, the rest of assembly will be quick. Once you decide which horizontal stabilizer you want, then that will be glued to the fuselage followed by the vertical tail. In addition, the wings are added to their slots (which hopefully means there will be little-to-no putty needed). While you need to assemble the rockets from multiple parts, I would not put those on until after painting, since those are not finished as the airframe color. However, once painting is finished, and the rockets added, your Natter is almost finished.One excellent aspect to the Brengun Natter is the included wood stand the aircraft is placed on. It is built up of six parts, and with the right painting, washes and dry brushes, will look excellent to place your Natter on.
Conclusion
Unfortunately I do not own a Heller Natter, so I can't compare the two. However, given that Brengun is molded in "today's standards" - with a complete cockpit - I'm sure the Brengun is the best choice when you build a 1/72 Natter. This is an excellent kit and I am looking forward to seeing many more full injected kits from Brengun in the future.
My huge thanks to Brengun for sending this to review.


