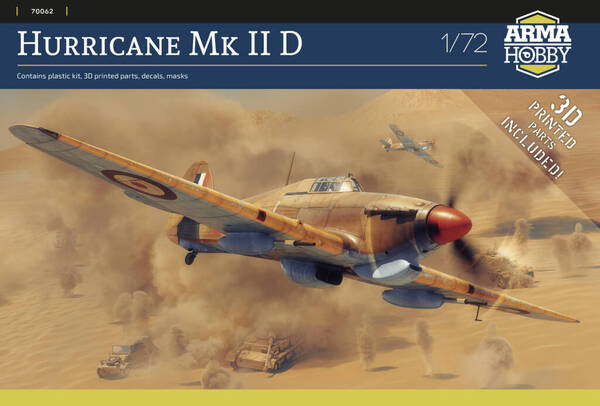
Arma Hobby 1/72 Hurricane Mk.IID
By Matt Bittner
Overview
To add more variation to their line of 1/72 Hurricane kits, Arma Hobby has released this boxing to convert their Mk.IIC into a Mk.IID "Flying Can Opener" with its 40mm cannons.
The Kit
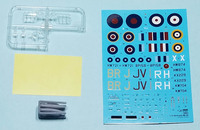
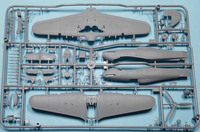
The Arma Hobby 1/72 Hurricane Mk.IID consists of their Mk.IIC kit with 3D printed parts to convert the Mk.IIC into the Mk.IID. This includes the 40mm cannon under the wings; rear view mirror for the top of the windscreen; replacement exhausts with hollowed-out ends; and the templates used to scribe new panel lines on the top of the wings specific for the Mk.IID.
Markings are for the following four Hurricane Mk.IIDs:
- BP158/JV-I, No. 6 Squadron RAF, airfields: Shandur and L.G. 89, Egypt, autumn 1942
- KW704/R „Christine", No. 6 Squadron RAF, Gabes, Tunisia, April 1943. Pilot F/O A.H.M. Clarke
- HW721/BR-J, No. 184 Squadron RAF, Colerne, England, spring 1943. Pilot S/Ldr Jack Rose. Aeroplane funded by Woolwich Aircraft Fund
- KX229/H "Cheeta", No. 20 Squadron RAF, Nidania, Burma, February 1944
- HW874/X, No. 20 Squadron RAF, Monywa, Burma, spring 1945

|
The decals are nicely printed and offer all stencling.
The first two steps in the instructions show what modifications need to be made to the "standard" Mk.IIC wing to turn it into a Mk.IID. This includes removing the cannons and cannon "bumps" on the top of the wing; filling in various panel lines; removing more on the wings' underside and filling in holes there, too. Plus, this is where you use the first of the 3D printed parts: to the top of the wing you need to scribe new panel lines that correspond to the 40mm cannons; lay the 3D printed templates in the areas shown on the instructions, ensure they are firmly in place, the scribe the panel line using the inside of the 3D part. Arma Hobby shows where the parts are to be placed on the wing, which takes most of the guess-work out for the modeler.
Construction the follows the normal Arma Hobby Hurricane steps: landing gear wells glued together, then glued to the lower wing half, then in glued to the upper wing. Next is all the cockpit work and since there is no photoetch nor 3D printed parts included for this area, it's all out-of-the-box injected plastic and decals.
Fuselage is now assembled including adding the wing and tail surfaces. Be sure to add the control stick and the rudder pedals to the cockpit floor built into the wing so your cockpit will be "complete". While the instructions show adding the tail wheels now, I will definitely wait until after painting so it won't be knocked off.

|
In a departure from their Mk.I instructions, the landing gear can be added into the wheel wells after construction. The Mk.I instructions have you add the landing gear before gluing the wing halves together. A better solution to keep them off to ease painting.
Add more bits to the airframe and remember the 3D printed parts include hollowed-end exhausts and the rear-view mirror on top of the windscreen.
Thankfully the kit includes the Volks filter as a couple of marking examples had this attached. Another change to the kit is on the antenna mast.
The 3D printed cannon pods and cannon barrels are now assembled and glued onto the wing. You know have a Mk.IID in 1/72.
Conclusion
While there is work to be done my the modeler, all of it should be possible for most modelers. Just take your time, study the instructions and you'll have a Hurricane Mk.IID in little time.
We definitely thank Arma Hobby for providing the review kit.
